Batch ID photo converter & enhancer with Google Drive & Nano Banana API
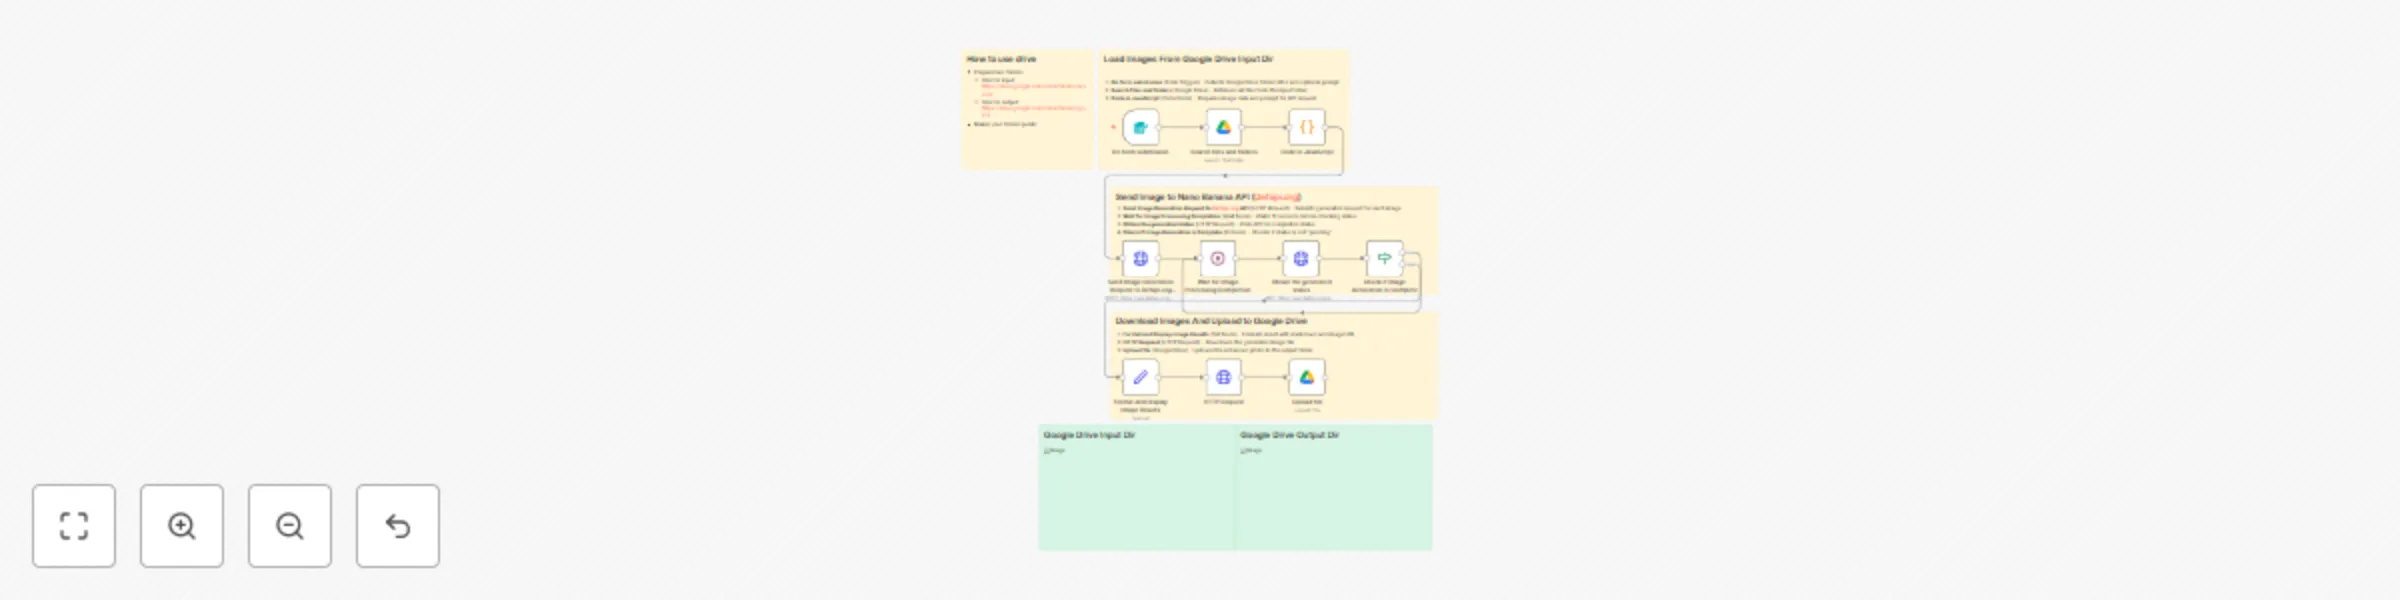
Workflow preview


 Early Deal
DISCOUNT 20%

Important notice
This workflow is provided as-is. Please review and test before using in production.
Overview
Overview
This n8n workflow automatically converts and enhances multiple photos into professional ID-style portraits using Gemini AI (Nano Banana). It processes images in batch from Google Drive, applies professional ID photo standards (proper framing, neutral background, professional attire), and outputs the enhanced photos back to Google Drive.
Input: Google Drive folder with photos
Output: Professional ID-style portraits in Google Drive output folder
The workflow uses a simple form interface where users provide Google Drive folder URLs and an optional custom prompt. It automatically fetches all images from the input folder, processes each through the Defapi API with Google's nano-banana model, monitors generation status, and uploads finished photos to the output folder. Perfect for HR departments, recruitment agencies, or anyone needing professional ID photos in bulk.
Prerequisites
- A Defapi account and API key (Bearer token configured in n8n credentials): Sign up at Defapi.org
- An active n8n instance with Google Drive integration
- Google Drive account with two public folders:
- Input folder: Contains photos to be processed (must be set to public/anyone with the link)
- Output folder: Where enhanced photos will be saved (must be set to public/anyone with the link)
- Photos with clear faces (headshots or upper body shots work best)
Setup Instructions
1. Prepare Google Drive Folders
- Create two Google Drive folders:
- One for input photos (e.g.,
https://drive.google.com/drive/folders/xxxxxxx) - One for output photos (e.g.,
https://drive.google.com/drive/folders/yyyyyy)
- One for input photos (e.g.,
- Important: Make both folders public (set sharing to "Anyone with the link can view")
- Right-click folder → Share → Change "Restricted" to "Anyone with the link"
- Upload photos to the input folder (supported formats:
.jpg,.jpeg,.png,.webp)
2. Configure n8n Credentials
- Defapi API: Add HTTP Bearer Auth credential with your Defapi API token (credential name: "Defapi account")
- Google Drive: Connect your Google Drive OAuth2 account (credential name: "Google Drive account"). See https://docs.n8n.io/integrations/builtin/credentials/google/oauth-generic/
3. Run the Workflow
- Execute the workflow in n8n
- Access the form submission URL
- Fill in the form:
- Google Drive - Input Folder URL: Paste your input folder URL
- Google Drive - Output Folder URL: Paste your output folder URL
- Prompt (optional): Customize the AI generation prompt or leave blank to use the default
4. Monitor Progress
The workflow will:
- Fetch all images from the input folder
- Process each image through the AI model
- Wait for generation to complete (checks every 10 seconds)
- Download and upload enhanced photos to the output folder
Workflow Structure
The workflow consists of the following nodes:
- On form submission (Form Trigger) - Collects Google Drive folder URLs and optional prompt
- Search files and folders (Google Drive) - Retrieves all files from the input folder
- Code in JavaScript (Code Node) - Prepares image data and prompt for API request
- Send Image Generation Request to Defapi.org API (HTTP Request) - Submits generation request for each image
- Wait for Image Processing Completion (Wait Node) - Waits 10 seconds before checking status
- Obtain the generated status (HTTP Request) - Polls API for completion status
- Check if Image Generation is Complete (IF Node) - Checks if status is not "pending"
- Format and Display Image Results (Set Node) - Formats result with markdown and image URL
- HTTP Request (HTTP Request) - Downloads the generated image file
- Upload file (Google Drive) - Uploads the enhanced photo to the output folder
Default Prompt
The workflow uses this professional ID photo generation prompt by default:
Create a professional portrait suitable for ID documentation with proper spacing and composition.

Framing: Include the full head, complete shoulder area, and upper torso. Maintain generous margins around the subject without excessive cropping.

Outfit: Transform the existing attire into light business-casual clothing appropriate for the individual's demographics and modern style standards. Ensure the replacement garment appears natural, properly tailored, and complements the subject's overall presentation (such as professional shirt, refined blouse, contemporary blazer, or sophisticated layered separates).

Pose & Gaze: Position shoulders square to the camera, maintaining perfect frontal alignment. Direct the gaze straight ahead into the lens at identical eye height, avoiding any angular deviation in vertical or horizontal planes.

Expression: Display a professional neutral demeanor or subtle closed-lip smile that conveys confidence and authenticity.

Background: Utilize a solid, consistent light gray photographic background (color code: #d9d9d9) without any pattern, texture, or tonal variation.

Lighting & Quality: Apply balanced studio-quality illumination eliminating harsh contrast or reflective artifacts. Deliver maximum resolution imagery with precise focus and accurate natural skin color reproduction.
Customization Tips for Different ID Photo Types
Based on the default prompt structure, here are specific customization points for different use cases:
1. Passport & Visa Photos
Key Requirements: Most countries require white or light-colored backgrounds, neutral expression, no smile.
Prompt Modifications:
- Background: Change to
Plain white background (#ffffff)orLight cream background (#f5f5f5) - Expression: Change to
Completely neutral expression, no smile, mouth closed, serious but not tense - Framing: Add
Head size should be 70-80% of the frame height. Top of head to chin should be prominent - Outfit: Change to
Replace with dark formal suit jacket and white collared shirtorNavy blue blazer with light shirt - Additional: Add
No glasses glare, ears must be visible, no hair covering the face
2. Corporate Employee ID / Work Badge
Key Requirements: Professional but approachable, company-appropriate attire.
Prompt Modifications:
- Background: Use company color or standard
#e6f2ff(light blue),#f0f0f0(light gray) - Expression: Keep
Soft closed-mouth smile — confident and approachable - Outfit: Change to specific dress code:
- Corporate:
Dark business suit with tie for men, blazer with blouse for women - Tech/Startup:
Smart casual polo shirt or button-down shirt without tie - Creative:
Clean, professional casual clothing that reflects company culture
- Corporate:
- Framing: Use default or add
Upper chest visible with company badge area clear
3. University/School Student ID
Key Requirements: Friendly, youthful, appropriate for educational setting.
Prompt Modifications:
- Background: Use school colors or
Light blue (#e3f2fd),Soft gray (#f5f5f5) - Expression: Change to
Friendly natural smile or pleasant neutral expression - Outfit: Change to
Replace with clean casual clothing — collared shirt, polo, or neat sweater. No logos or graphics - Framing: Keep default
- Additional: Add
Youthful, fresh appearance suitable for educational environment
4. Driver's License / Government ID
Key Requirements: Strict standards, neutral expression, specific background colors.
Prompt Modifications:
- Background: Check local requirements — often
White (#ffffff),Light gray (#d9d9d9), orLight blue (#e6f2ff) - Expression: Change to
Neutral expression, no smile, mouth closed, eyes fully open - Outfit: Use
Replace with everyday casual or business casual clothing — collared shirt or neat top - Framing: Add
Head centered, face taking up 70-80% of frame, ears visible - Additional: Add
No glasses (or non-reflective lenses), no headwear except religious purposes, natural hair
5. Professional LinkedIn / Resume Photo
Key Requirements: Polished, confident, approachable.
Prompt Modifications:
- Background: Use
Soft gray (#d9d9d9)orProfessional blue gradient (#e3f2fd to #bbdefb) - Expression: Keep
Confident, warm smile — professional yet approachable - Outfit: Change to:
- Executive:
Premium business suit, crisp white shirt, tie optional - Professional:
Tailored blazer over collared shirt or elegant blouse - Creative:
Smart business casual with modern, well-fitted clothing
- Executive:
- Framing: Change to
Show head, full shoulders, and upper chest. Slightly more relaxed framing than strict ID photo - Lighting: Add
Soft professional lighting with slight catchlight in eyes to appear engaging
6. Medical/Healthcare Professional Badge
Key Requirements: Clean, trustworthy, professional medical appearance.
Prompt Modifications:
- Background: Use
Clinical white (#ffffff)orSoft medical blue (#e3f2fd) - Expression: Change to
Calm, reassuring expression with gentle smile - Outfit: Change to
Replace with clean white lab coat over professional attireorMedical scrubs in appropriate color (navy, ceil blue, or teal) - Additional: Add
Hair neatly pulled back if long, clean professional appearance, no flashy jewelry
7. Gym/Fitness Membership Card
Key Requirements: Casual, recognizable, suitable for athletic environment.
Prompt Modifications:
- Background: Use
Bright white (#ffffff)or gym brand color - Expression: Change to
Natural friendly smile or neutral athletic expression - Outfit: Change to
Replace with athletic wear — sports polo, performance t-shirt, or athletic jacket in solid colors - Framing: Keep default
- Additional: Add
Casual athletic appearance, hair neat
General Customization Parameters
Background Color Options:
- White:
#ffffff(passport, visa, formal government IDs) - Light gray:
#d9d9d9(default, versatile for most purposes) - Light blue:
#e6f2ff(corporate, professional) - Cream:
#f5f5dc(warm professional) - Soft blue-gray:
#eceff1(modern corporate)
Expression Variations:
- Strict Neutral: "Completely neutral expression, no smile, mouth closed, serious but relaxed"
- Soft Smile: "Very soft closed-mouth smile — confident and natural" (default)
- Friendly Smile: "Warm natural smile with slight teeth showing — approachable and professional"
- Calm Professional: "Calm, composed expression with slight pleasant demeanor"
Clothing Formality Levels:
- Formal: "Dark suit, white dress shirt, tie for men / tailored suit or blazer with professional blouse for women"
- Business Casual (default): "Light business-casual outfit — clean shirt/blouse, lightweight blazer, or smart layers"
- Smart Casual: "Collared shirt, polo, or neat sweater in solid professional colors"
- Casual: "Clean, neat casual top — solid color t-shirt, casual button-down, or simple blouse"
Framing Adjustments:
- Tight Crop: "Head and shoulders only, face fills 80% of frame" (passport style)
- Standard Crop (default): "Entire head, full shoulders, and upper chest with balanced space"
- Relaxed Crop: "Head, shoulders, and chest visible, with more background space for professional portraits"