
Send personalized HTML welcome emails to new Xero contacts via SMTP

Workflow preview
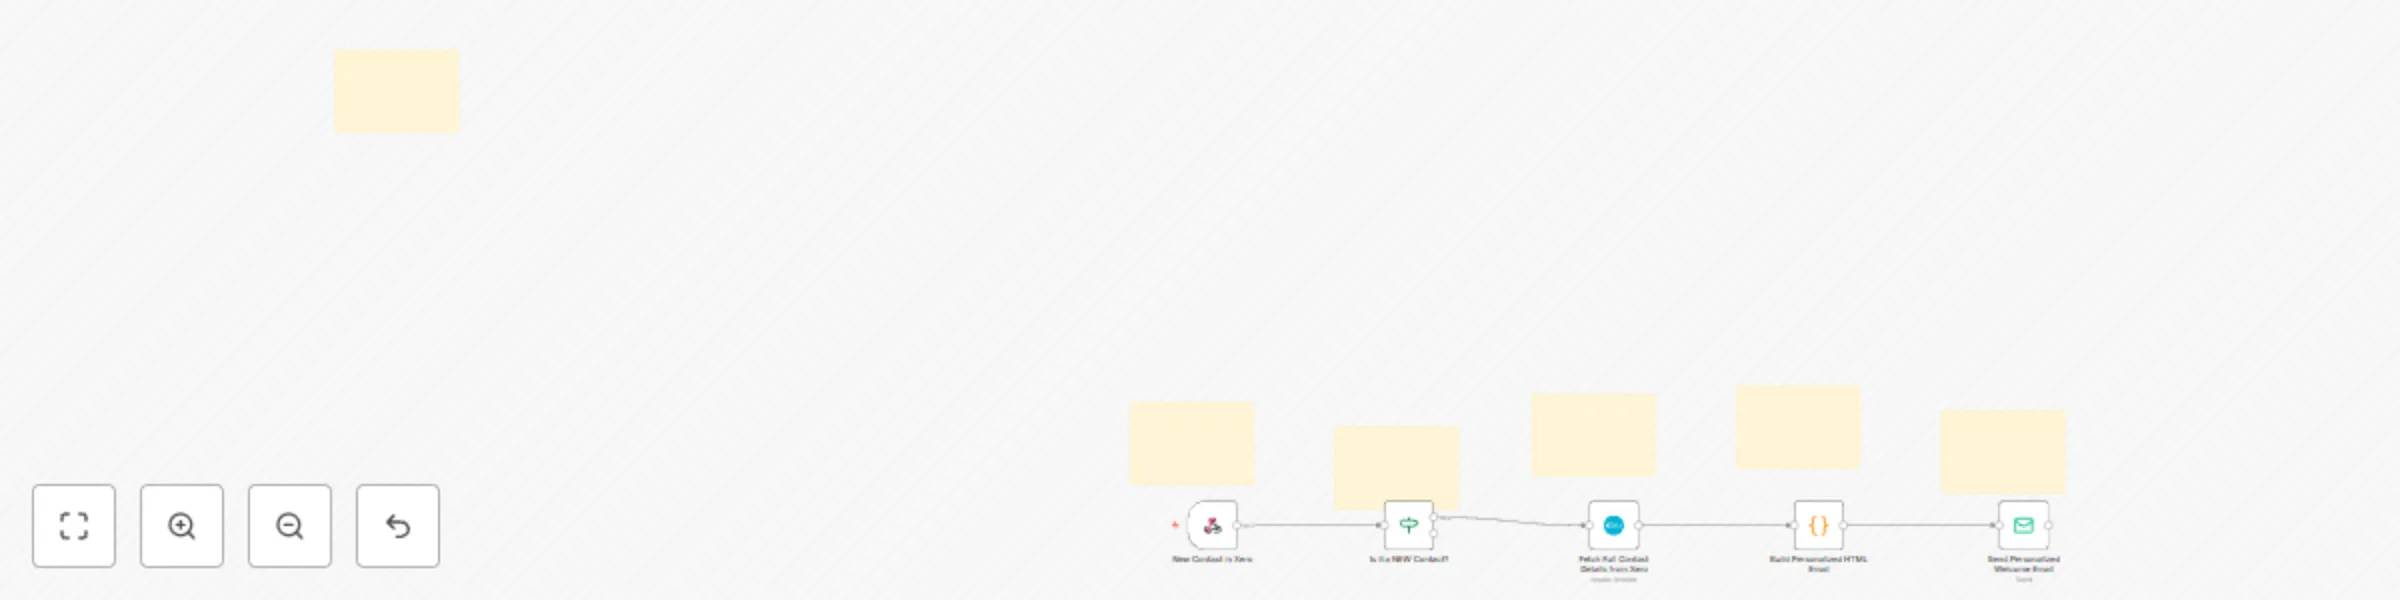
Workflow preview
100%
Send personalized HTML welcome emails to new Xero contacts via SMTP preview
Open on n8n.io

Important notice

This workflow is provided as-is. Please review and test before using in production.

1. Workflow Overview

Automated HTML Welcome Email for New Xero Contacts Crafted with ️ by the automation experts at Elegant BizTech . Summary This workflow automatically sends a beau...

Best for

  • Social Media automation workflows
  • Multimodal AI automation workflows
  • intermediate n8n builders looking for reusable templates

Tools used

n8n-nodes-base.emailsend, n8n-nodes-base.webhook, n8n-nodes-base.if, n8n-nodes-base.xero, n8n-nodes-base.code, n8n-nodes-base.stickynote

Source and attribution

This workflow is cataloged by N8N Workflows and links back to its original n8n.io source page by Elegant Biztech.

Original n8n.io source

1.1 Workflow description

Title
Send personalized HTML welcome emails to new Xero contacts via SMTP
Workflow name
Send personalized HTML welcome emails to new Xero contacts via SMTP

Automated HTML Welcome Email for New Xero Contacts

Crafted with ❤️ by the automation experts at Elegant BizTech.

Summary

This workflow automatically sends a beautiful, personalized HTML welcome email to a new contact the moment they are created in your Xero account.

Description

First impressions matter. When you add a new client or customer to Xero, the opportunity to welcome them warmly and professionally is often missed. Manually sending welcome emails is time-consuming and inconsistent.

This workflow solves that problem by instantly triggering a customizable email that not only welcomes your new contact but also confirms the key details you have on file, building trust and starting the relationship on a high note.

What it does

  • Triggers when a new contact is created in Xero.
  • Filters to ensure it only runs for new contacts, not updates.
  • Fetches the full contact details (Name, Address, Phone) from Xero for personalization.
  • Builds a beautifully formatted HTML email using the contact's data.
  • Sends the final, personalized email to the new contact via your preferred SMTP service.

Setup Guide

Follow these steps carefully to configure this workflow for your own use.

IMPORTANT: Handling Xero Webhook Signatures

> Xero webhooks require a signature verification that the standard n8n Webhook node cannot perform directly. To solve this, this workflow is designed to be used with a simple proxy application.

> You must first set up a small Express.js (or similar) application on your own server/VPS.

> 1. This app receives the webhook from Xero and verifies the signature.

> 2. Once verified, it forwards the clean JSON payload to the n8n Webhook URL.

> The first node in this workflow, Start: New Contact in Xero, contains the URL where your proxy app should send the data.

Step 1: Credentials

This workflow requires two sets of credentials.

  • (Node: Fetch Full Contact Details from Xero) Xero Account:

    1. Select the Fetch Full Contact Details from Xero node.
    2. In the Credential for Xero API field, select your existing credential or click Create New to connect your Xero account to n8n.
  • (Node: Send Personalized Welcome Email) SMTP Account:

    1. Select the Send Personalized Welcome Email node.
    2. In the Credential for SMTP field, select your existing credential or click Create New to connect your email provider (e.g., Gmail, Outlook, SendGrid) to n8n.

Step 2: Customize Your Email Template

This is where you make the email your own!

  1. Select the Build Personalized HTML Email (Code) node.
  2. Inside the code editor, you'll need to update the following placeholders:
    • Line 35: Change https://yourdomain.com/images/logo.png to the direct URL of your company's logo.
    • Line 47: Change https://yourdomain.com/ to the link you want the main call-to-action button to go to (e.g., your website or a client portal).
    • Line 53: Change [email protected] to your company's support email address.
    • Line 54: Change [Your Company Name] to your actual company name.

Step 3: Activate Your Workflow

  1. Click the Active toggle in the top-right corner of the n8n canvas.
  2. Save the workflow.

Now, go to your Xero account, create a new contact, and watch the magic happen! A beautiful, personalized email will be sent automatically.


Need Help or More Advanced Workflows?

At Elegant BizTech, we specialize in creating powerful, custom automations that streamline your business processes.

1.2 Logical Blocks

This catalog entry is organized from the workflow JSON. The node-level section below shows the executable blocks available for review before importing the template.

2. Block-by-Block Analysis

Block 1 - Send Personalized Welcome Email

Type / Role
n8n-nodes-base.emailSend - emailSend
Config choices
Version 2.1

Block 2 - New Contact in Xero

Type / Role
n8n-nodes-base.webhook - webhook
Config choices
Version 2

Block 3 - Is it a NEW Contact?

Type / Role
n8n-nodes-base.if - if
Config choices
Version 2.2

Block 4 - Fetch Full Contact Details from Xero

Type / Role
n8n-nodes-base.xero - xero
Config choices
Version 1

Block 5 - Build Personalized HTML Email

Type / Role
n8n-nodes-base.code - code
Config choices
Version 2

Block 6 - Sticky Note

Type / Role
n8n-nodes-base.stickyNote - stickyNote
Config choices
Version 1

Block 7 - Sticky Note1

Type / Role
n8n-nodes-base.stickyNote - stickyNote
Config choices
Version 1

Block 8 - Sticky Note2

Type / Role
n8n-nodes-base.stickyNote - stickyNote
Config choices
Version 1

Block 9 - Sticky Note3

Type / Role
n8n-nodes-base.stickyNote - stickyNote
Config choices
Version 1

Block 10 - Sticky Note4

Type / Role
n8n-nodes-base.stickyNote - stickyNote
Config choices
Version 1

Block 11 - Sticky Note5

Type / Role
n8n-nodes-base.stickyNote - stickyNote
Config choices
Version 1

3. Summary Table

Workflow Send personalized HTML welcome emails to new Xero contacts via SMTP
Complexity intermediate
Nodes 11
Categories Social Media, Multimodal AI
Author Elegant Biztech
Published 19 Aug 2025

4. Reproducing the Workflow from Scratch

  1. 1. Download the workflow JSON

    Use the JSON export at /data/workflows/7587/7587.json as the source template for this automation.

  2. 2. Import the template into n8n

    Open n8n, import the downloaded JSON, and review each node before activating the workflow.

  3. 3. Configure credentials and variables

    Replace placeholder credentials, API keys, webhook URLs, account IDs, and environment-specific values with your own settings.

  4. 4. Test with sample data

    Run the workflow manually or in a staging workspace, inspect node output, and confirm downstream systems receive the expected data.

  5. 5. Activate and monitor

    Enable the workflow only after testing, then monitor executions, errors, and rate limits during the first production runs.

5. General Notes & Resources

Review imported nodes carefully before activation. This catalog entry is intended to help you inspect the workflow structure, understand required services, and find related templates faster.

Node names, credentials, schedules, webhook paths, and external service limits may need adjustment for your workspace.

Frequently asked questions

What does Send personalized HTML welcome emails to new Xero contacts via SMTP do?

Automated HTML Welcome Email for New Xero Contacts Crafted with ️ by the automation experts at Elegant BizTech . Summary This workflow automatically sends a beau...

What do I need before importing this workflow?

Review the workflow JSON, configure any required credentials in n8n, and test the automation in a safe workspace before using it in production.

Can I customize this workflow?

Yes. Use the block-by-block analysis and the downloadable JSON to inspect each node, then adjust credentials, prompts, schedules, filters, or destinations for your Social Media, Multimodal AI use case.



