
QuickBooks customer welcome emails with Google Sheets tracking

Workflow preview
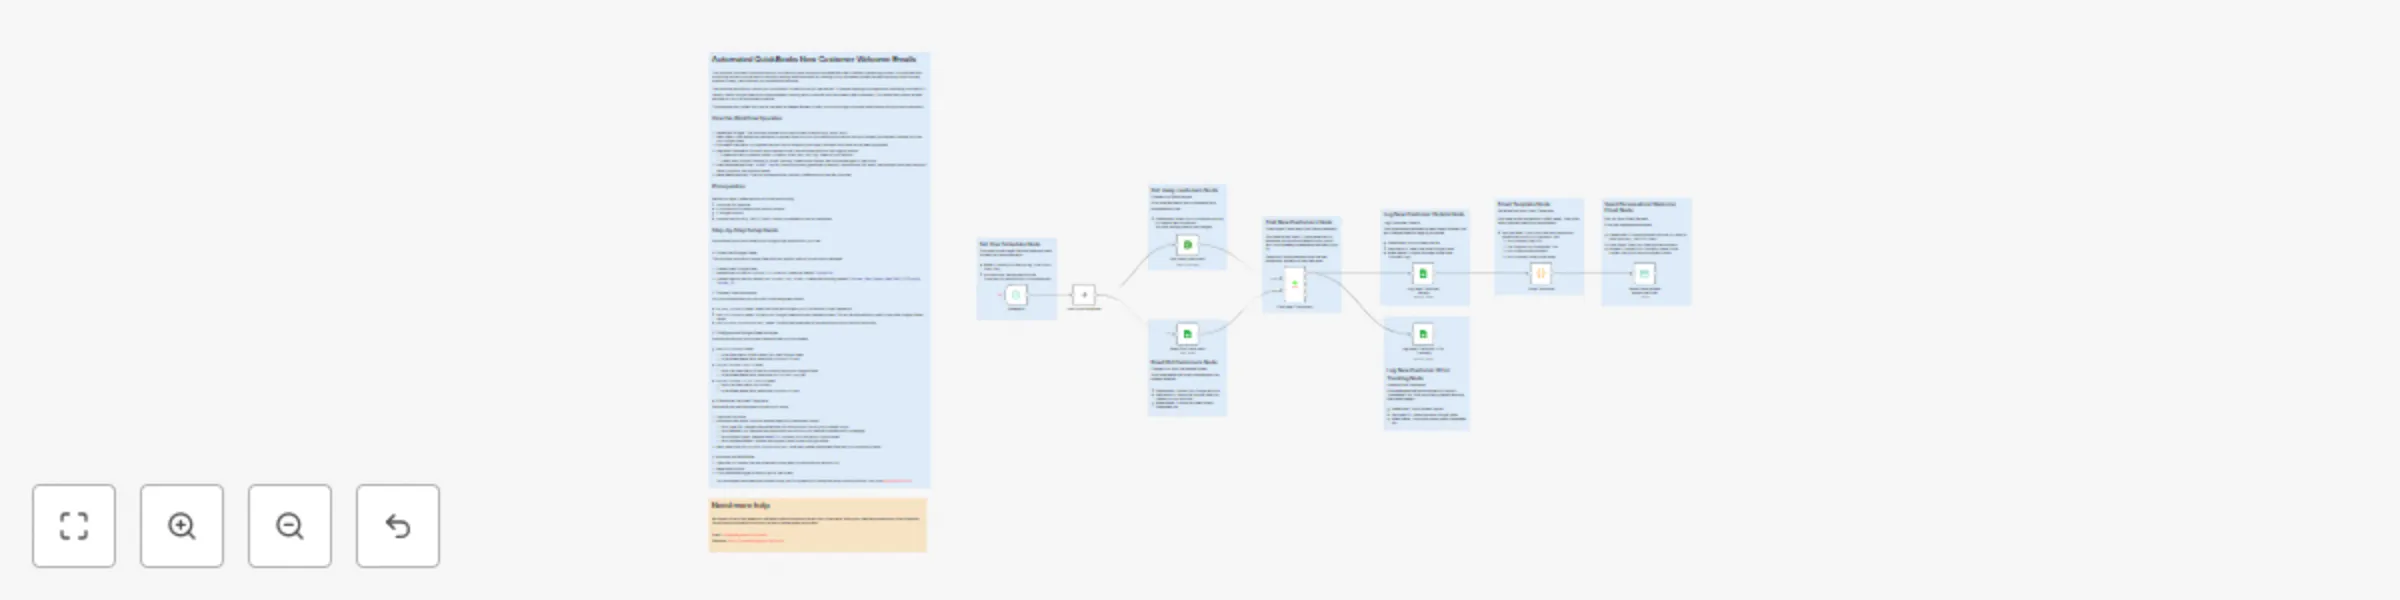
Workflow preview
100%
QuickBooks customer welcome emails with Google Sheets tracking preview
Open on n8n.io

Important notice

This workflow is provided as-is. Please review and test before using in production.

1. Workflow Overview

Automated QuickBooks New Customer Welcome Emails This workflow provides a robust solution for QuickBooks users looking to automate their new customer onboarding process. It solves the time consumin...

Best for

  • Social Media automation workflows
  • advanced n8n builders looking for reusable templates

Tools used

n8n-nodes-base.quickbooks, n8n-nodes-base.noop, n8n-nodes-base.googlesheets, n8n-nodes-base.scheduletrigger, n8n-nodes-base.stickynote, n8n-nodes-base.code, n8n-nodes-base.comparedatasets, n8n-nodes-base.emailsend

Source and attribution

This workflow is cataloged by N8N Workflows and links back to its original n8n.io source page by Elegant Biztech.

Original n8n.io source

1.1 Workflow description

Title
QuickBooks customer welcome emails with Google Sheets tracking
Workflow name
QuickBooks customer welcome emails with Google Sheets tracking

Automated QuickBooks New Customer Welcome Emails

This workflow provides a robust solution for QuickBooks users looking to automate their new customer onboarding process. It solves the time-consuming and error-prone task of manually sending welcome emails by creating a fully automated system that ensures every new customer receives a timely, personalized, and professional welcome.

The workflow periodically checks your QuickBooks Online account for new entries. To prevent sending duplicate emails to existing customers, it cleverly uses a Google Sheet as a simple database, tracking every customer who has already been contacted. This makes the process reliable and safe to run on an automated schedule.

This template was crafted with care by the team at Elegant Biztech to help you build stronger customer relationships through smart automation.

How the Workflow Operates

  1. Scheduled Trigger: The workflow initiates on a customizable schedule (e.g., every hour).
  2. Fetch Data: It simultaneously fetches all customer data from your QuickBooks account and the list of already-processed customer IDs from your Google Sheet.
  3. Find New Customers: It compares the two lists to isolate only the new customers who have not yet been processed.
  4. Log New Customers: For each new customer found, the workflow performs two logging actions:
    • It appends their full details (Name, Company, Email, etc.) to a "log" sheet for your records.
    • It adds their unique Customer ID to the "tracking" sheet to ensure they are not emailed again in the future.
  5. Craft Personalized Email: A Email Template node dynamically generates a beautiful, responsive HTML email, personalized with the customer's name, company, and location details.
  6. Send Welcome Email: The final node sends the uniquely crafted email to the new customer.

Prerequisites

Before you begin, please ensure you have the following:

  • An active n8n instance.
  • A QuickBooks Online account with API access.
  • A Google account.
  • An email service (e.g., SMTP, Gmail, Outlook) connected to n8n as credentials.

Step-by-Step Setup Guide

Follow these instructions carefully to configure the workflow for your use.

1. Create the Google Sheet

This workflow requires a Google Sheet with two specific tabs to function as its database.

  1. Create a new Google Sheet.
  2. Rename the first tab to Processed IDs. In cell A1, create the header: CustomerIds.
  3. Create a second tab and name it New Customer Logs. In row 1, create the following headers: Customer_Name, Company_Name, Email_ID, Phone_No, Customer_ID.

2. Connect Your Accounts

You must authenticate your accounts in the designated nodes.

  • Get many Customers node: Select this node and connect your QuickBooks Online credentials.
  • Read Old Customers node: Connect your Google Sheets account credentials here. This will be automatically used by the other Google Sheets nodes.
  • Send Personalized Welcome Email node: Connect the credentials for the email account you wish to send from.

3. Configure the Google Sheets Nodes

Point the workflow to the correct sheet and tabs you just created.

  • Read Old Customers node:
    • In the Document ID field, select your new Google Sheet.
    • In the Sheet Name field, select the Processed IDs tab.
  • Log New Customer Details node:
    • Verify the Document ID field is correctly set to your Google Sheet.
    • In the Sheet Name field, select the New Customer Logs tab.
  • Log New Customer ID for Tracking node:
    • Verify the Document ID is correct.
    • In the Sheet Name field, select the Processed IDs tab.

4. Customize the Email Template

Personalize the welcome email to match your brand.

  1. Open the Code node.
  2. Inside the code editor, find and replace these four placeholder values:
    • Your Logo URL: Replace the placeholder link with a public URL to your company's logo.
    • Your Website Link: Replace the placeholder with a link to your website's dashboard or homepage.
    • Your Support Email: Replace the mailto: link with your company's support email.
    • Your Company Name: Update the company name in the copyright footer.
  3. Next, select the Send Personalized Welcome Email node and update the Subject field with your company's name.

5. Activate the Workflow

  1. Open the Scheduler node to set the schedule for how often you want the workflow to run.
  2. Save the workflow.
  3. Click the Active toggle at the top right of the screen.

Your automated welcome email system is now live! For questions or to explore more custom solutions, visit us at elegantbiztech.com.

1.2 Logical Blocks

This catalog entry is organized from the workflow JSON. The node-level section below shows the executable blocks available for review before importing the template.

2. Block-by-Block Analysis

Block 1 - Get many customers

Type / Role
n8n-nodes-base.quickbooks - quickbooks
Config choices
Version 1

Block 2 - Start Both Branches

Type / Role
n8n-nodes-base.noOp - noOp
Config choices
Version 1

Block 3 - Read Old Customers

Type / Role
n8n-nodes-base.googleSheets - googleSheets
Config choices
Version 3

Block 4 - Scheduler

Type / Role
n8n-nodes-base.scheduleTrigger - scheduleTrigger
Config choices
Version 1.1

Block 5 - Sticky Note

Type / Role
n8n-nodes-base.stickyNote - stickyNote
Config choices
Version 1

Block 6 - Sticky Note1

Type / Role
n8n-nodes-base.stickyNote - stickyNote
Config choices
Version 1

Block 7 - Sticky Note2

Type / Role
n8n-nodes-base.stickyNote - stickyNote
Config choices
Version 1

Block 8 - Sticky Note3

Type / Role
n8n-nodes-base.stickyNote - stickyNote
Config choices
Version 1

Block 9 - Sticky Note4

Type / Role
n8n-nodes-base.stickyNote - stickyNote
Config choices
Version 1

Block 10 - Sticky Note5

Type / Role
n8n-nodes-base.stickyNote - stickyNote
Config choices
Version 1

Block 11 - Sticky Note6

Type / Role
n8n-nodes-base.stickyNote - stickyNote
Config choices
Version 1

Block 12 - Email Template

Type / Role
n8n-nodes-base.code - code
Config choices
Version 2

Block 13 - Sticky Note7

Type / Role
n8n-nodes-base.stickyNote - stickyNote
Config choices
Version 1

Block 14 - Sticky Note8

Type / Role
n8n-nodes-base.stickyNote - stickyNote
Config choices
Version 1

Block 15 - Sticky Note9

Type / Role
n8n-nodes-base.stickyNote - stickyNote
Config choices
Version 1

Block 16 - Find New Customers

Type / Role
n8n-nodes-base.compareDatasets - compareDatasets
Config choices
Version 2.3

Block 17 - Log New Customer Details

Type / Role
n8n-nodes-base.googleSheets - googleSheets
Config choices
Version 3

Block 18 - Log New Customer ID for Tracking

Type / Role
n8n-nodes-base.googleSheets - googleSheets
Config choices
Version 3

Block 19 - Send Personalized Welcome Email

Type / Role
n8n-nodes-base.emailSend - emailSend
Config choices
Version 2.1

3. Summary Table

Workflow QuickBooks customer welcome emails with Google Sheets tracking
Complexity advanced
Nodes 19
Categories Social Media
Author Elegant Biztech
Published 30 Jul 2025

4. Reproducing the Workflow from Scratch

  1. 1. Download the workflow JSON

    Use the JSON export at /data/workflows/6705/6705.json as the source template for this automation.

  2. 2. Import the template into n8n

    Open n8n, import the downloaded JSON, and review each node before activating the workflow.

  3. 3. Configure credentials and variables

    Replace placeholder credentials, API keys, webhook URLs, account IDs, and environment-specific values with your own settings.

  4. 4. Test with sample data

    Run the workflow manually or in a staging workspace, inspect node output, and confirm downstream systems receive the expected data.

  5. 5. Activate and monitor

    Enable the workflow only after testing, then monitor executions, errors, and rate limits during the first production runs.

5. General Notes & Resources

Review imported nodes carefully before activation. This catalog entry is intended to help you inspect the workflow structure, understand required services, and find related templates faster.

Node names, credentials, schedules, webhook paths, and external service limits may need adjustment for your workspace.

Frequently asked questions

What does QuickBooks customer welcome emails with Google Sheets tracking do?

Automated QuickBooks New Customer Welcome Emails This workflow provides a robust solution for QuickBooks users looking to automate their new customer onboarding process. It solves the time consumin...

What do I need before importing this workflow?

Review the workflow JSON, configure any required credentials in n8n, and test the automation in a safe workspace before using it in production.

Can I customize this workflow?

Yes. Use the block-by-block analysis and the downloadable JSON to inspect each node, then adjust credentials, prompts, schedules, filters, or destinations for your Social Media use case.



