fluidX THE EYE — Create & invite via SMS for live camera session
Workflow preview


 Early Deal
DISCOUNT 20%

Important notice
This workflow is provided as-is. Please review and test before using in production.
Overview
Setup & Instructions — fluidX: Create Session, Analyze & Notify
Goal:
This workflow demonstrates the full fluidX THE EYE integration — starting a live session, inviting both the customer (via SMS) and the service agent (via email), and then accessing the media (photos and videos) created during the session.
Captured images are automatically analyzed with AI, uploaded to an external storage (such as Google Drive), and a media summary for the session is generated at the end.
- The agent receives an email with a link to join the live session.
- The customer receives an SMS with a link to start sharing their camera.
- Once both are connected, the agent can view the live feed, and the system automatically stores uploaded images and videos in Google Drive.
- When the session ends, the workflow collects all media and creates a complete AI-powered session summary (stored and updated in Google Drive).
Below is an example screenshot from the customer’s phone:
Prerequisites
- Developer account: https://live.fluidx.digital (activate the TEST plan, €0)
- API docs (Swagger): fluidX.digital API
🔐 Required Credentials
1️⃣ fluidX API key (HTTP Header Auth)
• Credential name in n8n: fluidx API key
• Header name: x-api-key
• Header value: YOUR_API_KEY
2️⃣ SMTP account (for outbound email)
• Credential name in n8n: SMTP account
• Configure host, port, username, and password according to your provider
• Enable TLS/SSL as required
3️⃣ Google Drive account
• Used to store photos, videos, and automatically update the session summary files.
4️⃣ OpenAI API (for AI analysis & summary) •Used in the Analyze Images (AI) and Generate Summary parts of the workflow. • Credential type: OpenAI • Credential name (suggested): OpenAI account • API Key: your OpenAI API key • Model: e.g. gpt-4.1, gpt-4o, or similar (choose in the OpenAI node settings)
⚙️ Configuration (in the “Set Config” node)
BASE_URL:https://live.fluidx.digitalcompany/project/billingcode/sku: adjust as neededemailAgent: set before running (empty in template)phoneNumberUser: set before running (empty in template)
Flow Overview
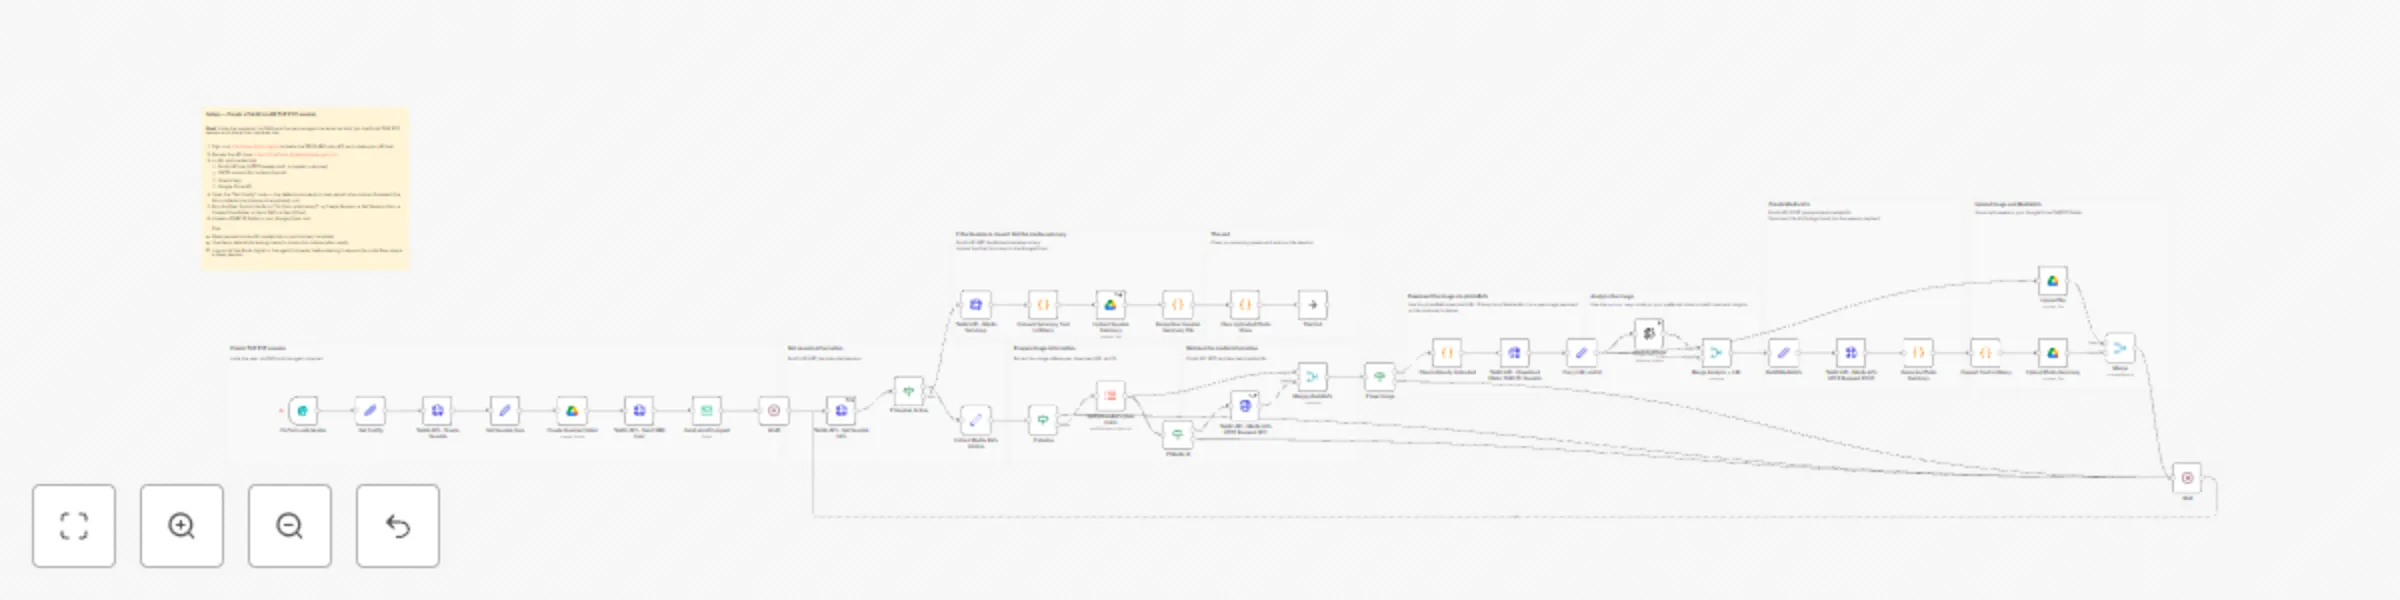
Form Trigger → Create Session → Set Session Vars → Send SMS (User) → Send Email (Agent) → Monitor Media → Analyze Images (AI) → Upload Files to Google Drive → Generate Summary → Update Summary File
The workflow starts automatically when a Form submission is received.
Users enter the customer’s phone number and agent’s email, and the system creates a new fluidX THE EYE session.
As media is uploaded during the session, the workflow automatically retrieves, stores, analyzes, and summarizes it — providing a complete end-to-end automation example for remote inspection, support, or field-service use cases.
Notes
- Do not store real personal data inside the template.
- Manage API keys and secrets via n8n Credentials or environment variables.
- Log out of https://live.fluidx.digital in the agent’s browser before testing, to ensure a clean invite flow and session creation.