fluidX THE EYE — Create & invite via SMS for live camera session
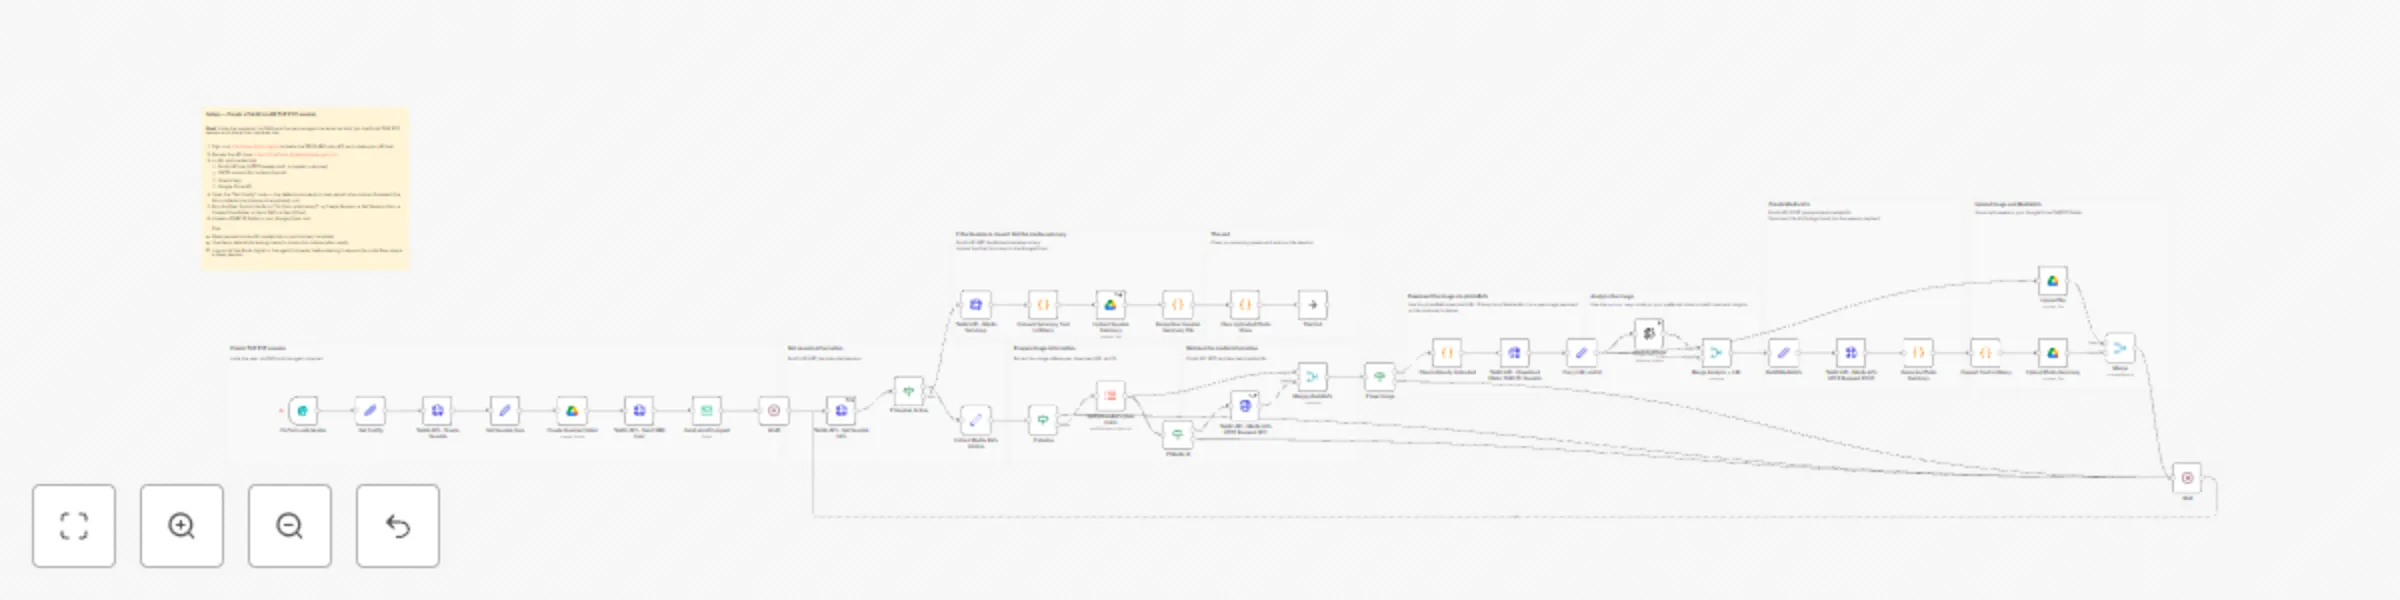
### Setup & Instructions — fluidX: Create Session, Analyze & Notify
**Goal:**
This workflow demonstrates the full **fluidX THE EYE** integration — starting a live session, inviting both the **customer** (via SMS) and the **service agent** (via email), and then accessing the media (photos and videos) created during the session.
Captured images are automatically analyzed with AI, uploaded to an external storage (such as **Google Drive**), and a media summary for the session is generated at the end.

- The **agent** receives an email with a link to join the live session.
- The **customer** receives an SMS with a link to start sharing their camera.
- Once both are connected, the agent can view the live feed, and the system automatically stores uploaded images and videos in Google Drive.
- When the session ends, the workflow collects all media and creates a complete AI-powered **session summary** (stored and updated in Google Drive).
Below is an example screenshot from the customer’s phone:

---
### Prerequisites
- **Developer account:** [https://live.fluidx.digital](https://live.fluidx.digital) (activate the **TEST plan**, €0)
- **API docs (Swagger):** [fluidX.digital API](https://live.fluidx.digital/api/swagger.html)
---
### 🔐 Required Credentials
**1️⃣ fluidX API key (HTTP Header Auth)**
• Credential name in n8n: `fluidx API key`
• Header name: `x-api-key`
• Header value: `YOUR_API_KEY`
**2️⃣ SMTP account (for outbound email)**
• Credential name in n8n: `SMTP account`
• Configure `host`, `port`, `username`, and `password` according to your provider
• Enable TLS/SSL as required
**3️⃣ Google Drive account**
• Used to store photos, videos, and automatically update the session summary files.
**4️⃣ OpenAI API (for AI analysis & summary)**
•Used in the Analyze Images (AI) and Generate Summary parts of the workflow.
• Credential type: OpenAI
• Credential name (suggested): OpenAI account
• API Key: your OpenAI API key
• Model: e.g. gpt-4.1, gpt-4o, or similar (choose in the OpenAI node settings)
---
### ⚙️ Configuration (in the “Set Config” node)
- `BASE_URL`: `https://live.fluidx.digital`
- `company` / `project` / `billingcode` / `sku`: adjust as needed
- `emailAgent`: **set before running** (empty in template)
- `phoneNumberUser`: **set before running** (empty in template)
---
### Flow Overview
`Form Trigger → Create Session → Set Session Vars → Send SMS (User) → Send Email (Agent) → Monitor Media → Analyze Images (AI) → Upload Files to Google Drive → Generate Summary → Update Summary File`
The workflow starts automatically when a **Form submission** is received.
Users enter the **customer’s phone number** and **agent’s email**, and the system creates a new **fluidX THE EYE session**.
As media is uploaded during the session, the workflow automatically retrieves, stores, analyzes, and summarizes it — providing a complete end-to-end automation example for remote inspection, support, or field-service use cases.
---
### Notes
- Do not store real personal data inside the template.
- Manage API keys and secrets via n8n **Credentials** or environment variables.
- Log out of [https://live.fluidx.digital](https://live.fluidx.digital) in the agent’s browser before testing, to ensure a clean invite flow and session creation.