Automate WordPress Elementor lead management with Excel CRM & email campaigns
Workflow preview


 Early Deal
DISCOUNT 20%

Important notice
This workflow is provided as-is. Please review and test before using in production.
Overview
Description
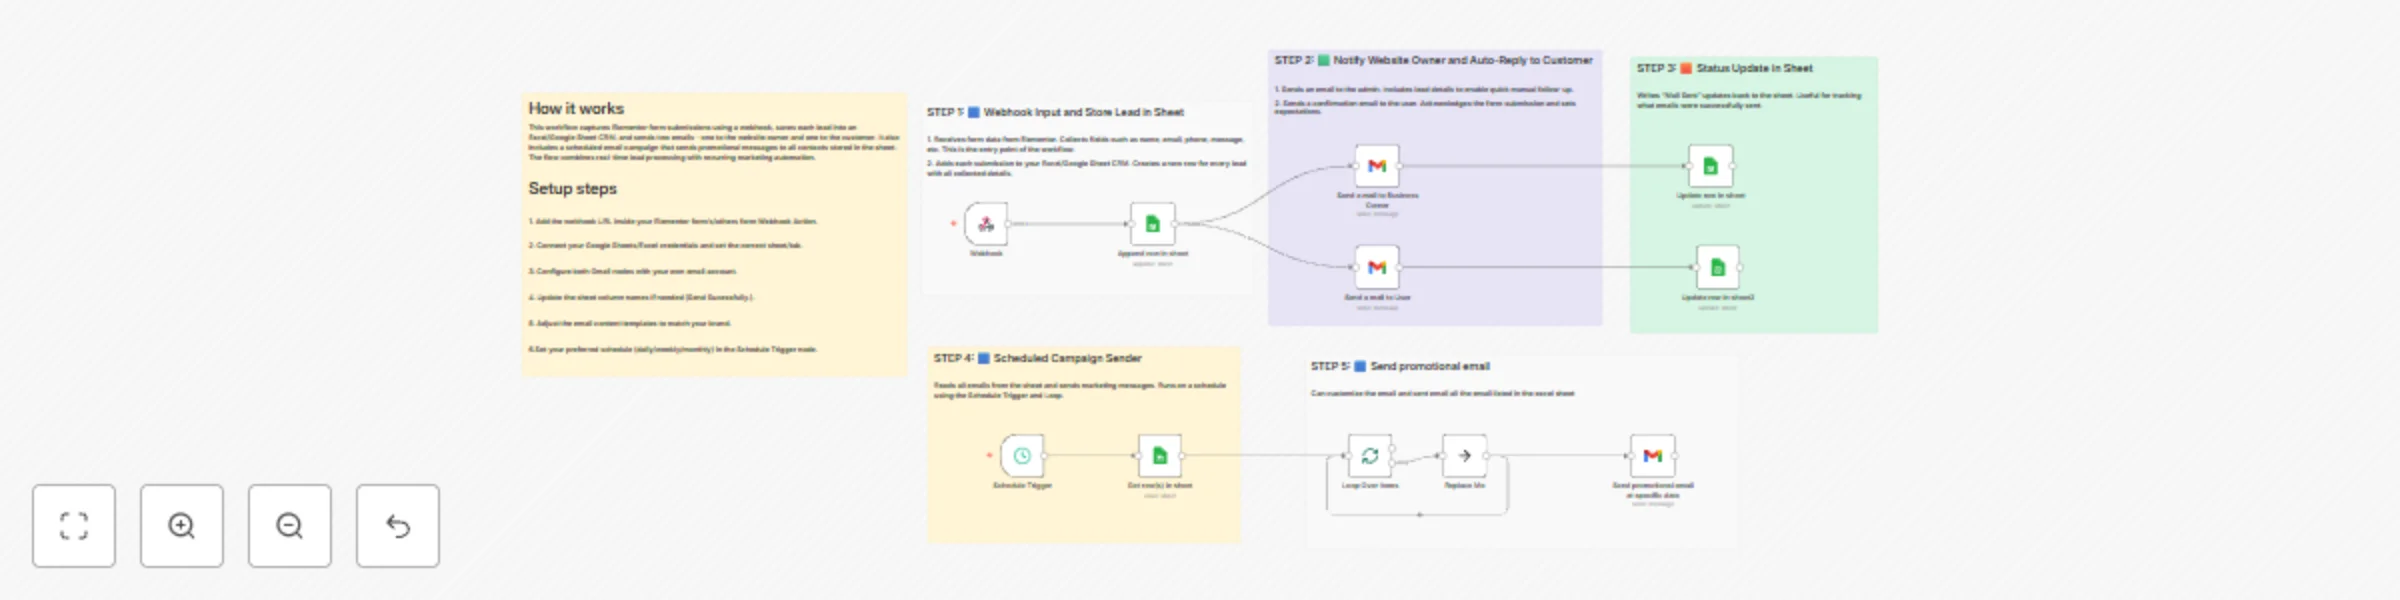
This workflow automates lead collection from WordPress Elementor Forms, stores form submissions in an Excel/Google Sheet CRM, sends emails to both admin and the customer, and also performs recurring promotional email campaigns.
Ideal for anyone using: Elementor Pro Form Widget Elementor-based WordPress websites Webhook-enabled contact forms This system replaces multiple plugins and services (Mailchimp, CRM plugins) with a simple, fully automated workflow.
🌐 What This Template Does 🟦 1. Captures Elementor Form Submissions
The workflow starts with a Webhook Trigger connected to your Elementor form’s “Webhook” action.
It collects: Name Email WhatsApp number Budget Project details Any custom field from Elementor
🟩 2. Saves Each Lead to Excel / Google Sheets
Using the Sheets/Excel node, every form submission is stored as a new row in your CRM sheet.
This helps you maintain: Lead database Contact history Budget details Customer inquiry info
🟧 3. Sends Notification Email to the Website Owner
A Gmail node sends a fully formatted email to the site admin with all submission details.
Useful for: Quick follow-up Lead tracking Team notifications
🟨 4. Sends Auto-Reply Email to Customer
A thank-you / confirmation email is automatically sent to the customer who submitted the Elementor form.
This creates: Professional communication Instant acknowledgment Trust and credibility
🟫 5. Updates Excel Sheet with Email Status
After sending each email (admin & customer), an update is written back to the Excel sheet:
“Owner Mail Sent: YES” “Customer Mail Sent: YES” or error logs if needed. This allows full auditability.
🟣 6. Scheduled Marketing Email Campaigns
A Schedule Trigger (daily/weekly/monthly) runs your promotional email batch.
It:
Reads email list from your Excel/Sheet Loops through each row Sends email using Gmail node Logs “Campaign Email Sent” for each contact This gives you a built-in email marketing engine using your CRM sheet as a source.
🟤 7. Loop + Gmail Email Sender
The workflow loops over each row and sends individual emails instead of bulk mailing.
Benefits: Higher inbox delivery Less spam detection Personalized messaging
🛠️ Use Cases
Elementor Pro Form submissions WordPress business or agency website Auto CRM creation in Excel/Google Sheets Auto-responses for submitted forms Monthly email campaigns Lead database + tracking Replace Mailchimp or CRM plugins
🚀 Features
100% No-code Works with Elementor Pro Webhook Easy to customize Full automation chain Reliable email notifications Marketing-ready system
📝 Tags
#wordpress #elementor #form #automation #webhook #excel #googlesheets #crm #leadmanagement #emailautomation #gmail #marketing #promotion #autoresponder #webflow #website #automation