Facebook Messenger Chatbot That Learns From Your Documents
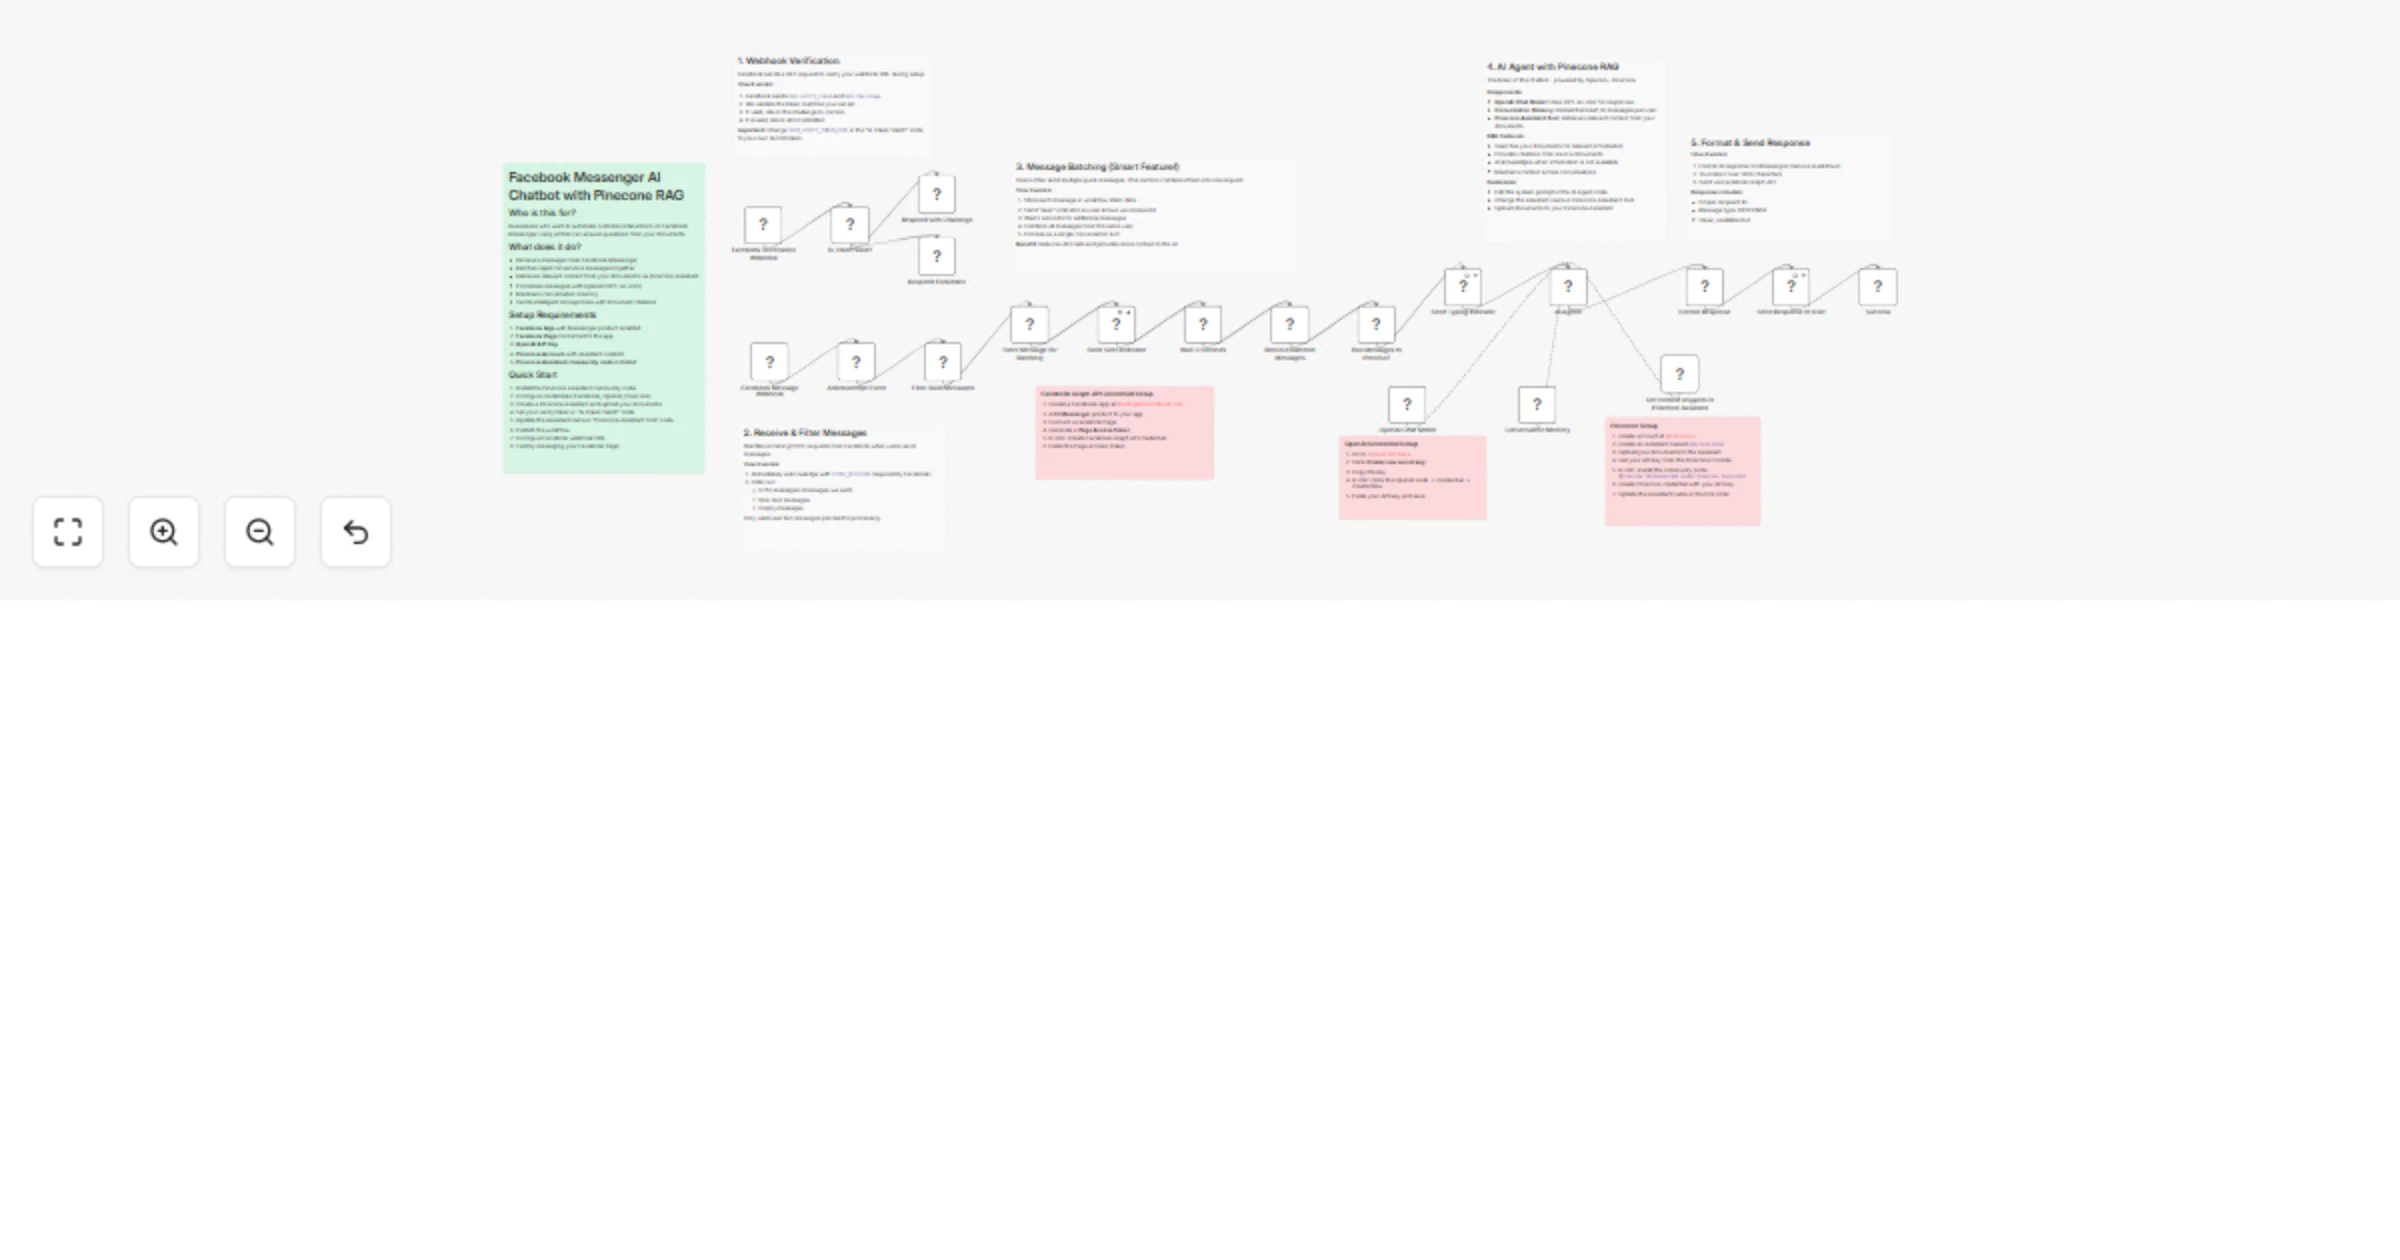
Workflow preview


 Early Deal
DISCOUNT 20%

Overview
Quickstart Guide: Facebook Messenger Chatbot with Pinecone RAG
Step-by-step instructions to get this workflow running in n8n.
Prerequisites
- Self-hosted n8n instance (v1.113.0+ recommended)
- Community nodes enabled in n8n
- Facebook Page (you must be an admin)
- OpenAI account
- Pinecone account (free Starter plan works)
Workflow Architecture
This workflow uses two webhooks with the same URL path but different HTTP methods:
| Webhook | Method | Purpose |
|---|---|---|
| Facebook Verification Webhook | GET | Handles Facebook's webhook verification |
| Facebook Message Webhook | POST | Receives incoming messages |
Both webhooks share the same URL: https://your-n8n.com/webhook/facebook-messenger-webhook
n8n automatically routes requests based on HTTP method:
- GET requests → Verification flow
- POST requests → Message processing flow
RAG Enhancement
User Message → Batching → AI Agent ─┬─ OpenAI Chat Model
 ├─ Conversation Memory
 └─ Pinecone Assistant Tool (RAG)
 │
 ▼
 Search your documents
 │
 ▼
 Answer with citations
Step 1: Install the Pinecone Assistant Community Node
The Pinecone Assistant node is a community node that must be installed separately.
- In n8n, go to Settings → Community Nodes
- Click Install a community node
- Enter:
@pinecone-database/n8n-nodes-pinecone-assistant - Click Install
- Restart n8n if prompted
> Note: Community nodes must be enabled in your n8n instance. For Docker, set N8N_COMMUNITY_PACKAGES_ALLOW_INSTALL=true.
Step 2: Create Pinecone Account & Assistant
2.1 Create Pinecone Account
- Go to Pinecone
- Sign up for a free account (Starter plan includes 100 files per assistant)
- Complete the onboarding
2.2 Create an Assistant
- In the Pinecone console, go to Assistants
- Click Create Assistant
- Name it
n8n-assistant(or choose your own name) - Select your preferred region
- Click Create
2.3 Upload Your Documents
- Click on your newly created assistant
- Go to the Files tab
- Click Upload Files
- Upload your documents (PDFs, text files, etc.)
- Wait for processing to complete
2.4 Get Your Pinecone API Key
- In the Pinecone console, click on your profile/account
- Go to API Keys
- Copy your API key (or create a new one)
Step 3: Get Your OpenAI API Key
- Go to OpenAI Platform
- Sign in with your OpenAI account
- Click Create new secret key
- Copy and save the API key
Step 4: Create Facebook App & Get Page Access Token
4.1 Create Facebook App
- Go to Facebook Developers
- Click My Apps → Create App
- Select Other → Next
- Select Business → Next
- Enter app name and contact email
- Click Create App
4.2 Add Messenger Product
- In your app dashboard, scroll to Add products to your app
- Find Messenger and click Set up
4.3 Connect Your Facebook Page
- In Messenger settings, find Access Tokens section
- Click Add or Remove Pages
- Select your Facebook Page and grant permissions
- Click Done
4.4 Generate Page Access Token
- Back in Messenger settings, find your page in the list
- Click Generate Token
- Copy and save the token
Step 5: Create Your Verify Token
The verify token is a secret string for Facebook webhook verification.
- Create a random string (e.g.,
my-secret-token-12345) - Save this value - you'll need it in Steps 7 and 10
Step 6: Create n8n Credentials
6.1 Pinecone Credential
- In n8n, go to Credentials → Add Credential
- Search for "Pinecone" (or "Pinecone API")
- Configure:
- Name:
Pinecone API - API Key: Paste your Pinecone API key from Step 2.4
- Click Save
6.2 OpenAI API Credential
- In n8n, go to Credentials → Add Credential
- Search for "OpenAI API"
- Configure:
- Name:
OpenAI API - API Key: Paste your OpenAI API key from Step 3
- Click Save
6.3 Facebook Graph API Credential
- In n8n, go to Credentials → Add Credential
- Search for "Facebook Graph API"
- Configure:
- Name:
Facebook Page Access Token - Access Token: Paste your Page Access Token from Step 4.4
- Click Save
Step 7: Import the Workflow
- In n8n, click Add Workflow → Import from File
- Select the
workflow.jsonfile from this folder - The workflow will open in the editor
7.1 Configure the Verify Token
- Find the "Is Token Valid?" node
- Click on the node to open its settings
- In the conditions, find Value 2 that shows
YOUR_VERIFY_TOKEN_HERE - Replace it with your verify token from Step 5
7.2 Configure the Pinecone Assistant Name
- Find the "Get context snippets in Pinecone Assistant" node
- Click on the node to open its settings
- Change Assistant Name from
n8n-assistantto your actual assistant name (from Step 2.2)
Step 8: Connect Credentials to Nodes
8.1 Connect Facebook Credential
Update these 3 nodes with your Facebook credential:
- Click on "Send Seen Indicator" → Select your
Facebook Page Access Tokencredential - Click on "Send Typing Indicator" → Select your
Facebook Page Access Tokencredential - Click on "Send Response to User" → Select your
Facebook Page Access Tokencredential
8.2 Connect OpenAI Credential
- Click on "OpenAI Chat Model" → Select your
OpenAI APIcredential
8.3 Connect Pinecone Credential
- Click on "Get context snippets in Pinecone Assistant" → Select your
Pinecone APIcredential
Step 9: Publish the Workflow
- Click Save to save the workflow
- Click the Publish button to make the workflow live
- Copy the webhook URL (e.g.,
https://your-n8n.com/webhook/facebook-messenger-webhook)
Step 10: Configure Facebook Webhook
- Go to Facebook Developers → Your App → Messenger Settings
- Find Webhooks section
- Click Add Callback URL
- Enter:
- Callback URL: Your n8n webhook URL from Step 9
- Verify Token: Same value from Step 5
- Click Verify and Save
- After verification, subscribe to webhook fields:
messages(required)messaging_postbacks(recommended)
Step 11: Test Your Chatbot
11.1 Add Test Users (if needed)
With Standard Access, only users with app roles can message the bot:
- Go to your Facebook App → App Roles → Roles
- Add users as Testers
- Those users must accept the invitation
11.2 Send a Test Message
- Open Facebook Messenger
- Search for your Facebook Page
- Try these test messages:
"Hello!"- Should get a friendly greeting"What information do you have?"- Should search your documents"Tell me about [topic in your docs]"- Should return relevant information with context
How Pinecone RAG Works
User asks: "What are your return policies?"
 │
 ▼
┌─────────────────────────┐
│ AI Agent receives msg │
└─────────┬───────────────┘
 │
 ▼
┌─────────────────────────┐
│ Calls Pinecone Tool │ → Searches your documents
└─────────┬───────────────┘
 │
 ▼
┌─────────────────────────┐
│ Gets relevant snippets │ ← "Return Policy.pdf: Items can be..."
└─────────┬───────────────┘
 │
 ▼
┌─────────────────────────┐
│ AI formulates answer │ → "According to our policy, items can be..."
└─────────────────────────┘
Troubleshooting
| Problem | Solution |
|---|---|
| "Pinecone Assistant Tool" not found | Ensure community node is installed (Step 1) |
| "No relevant information found" | Upload more documents to your Pinecone Assistant |
| Webhook verification fails | Check verify token matches in n8n and Facebook |
| No response from bot | Check n8n execution logs for errors |
| "Error validating access token" | Regenerate Page Access Token in Facebook |
| AI Agent not using Pinecone tool | After import, open the "AI Agent1" node, make a small edit to the system message (e.g., add a space), and save. This re-initializes the tool bindings. |
Customization
Change the AI Behavior
Edit the "AI Agent1" node's system message to:
- Adjust how it cites sources
- Change personality/tone
- Add specific instructions for your use case
Change the Assistant
Update the "Get context snippets in Pinecone Assistant" node to use a different assistant name.
Adjust Response Length
The workflow truncates responses to 1900 characters for Messenger. Edit the "Format Response" node to change this.