Beginner Workflows
Perfect for those new to n8n. Simple workflows with basic nodes and straightforward logic.
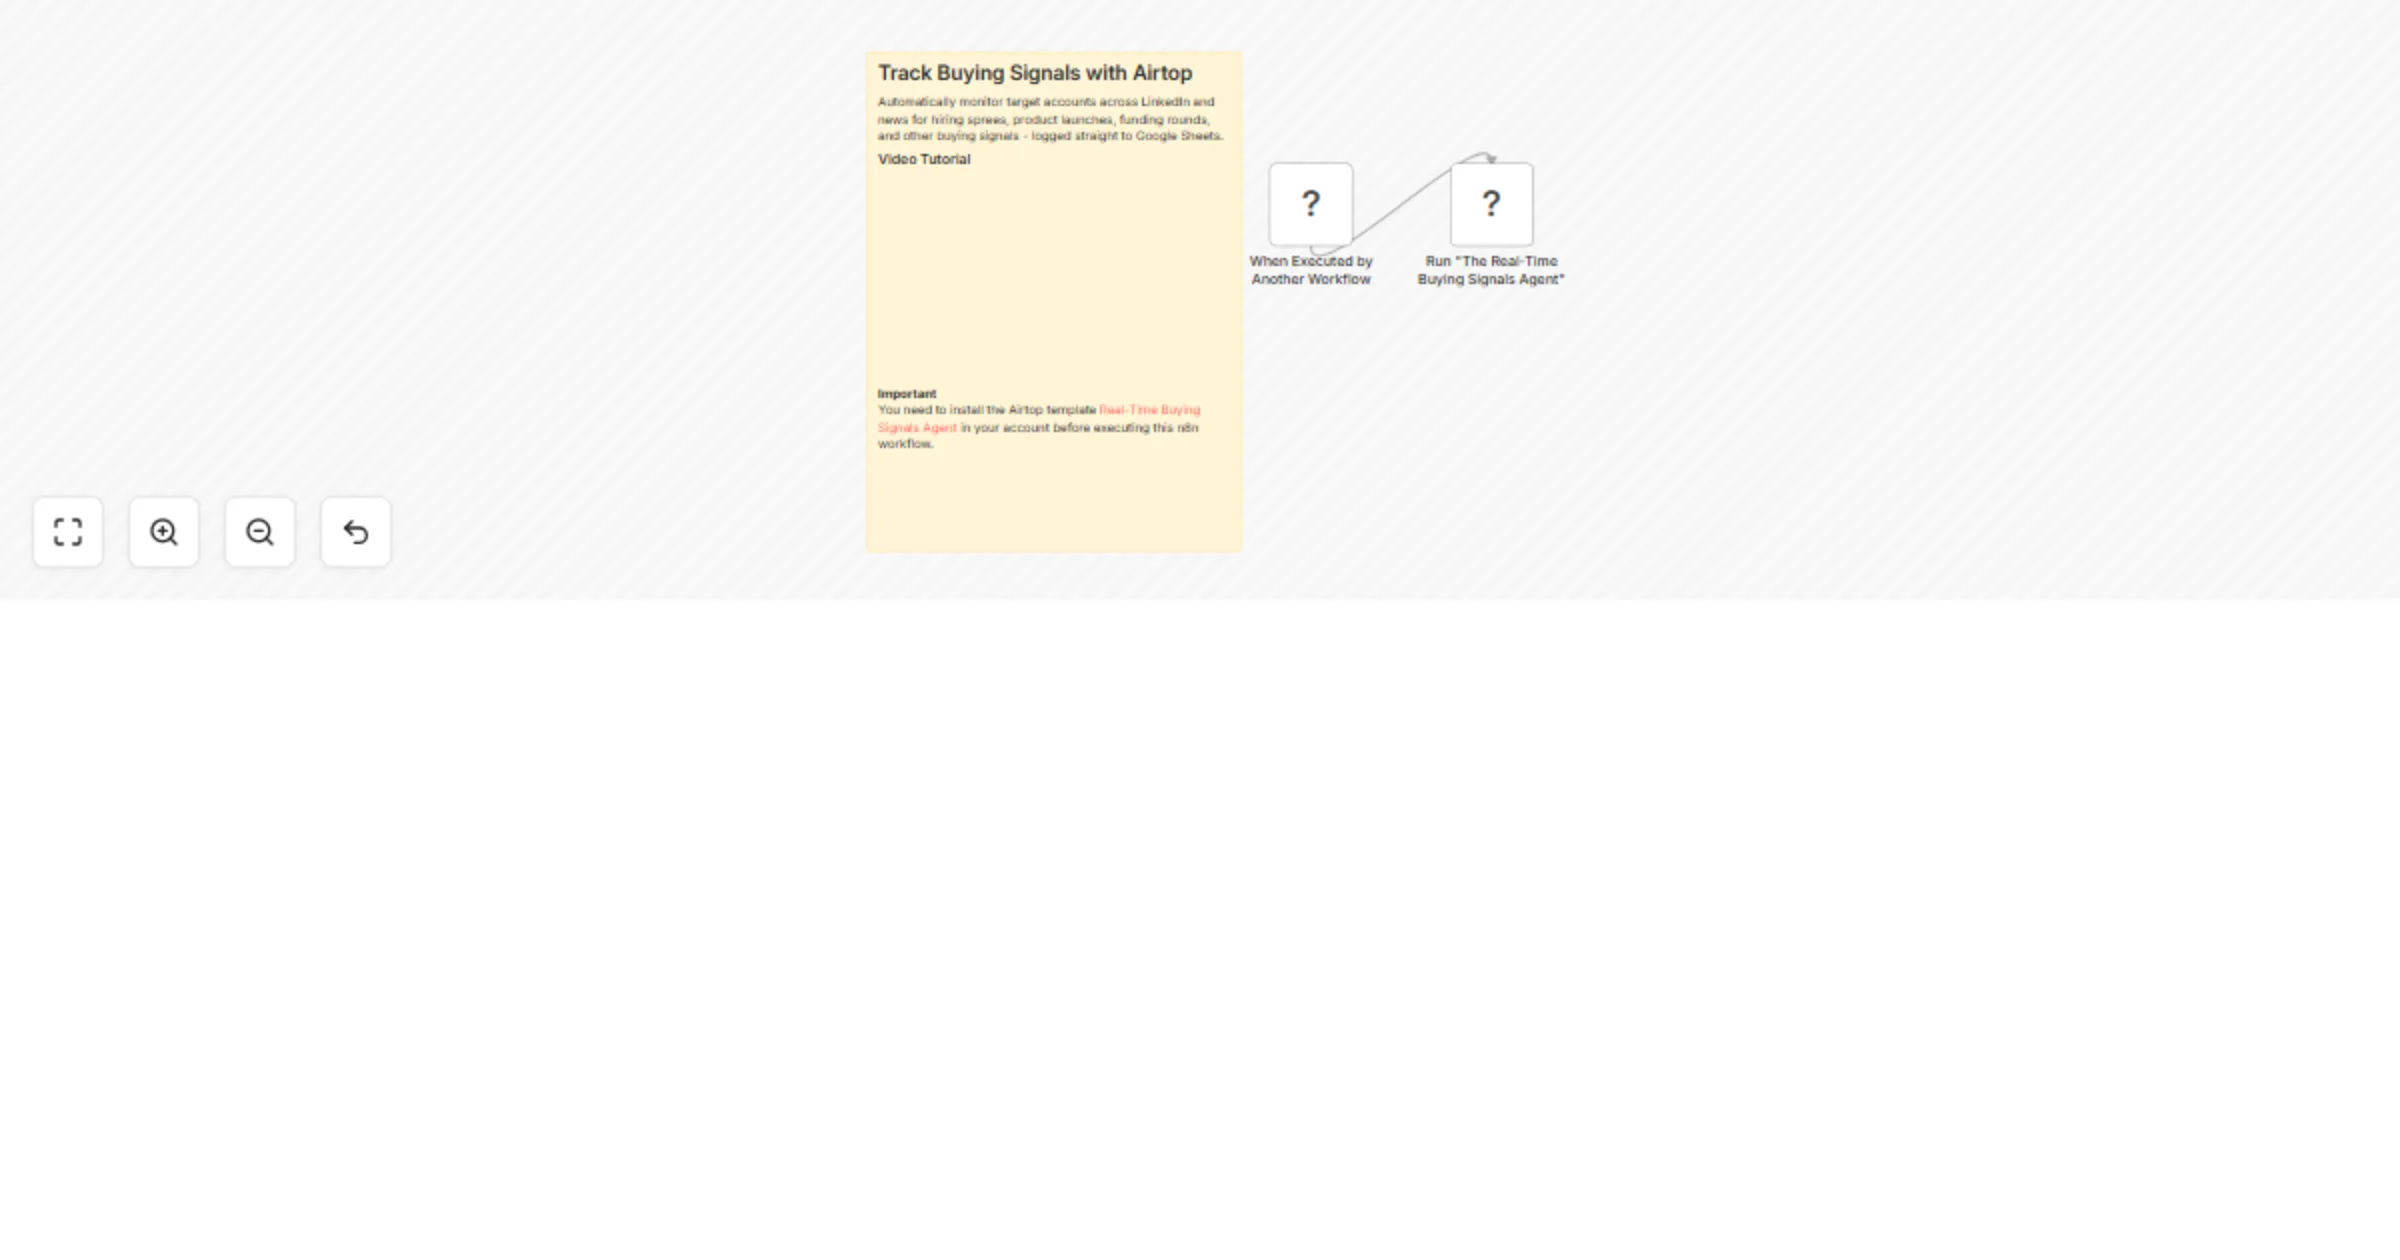
Track buying signals with Airtop and log them to Google Sheets
This powerful automation helps you stay ahead of the competition by identifying sales opportunities in real time. Her...
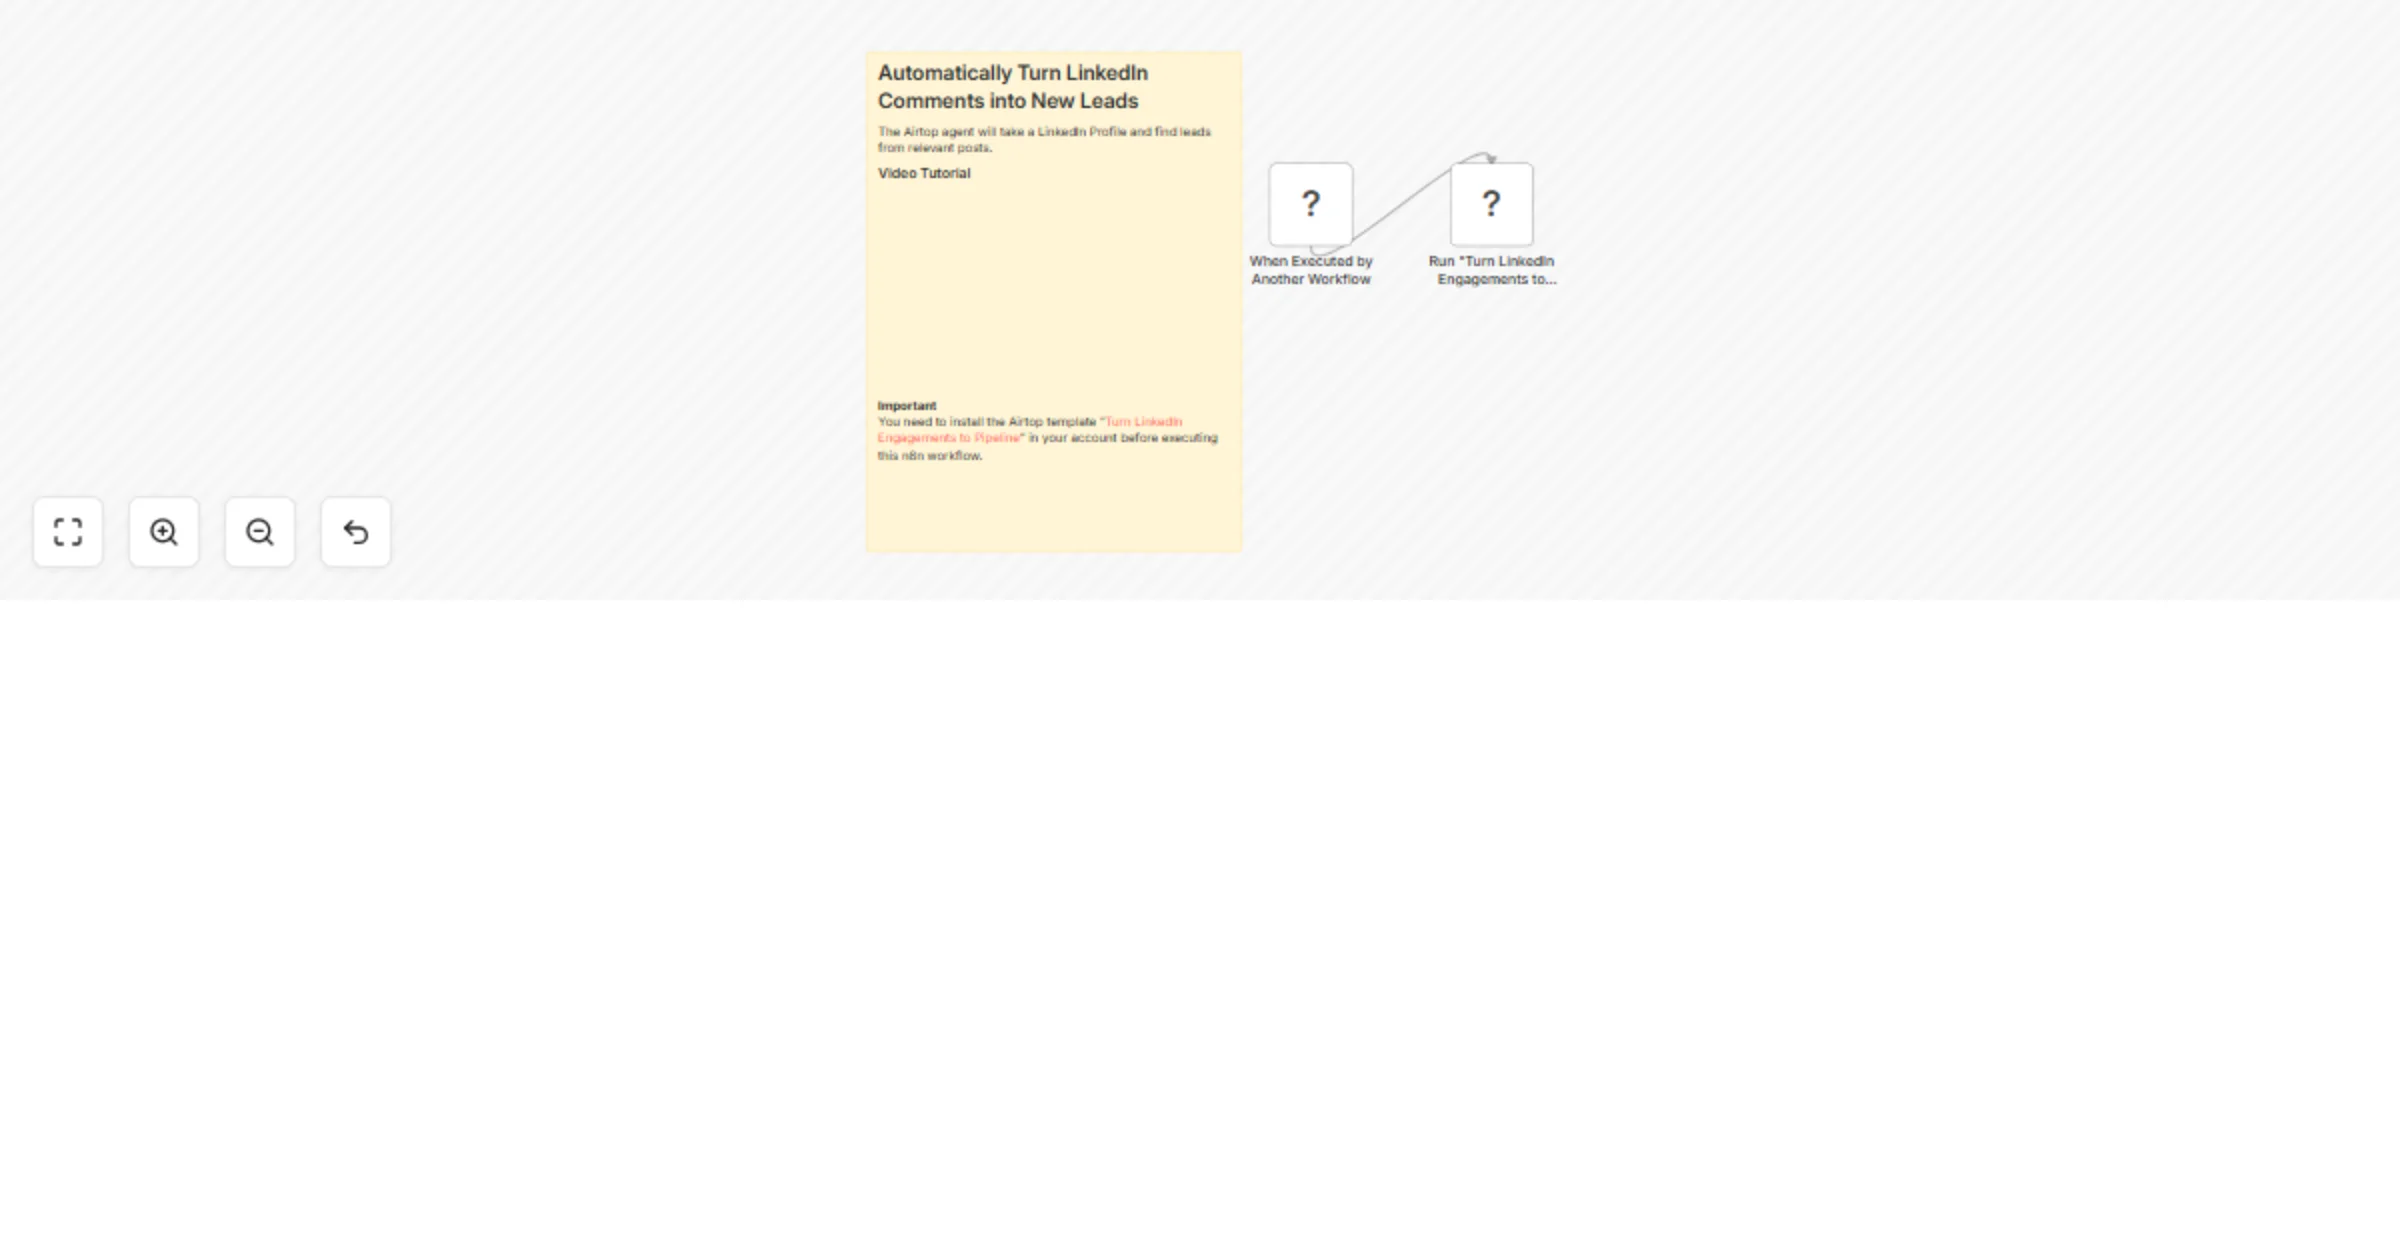
Find leads from LinkedIn posts using Airtop agents
This templates connects to an Airtop agent to find leads from LinkedIn posts Use Cases Build a targeted outreach list...

Automate user creation & access group assignment in Curseduca
📘 Curseduca – User Creation & Access Group Assignment How it works This workflow automates the process of creating a...
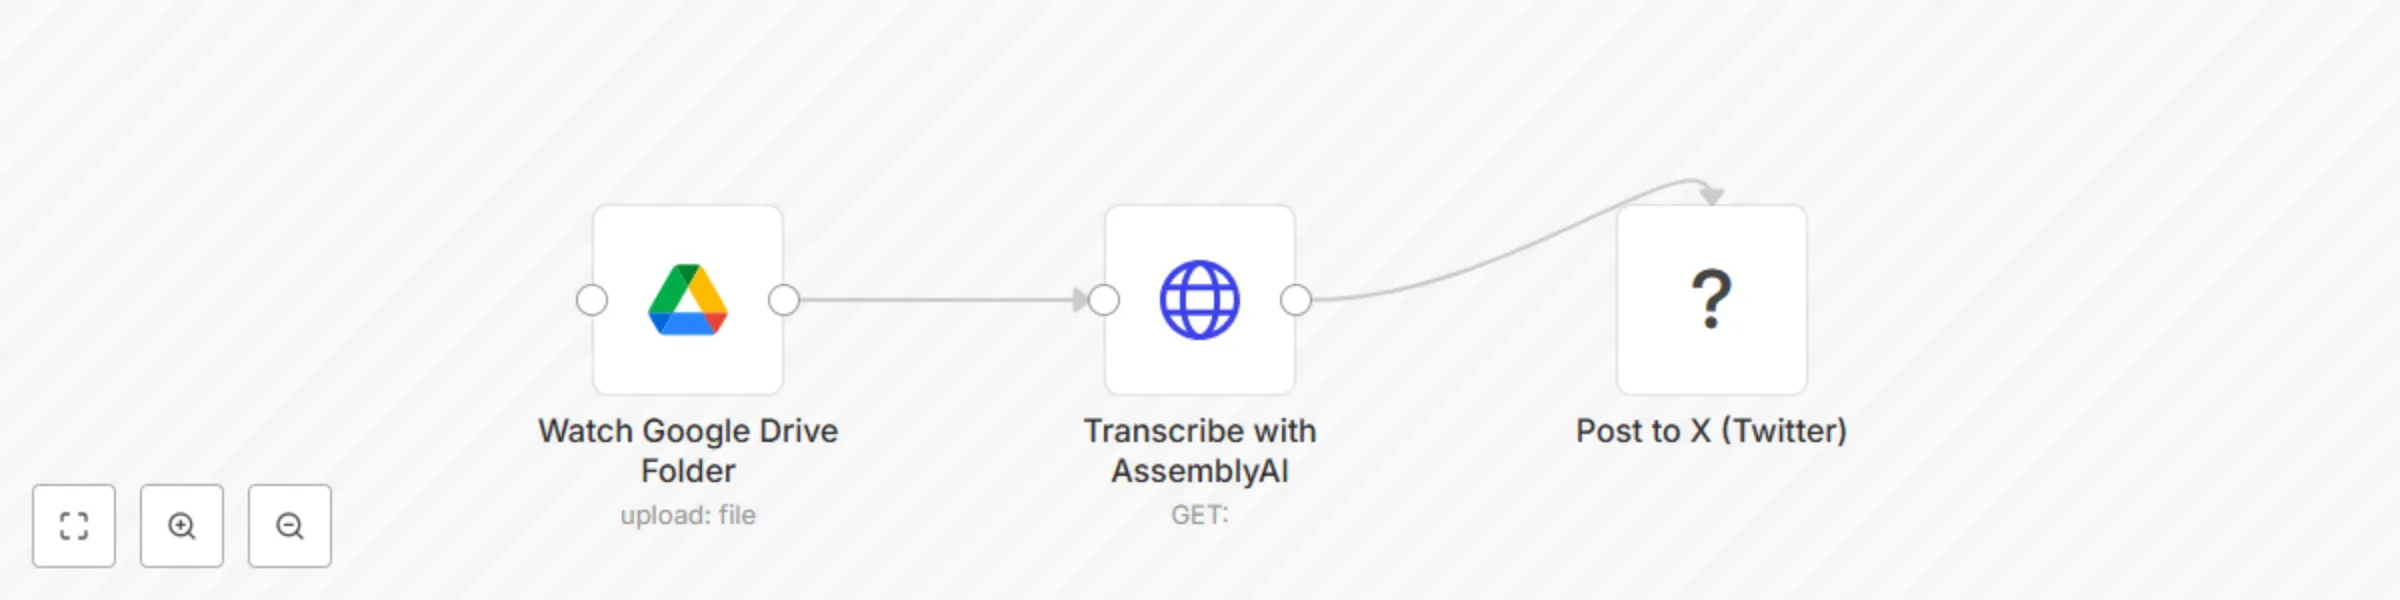
🎙️ Convert voice notes to X posts with Google Drive and AssemblyAI
🎙️ Voice Note to Tweet: Turn Audio Ideas into X Posts with n8n A lean, 3 node automation that turns voice memos into...
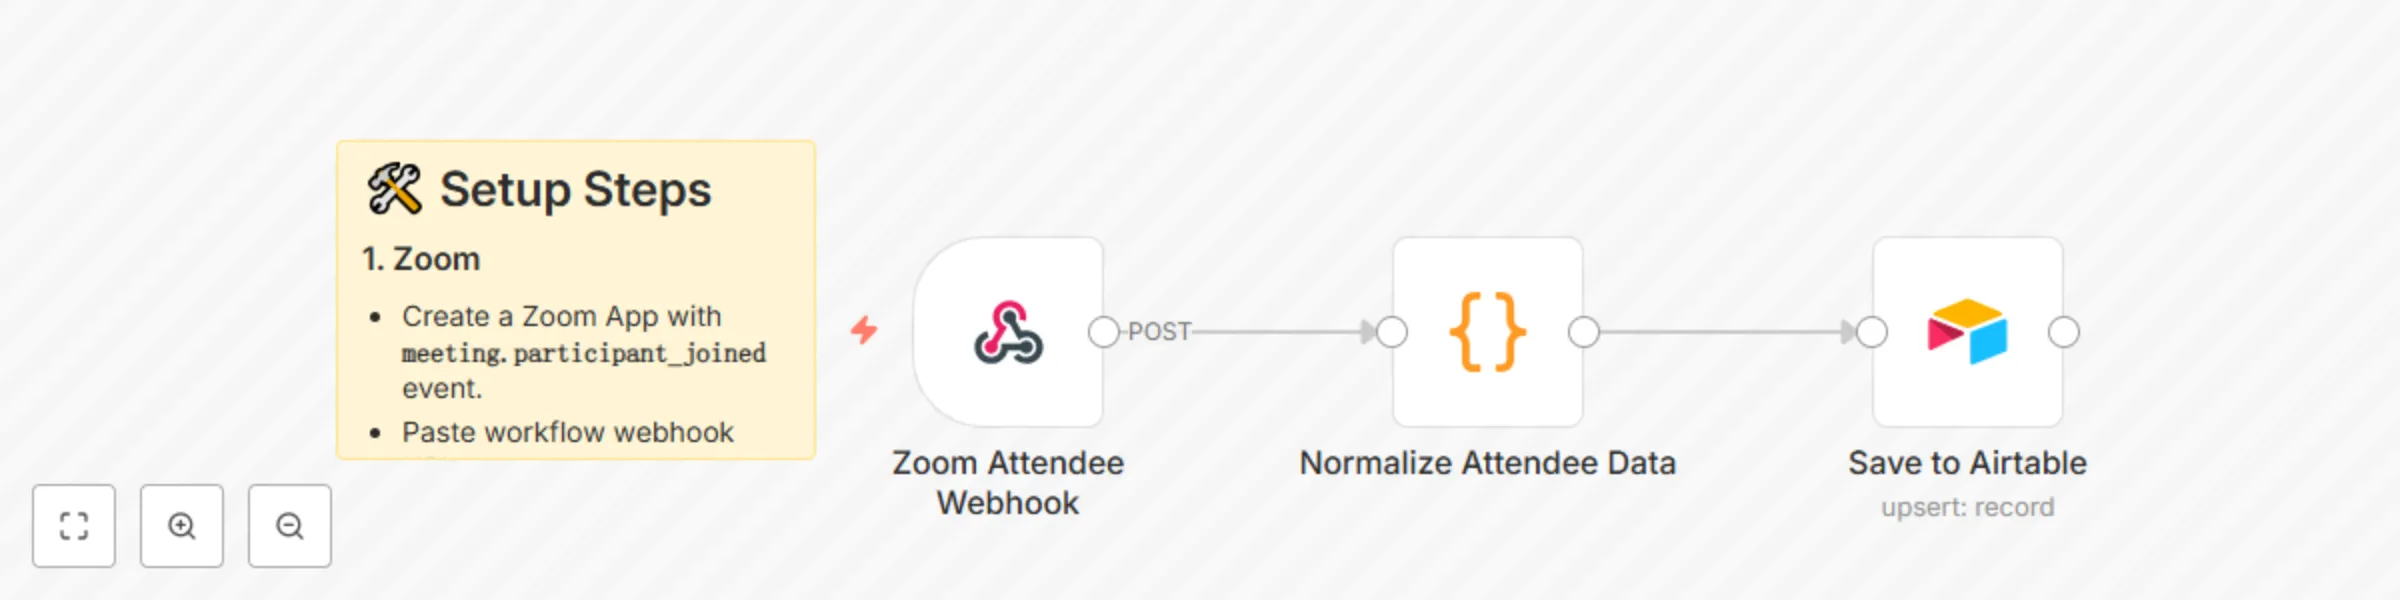
Auto-create Airtable CRM records for Zoom attendees
🗂️ Auto Create Airtable CRM Records for Zoom Attendees This workflow automatically logs every Zoom meeting attendee...

Auto-save Instagram leads to Google Sheets
🚀 Auto Save Instagram Leads to Google Sheets This workflow automatically captures leads submitted through an Instagr...

Generate and email PDF invoices from Tally Forms with Google Docs
Stop copy pasting invoice details! This gentle workflow turns a simple Tally form into a beautiful PDF invoice and de...

Send daily Mailchimp subscriber reports to Slack
What this workflow does This workflow sends a daily Slack report with the current number of subscribers in your Mailc...

Automated LinkedIn posts with AI-generated content using OpenAI GPT
LinkedIn Auto Post Agent for n8n 🚀 Automate your LinkedIn presence with AI powered content generation This n8n workf...

Automate JotForm submissions via HTTP without API keys
This guide explains how to send form data from n8n to a JotForm form submission endpoint using the HTTP Request node....

Parse & analyze research papers with PDF vector, GPT-4 and database storage
Automated Research Paper Analysis Pipeline This workflow automatically analyzes research papers by: Parsing PDF docum...

Weekly competitor Facebook ads intelligence report with Airtop and Gmail
README Monitor Competitor Facebook Ads with Airtop Use Case Monitor a competitor’s active Facebook ads and get a week...
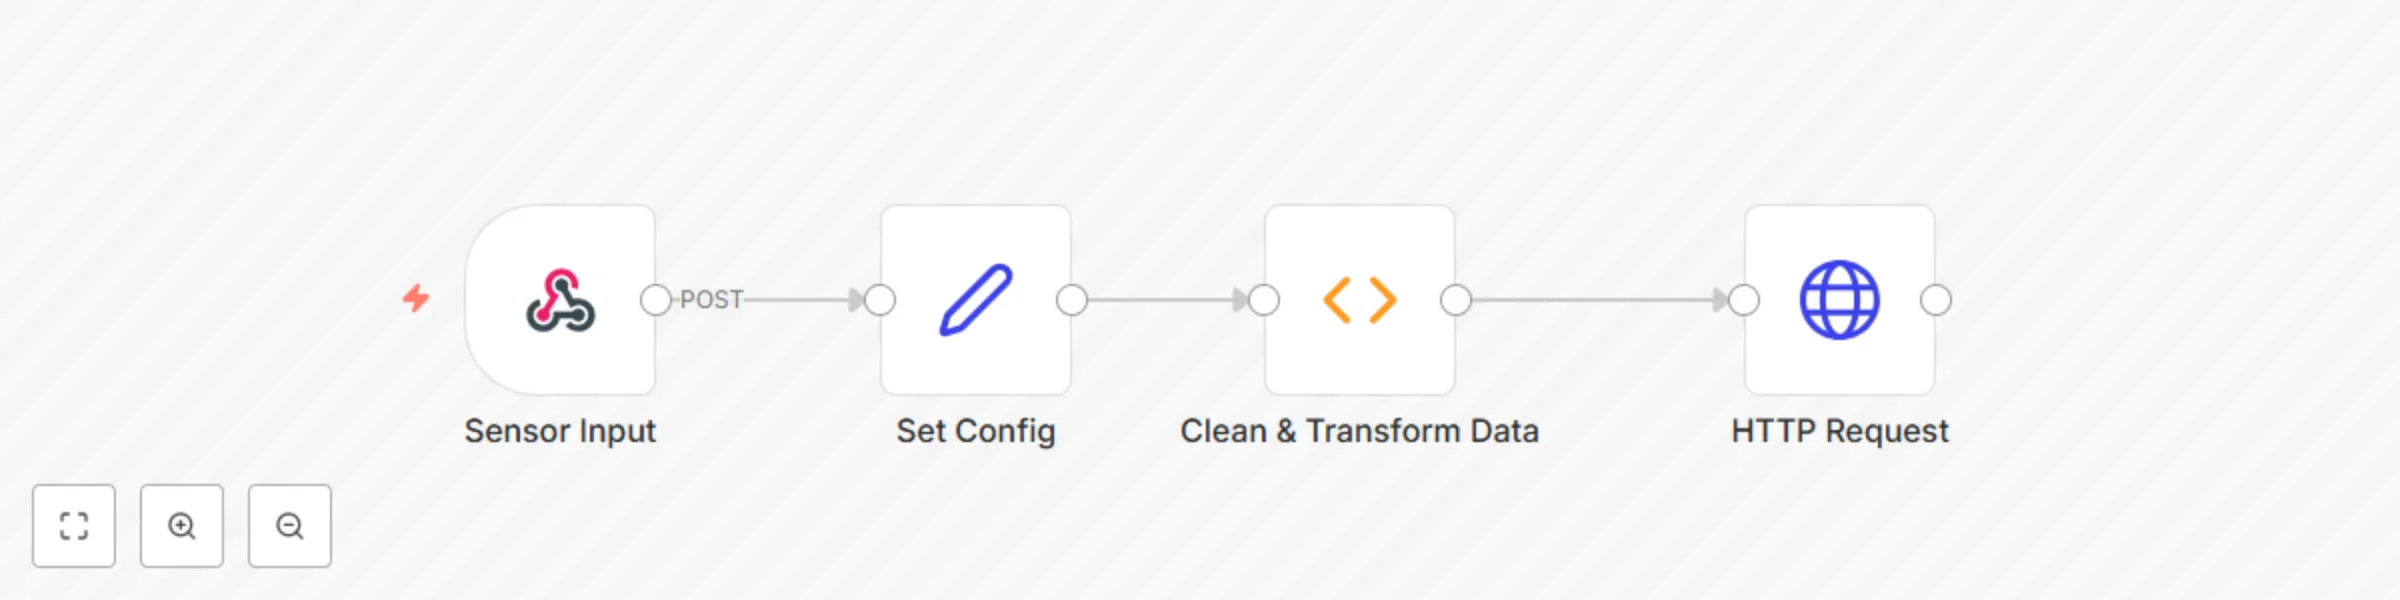
Clean and log IoT sensor data to InfluxDB (Webhook | Function | HTTP)
🌡 IoT Sensor Data Cleaner + InfluxDB Logger (n8n Webhook Function InfluxDB) This workflow accepts raw sensor data fr...

Automate SEO title & description updates for WordPress with Yoast SEO API
This workflow automates the update of Yoast SEO metadata for a specific post or product on a WordPress or WooCommerce...
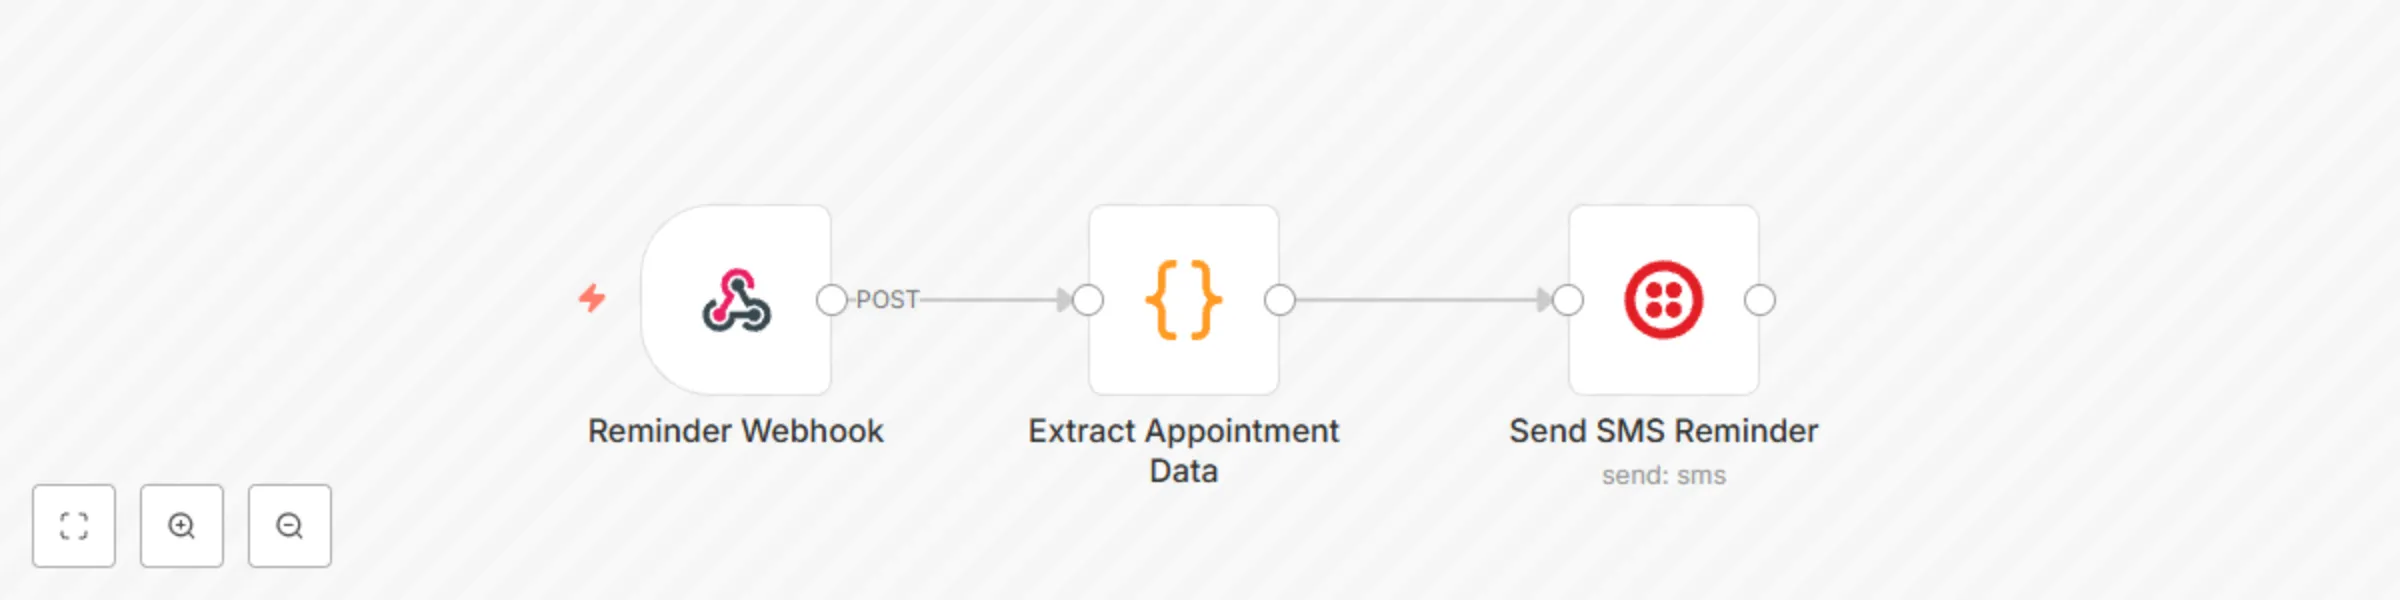
Send automated appointment reminders via SMS with Twilio webhook
How It Works The workflow is an automated appointment reminder system built on n8n. Here is a step by step breakdown...
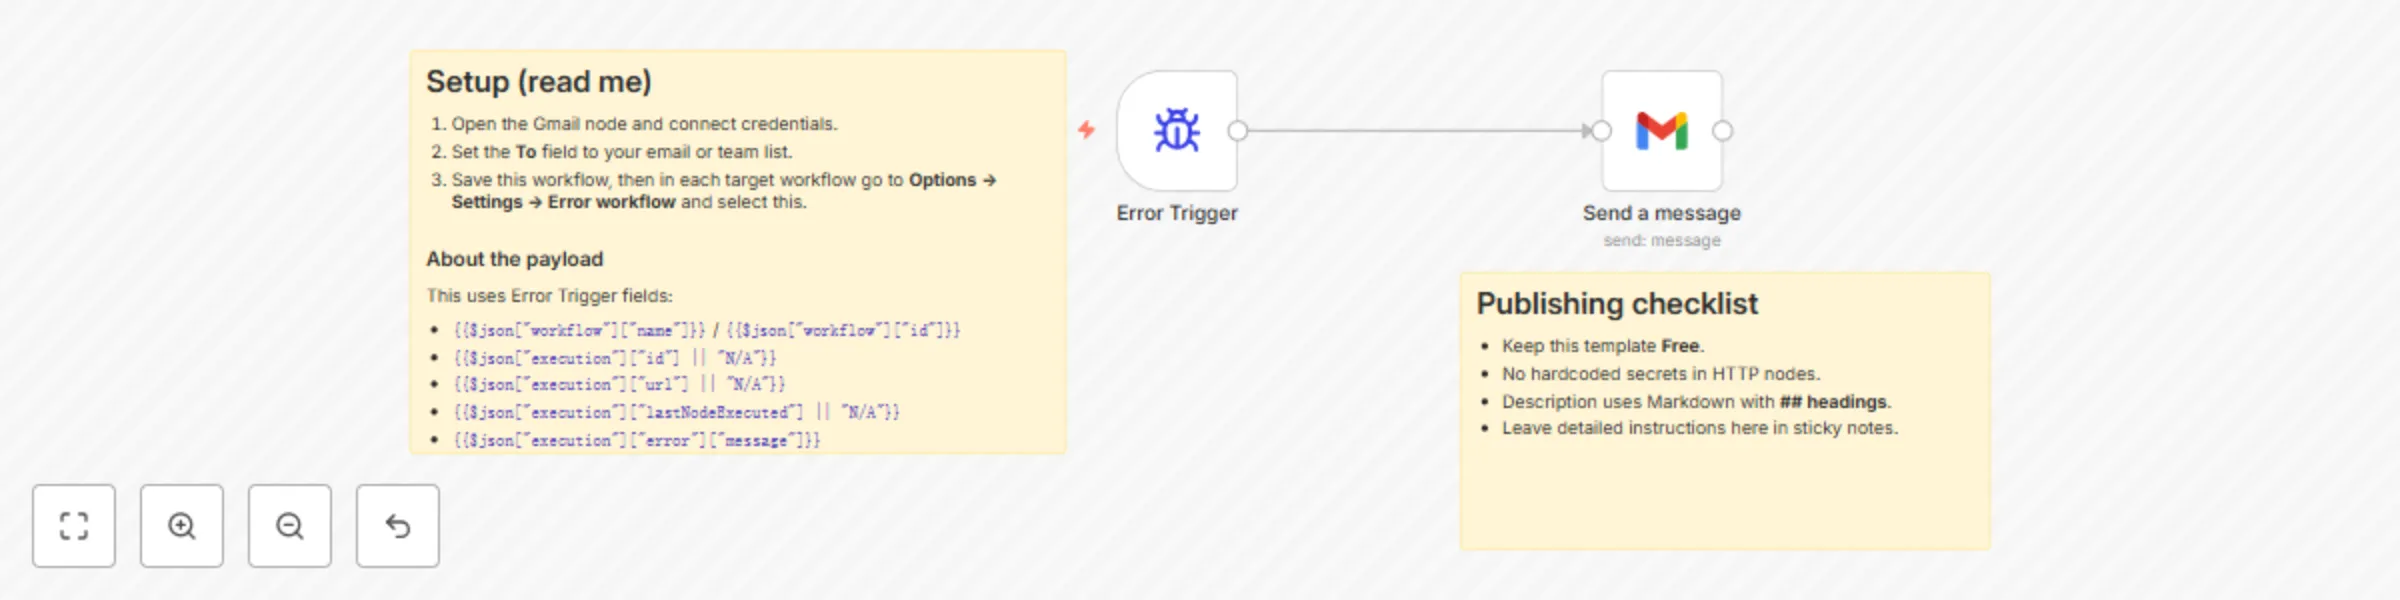
Automatic workflow error notifications via Gmail
What this template does Sends you an email (via Gmail) whenever any workflow that references this one fails . The mes...

Home Assistant event triggering with AppDaemon Webhooks
Summary This is a minimal template that focuses on how to integrate n8n and Home Assistant for event based triggering...

Publish HTML content with GitHub Gist and HTML preview
📌 Who’s it for This subworkflow is designed for developers, AI engineers, or automation builders who generate dynami...
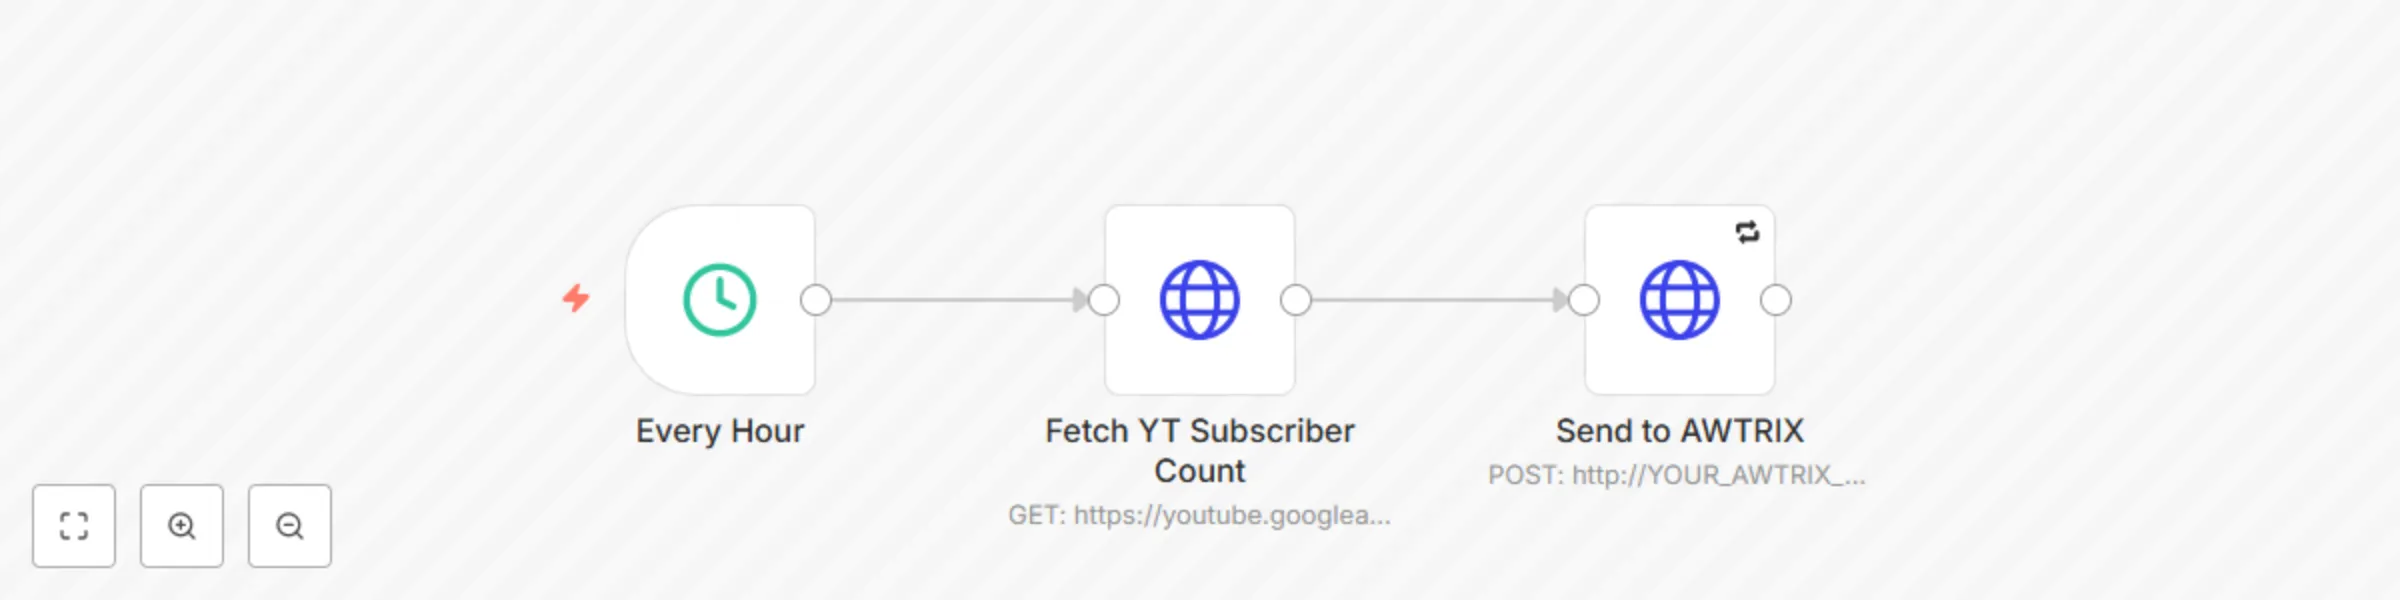
Display YouTube subscriber count on Ulanzi AWTRIX Smart Clock
: This n8n workflow fetches the subscriber count of a specific YouTube channel using the YouTube Data API and display...

Analyze any video and generate text summaries with Google Gemini 2.5 Pro
This workflow contains community nodes that are only compatible with the self hosted version of n8n. Analyze Any Vide...

Schedule daily email reminders from Google Sheets with Gmail
Intro This template is for teams, individuals, or businesses who want to automatically send daily email reminders (e....

Real-time error monitoring with WhatsApp alerts & multi-language setup
> ⚠️ Multi language WhatsApp Error Notifier Get instant WhatsApp alerts when any workflow fails — perfect for mobi...

Workflow error notifications to Slack with multilingual setup guide
> ⚠️ Multi language Slack Error Notifier Track errors like a pro — this prebuilt Slack alert flow notifies you ins...

BIN code lookup with apilayer API
This workflow is designed to validate and fetch information about a card using the BIN code. It utilizes apilayer's B...