
EoCi - Mr.Eo
6
Workflows
Workflows by EoCi - Mr.Eo
Free advanced
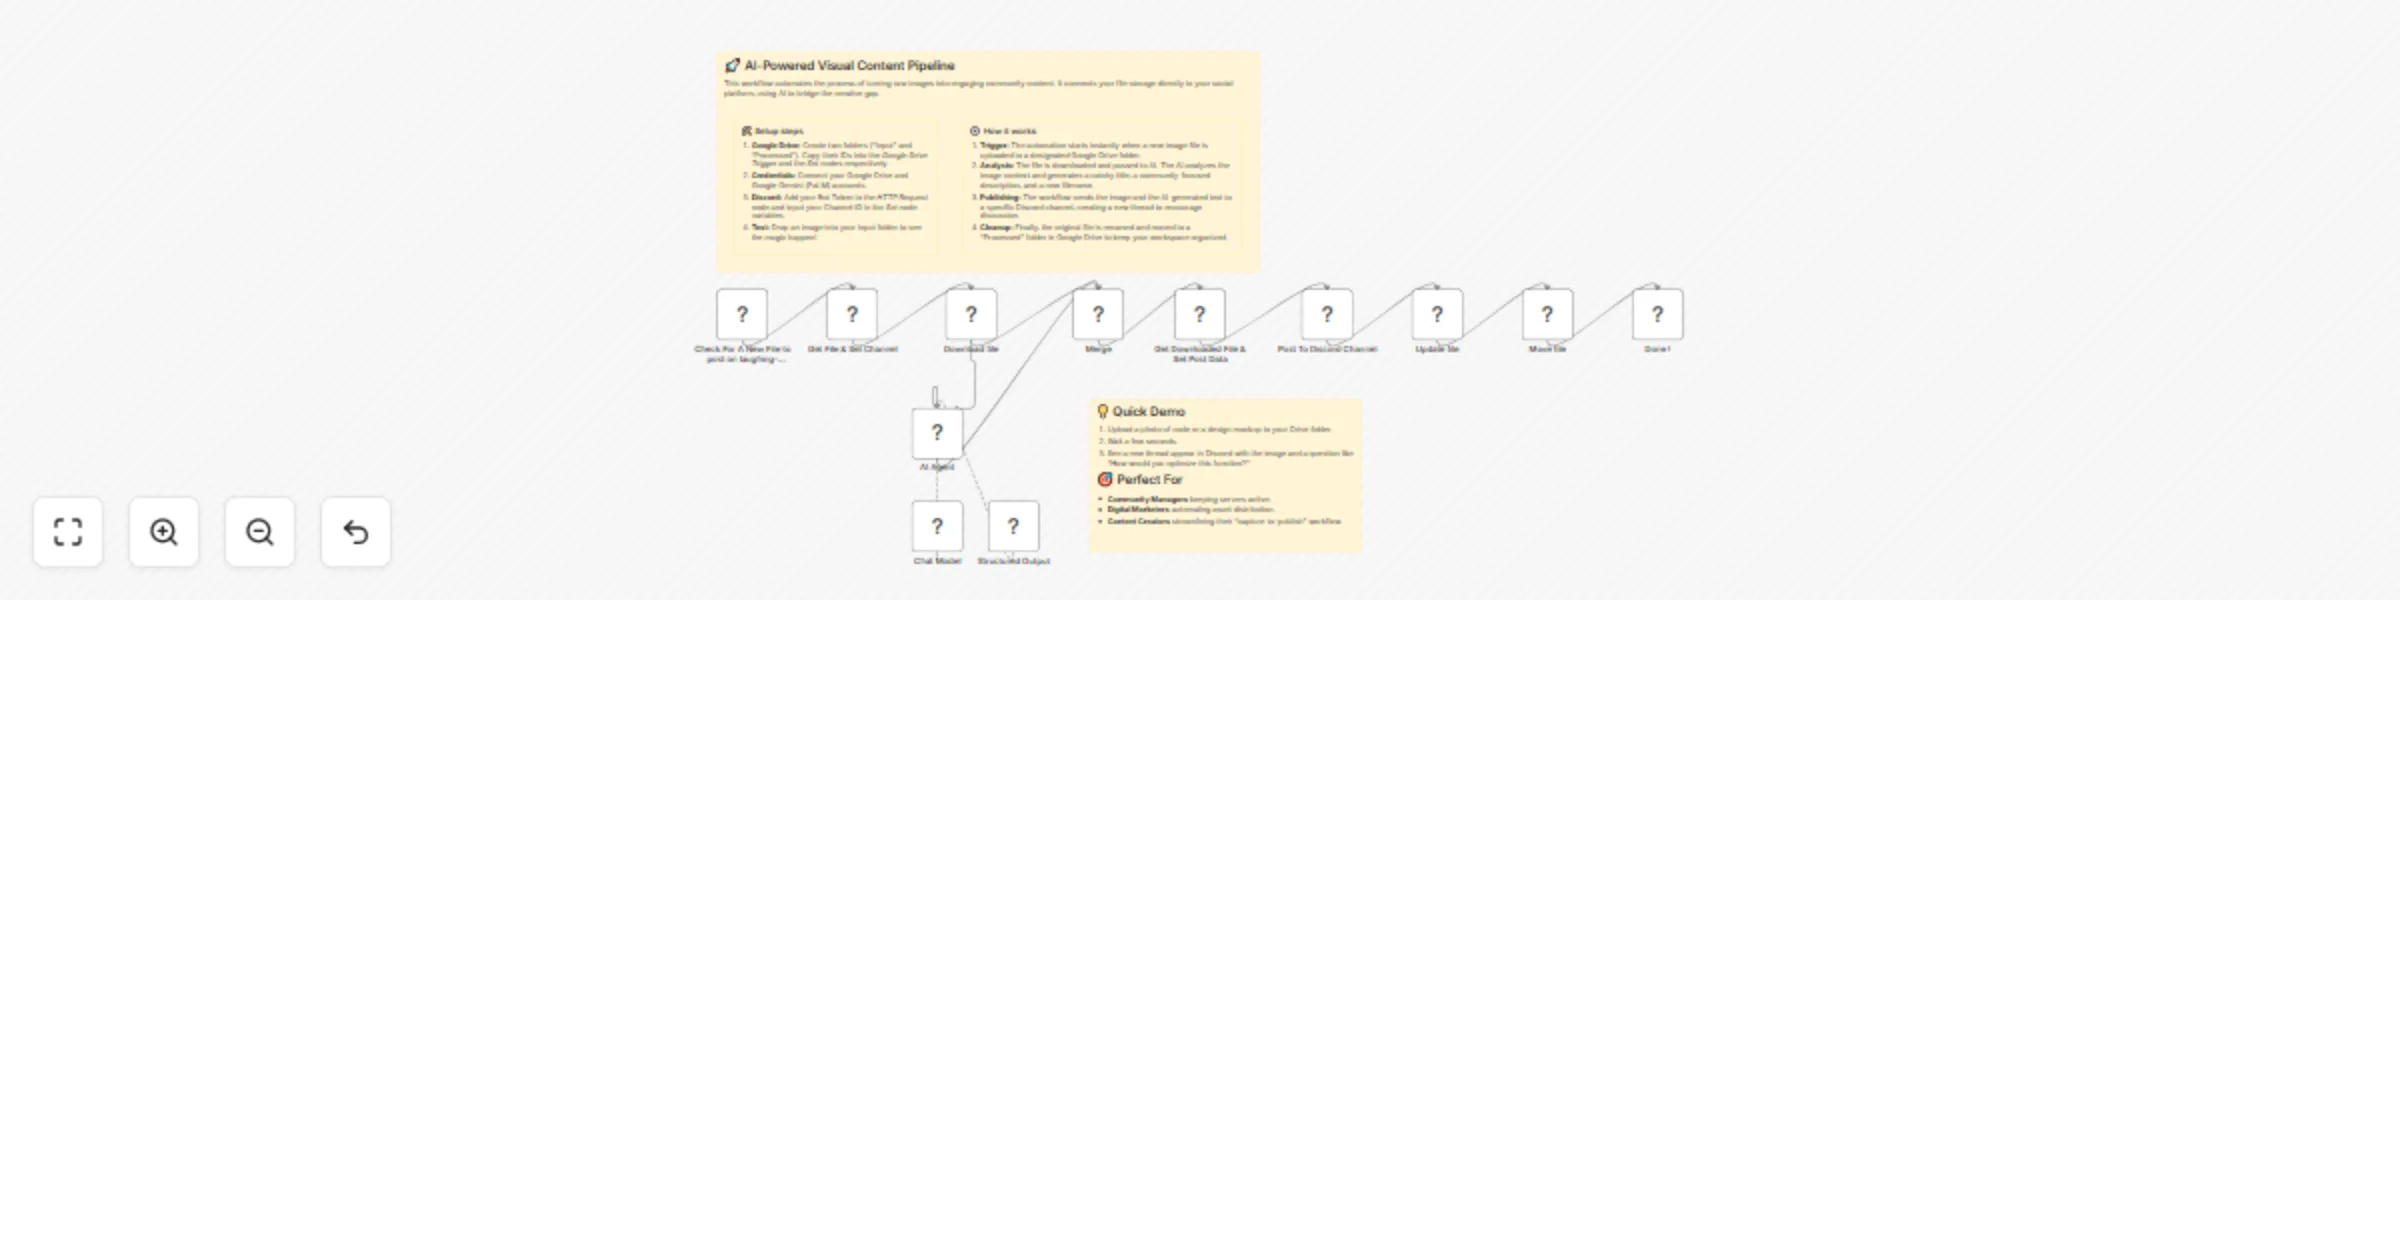
Post images from Google Drive to Discord using Gemini Gemini AI
🎯 What This Does This workflow automatically monitors a specific Google Drive folder for new images. When you drop a...
Content Creation
6 Feb 2026
21
0
Free advanced
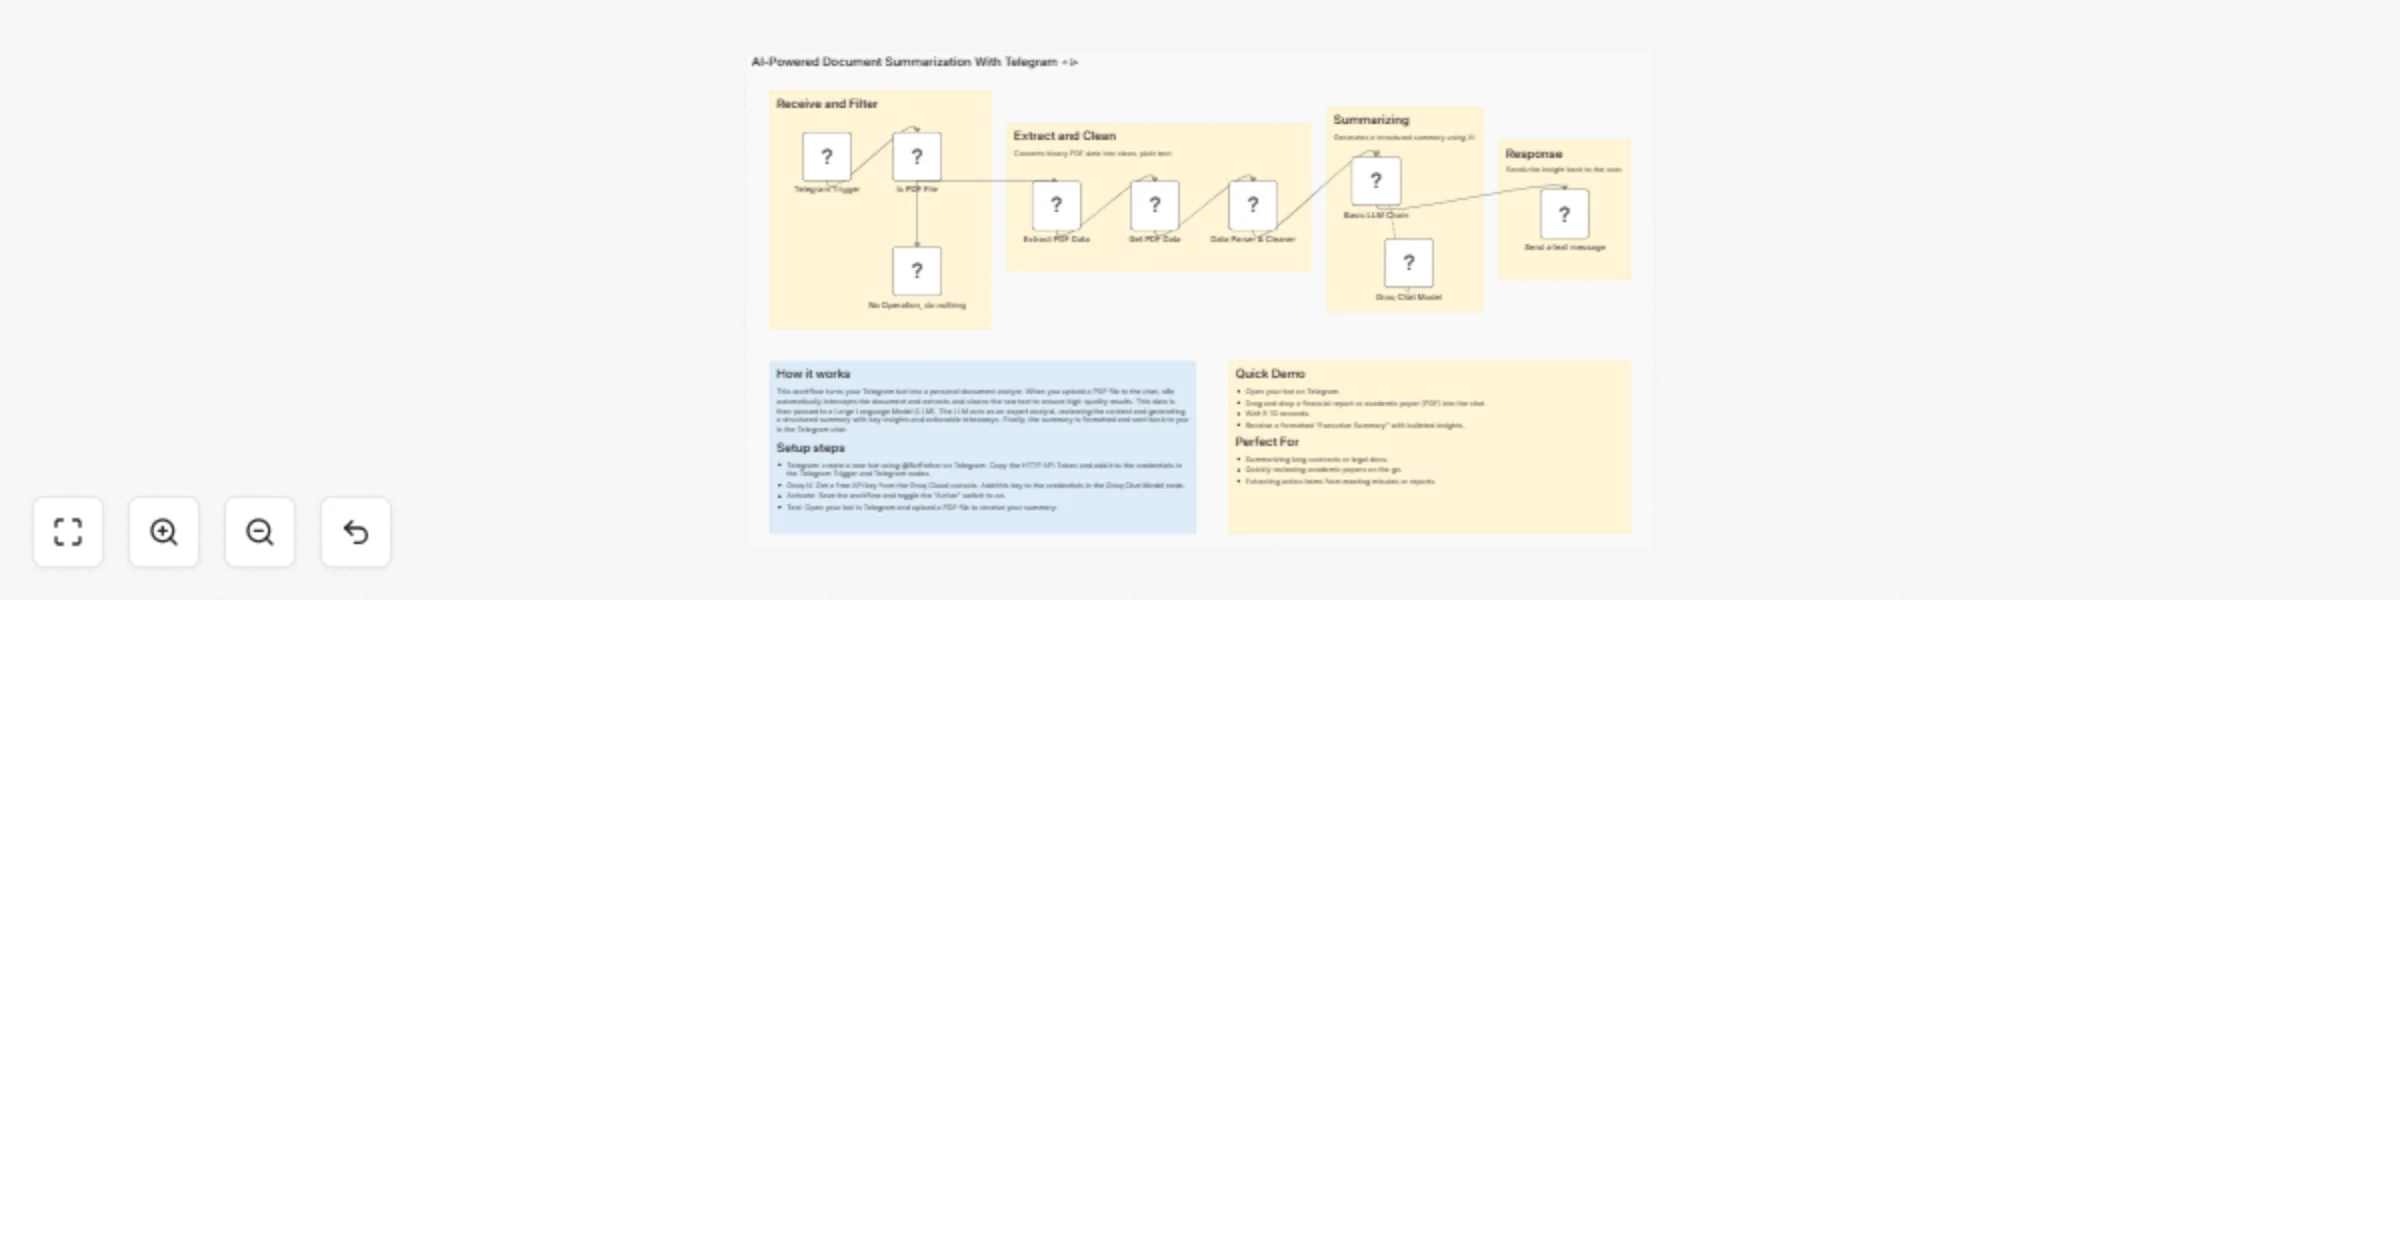
Summarize PDF documents in Telegram with Groq AI
How It Works 9 nodes : Lightweight, efficient (no loops). Key Steps : 1. Triggers on Telegram messages downloads file...
Document Extraction
3 Dec 2025
104
0

Free advanced
Discord setup guidelines 📜 - get all channels & categories of a Discord server
🌟 Test Your n8n Discord Connection! Trying to connect n8n to your Discord server but not sure where to start? 🤔 Set...
Social Media
26 Oct 2025
246
0

Free advanced
Automate Telegram message processing - separate text and files 💬📁
Introduction Tired of manually downloading a file through different Telegram messages? This workflow acts as a smart...
Support Chatbot
4 Oct 2025
989
0

Free advanced
📁 Extract and clean PDF data from Google Drive
🎯 What This Does Automatically finds PDF file in Google Drive and extracts information. Use it to pull out clean out...
Document Extraction
29 Sep 2025
2447
0

Free advanced
🤖 AI-powered prompt enhancement assistant using Google Sheets
This workflow contains community nodes that are only compatible with the self hosted version of n8n. Introduction Tir...
Engineering
7 Aug 2025
2439
0