Generate SEO-optimized PWA website with Google Gemini and deploy to S3
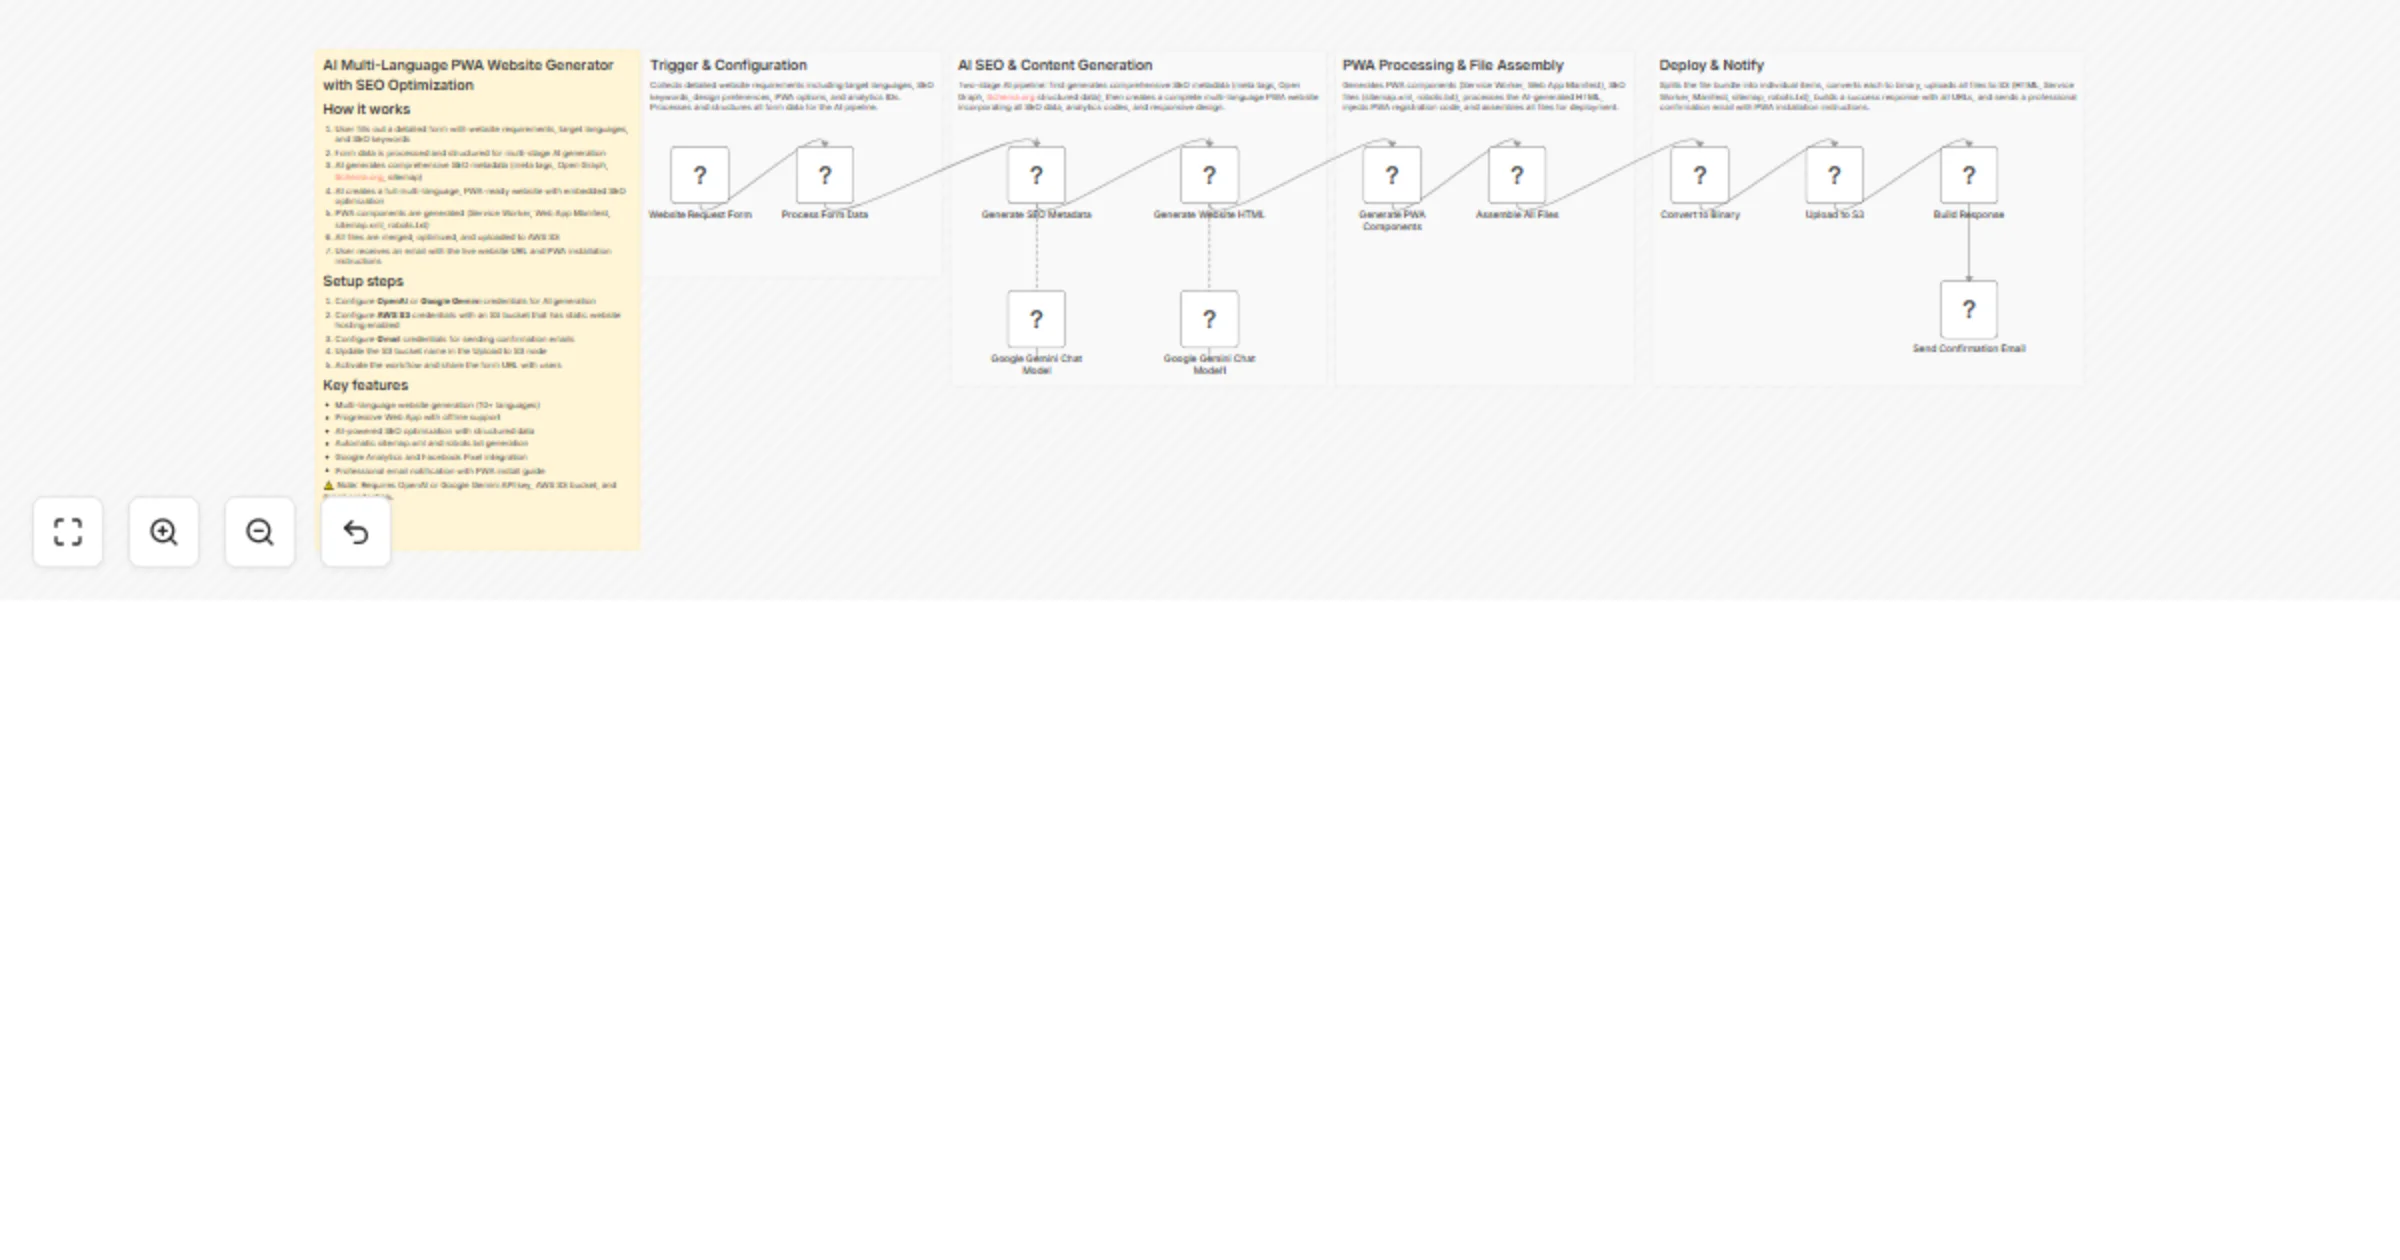
Workflow preview


 Early Deal
DISCOUNT 20%

Overview
Generate SEO-Optimized PWA Website with AI and Deploy to S3
Who's it for
This workflow is designed for agencies, freelancers, and businesses who want to generate production-ready static websites with built-in SEO optimization and PWA (Progressive Web App) capabilities — all without manual coding.
It is best suited for users who need landing pages, portfolios, event pages, or client microsites that are mobile-friendly, SEO-optimized, and installable as apps on any device.
What it does
This workflow collects website requirements via an n8n form, uses Google Gemini AI to generate a complete HTML page with SEO metadata and PWA components (service worker, manifest, offline support), assembles all files, uploads them to AWS S3, and sends the published URL via email.
Unlike basic AI website generators, this workflow produces three separate AI-generated outputs that are assembled into a complete, deployable package:
- ✅ SEO-optimized meta tags, Open Graph, and structured data (Schema.org)
- ✅ PWA manifest + service worker for offline support and "Add to Home Screen"
- ✅ Responsive, single-page website with embedded CSS and JavaScript
- ✅ All files deployed as a cohesive package to S3
How it works
- Website Request Form — User fills out requirements (name, purpose, colors, content, keywords).
- Process Form Data — Workflow structures the input for AI processing.
- Generate SEO Metadata (Gemini AI) — Creates meta tags, Open Graph tags, Twitter cards, and JSON-LD structured data based on the site's purpose and keywords.
- Generate Website HTML (Gemini AI) — Produces a complete, responsive HTML/CSS/JS page incorporating the SEO metadata.
- Generate PWA Components — Creates
manifest.jsonandservice-worker.jsfor offline capability and app-like behavior. - Assemble All Files — Merges HTML, manifest, and service worker into a deployment-ready package.
- Convert to Binary — Prepares all files for S3 upload.
- Upload to S3 — Deploys all files (
index.html,manifest.json,sw.js) with proper content types. - Build Response — Constructs the live URL and deployment summary.
- Send Confirmation Email — Delivers the live URL, SEO report, and PWA installation instructions to the user.
Requirements
To use this workflow, you will need:
- A Google Gemini API key (Gemini 1.5 Flash or Pro recommended)
- An AWS account with S3 access
- An S3 bucket configured for static website hosting
- A Gmail account for sending confirmation emails (or replace with another email service)
AWS Setup Guide
Step 1: Create an IAM User for n8n
- Go to AWS Console → IAM → Users → Create user
- User name:
n8n-s3-uploader - Attach the following custom policy:
{
 "Version": "2012-10-17",
 "Statement": [
 {
 "Sid": "S3WebsiteUpload",
 "Effect": "Allow",
 "Action": [
 "s3:PutObject",
 "s3:PutObjectAcl",
 "s3:GetObject",
 "s3:ListBucket"
 ],
 "Resource": [
 "arn:aws:s3:::YOUR_BUCKET_NAME",
 "arn:aws:s3:::YOUR_BUCKET_NAME/*"
 ]
 }
 ]
}
- Create access key → Select "Application running outside AWS"
- Save the Access Key ID and Secret Access Key for n8n credential setup
Step 2: Create an S3 Bucket
- Go to AWS Console → S3 → Create bucket
- Bucket name: Choose a globally unique name (e.g.,
my-ai-websites-12345) - Region: Select your preferred region
- Object Ownership: Select "ACLs enabled" → "Bucket owner preferred"
- Block Public Access: Uncheck "Block all public access" and acknowledge the warning
- Create bucket
Step 3: Enable Static Website Hosting
- Go to your bucket → Properties tab
- Scroll to "Static website hosting" → Edit
- Enable static website hosting
- Index document:
index.html - Error document:
index.html(for PWA routing) - Save changes
- Note the bucket website endpoint URL (e.g.,
http://YOUR_BUCKET_NAME.s3-website-REGION.amazonaws.com)
Step 4: Add Bucket Policy for Public Access
- Go to your bucket → Permissions tab
- Scroll to "Bucket policy" → Edit
- Paste the following policy:
{
 "Version": "2012-10-17",
 "Statement": [
 {
 "Sid": "PublicReadGetObject",
 "Effect": "Allow",
 "Principal": "*",
 "Action": "s3:GetObject",
 "Resource": "arn:aws:s3:::YOUR_BUCKET_NAME/*"
 }
 ]
}
- Replace
YOUR_BUCKET_NAMEwith your actual bucket name - Save changes
Step 5: Configure n8n Credentials
- In n8n, go to Credentials → Add credential → AWS
- Enter the Access Key ID and Secret Access Key from Step 1
- Set the region to match your S3 bucket region
- Save the credential
Important limitations
- Generated websites are single-page only (no multi-page navigation).
- The AI may occasionally produce varying results depending on prompt complexity.
- S3 bucket must have public access enabled for the websites to be viewable.
- PWA "Add to Home Screen" requires HTTPS — use CloudFront for production deployments.
- No custom domain support out of the box (requires additional CloudFront/Route53 setup).
- Service worker caching is basic (cache-first strategy); for advanced caching, customize the generated
sw.js. - AWS charges may apply based on S3 storage and data transfer usage.
How to set up
- Complete the AWS Setup Guide above.
- Add your Google Gemini API credential in n8n.
- Add your AWS credential in n8n (from Step 5 above).
- Update the S3 bucket name in the "Upload to S3" node.
- Update the bucket URL in the "Build Response" node.
- Configure Gmail OAuth2 credential (or replace with your email service).
- Activate the workflow and share the form URL.
How to customize
- AI Model: Swap Google Gemini for OpenAI, Anthropic, or any LLM supported by n8n.
- Form fields: Add fields for target audience, language preference, or industry-specific requirements.
- SEO depth: Extend the SEO prompt to generate sitemaps, robots.txt, or additional structured data types.
- PWA features: Customize the service worker for push notifications, background sync, or advanced caching strategies.
- Notifications: Replace Gmail with Slack, Discord, or webhook notifications.
- Storage: Add a database node to track generated websites with analytics.
- Domain: Integrate with CloudFront + Route53 for custom domains with HTTPS.
- Error handling: Add error handling nodes and retry logic for production use.
What makes this different
Most AI website generators create a basic HTML file. This workflow goes further:
| Feature | Basic Generator | This Workflow |
|---|---|---|
| HTML/CSS/JS | ✅ | ✅ |
| SEO Meta Tags | ❌ | ✅ (AI-generated) |
| Open Graph / Twitter Cards | ❌ | ✅ |
| Schema.org Structured Data | ❌ | ✅ (JSON-LD) |
| PWA Support | ❌ | ✅ (manifest + service worker) |
| Offline Capability | ❌ | ✅ |
| "Add to Home Screen" | ❌ | ✅ |
| Multiple AI Calls | 1 | 2 (specialized prompts) |
| Deployment Files | 1 (index.html) | 3+ (html + manifest + sw.js) |
Security Considerations
- The generated websites are publicly accessible. Do not use this for sensitive content.
- Consider adding authentication if you want to restrict who can generate websites.
- Review AWS costs regularly to avoid unexpected charges.
- For production use, set up CloudFront with HTTPS (required for full PWA functionality).
- Service workers require HTTPS in production; localhost is exempt for testing.
Note: This workflow was built using Google Gemini AI and AWS S3 static website hosting. For production deployments, we recommend adding CloudFront for HTTPS, custom domains, and global CDN distribution.