Engineering Workflows
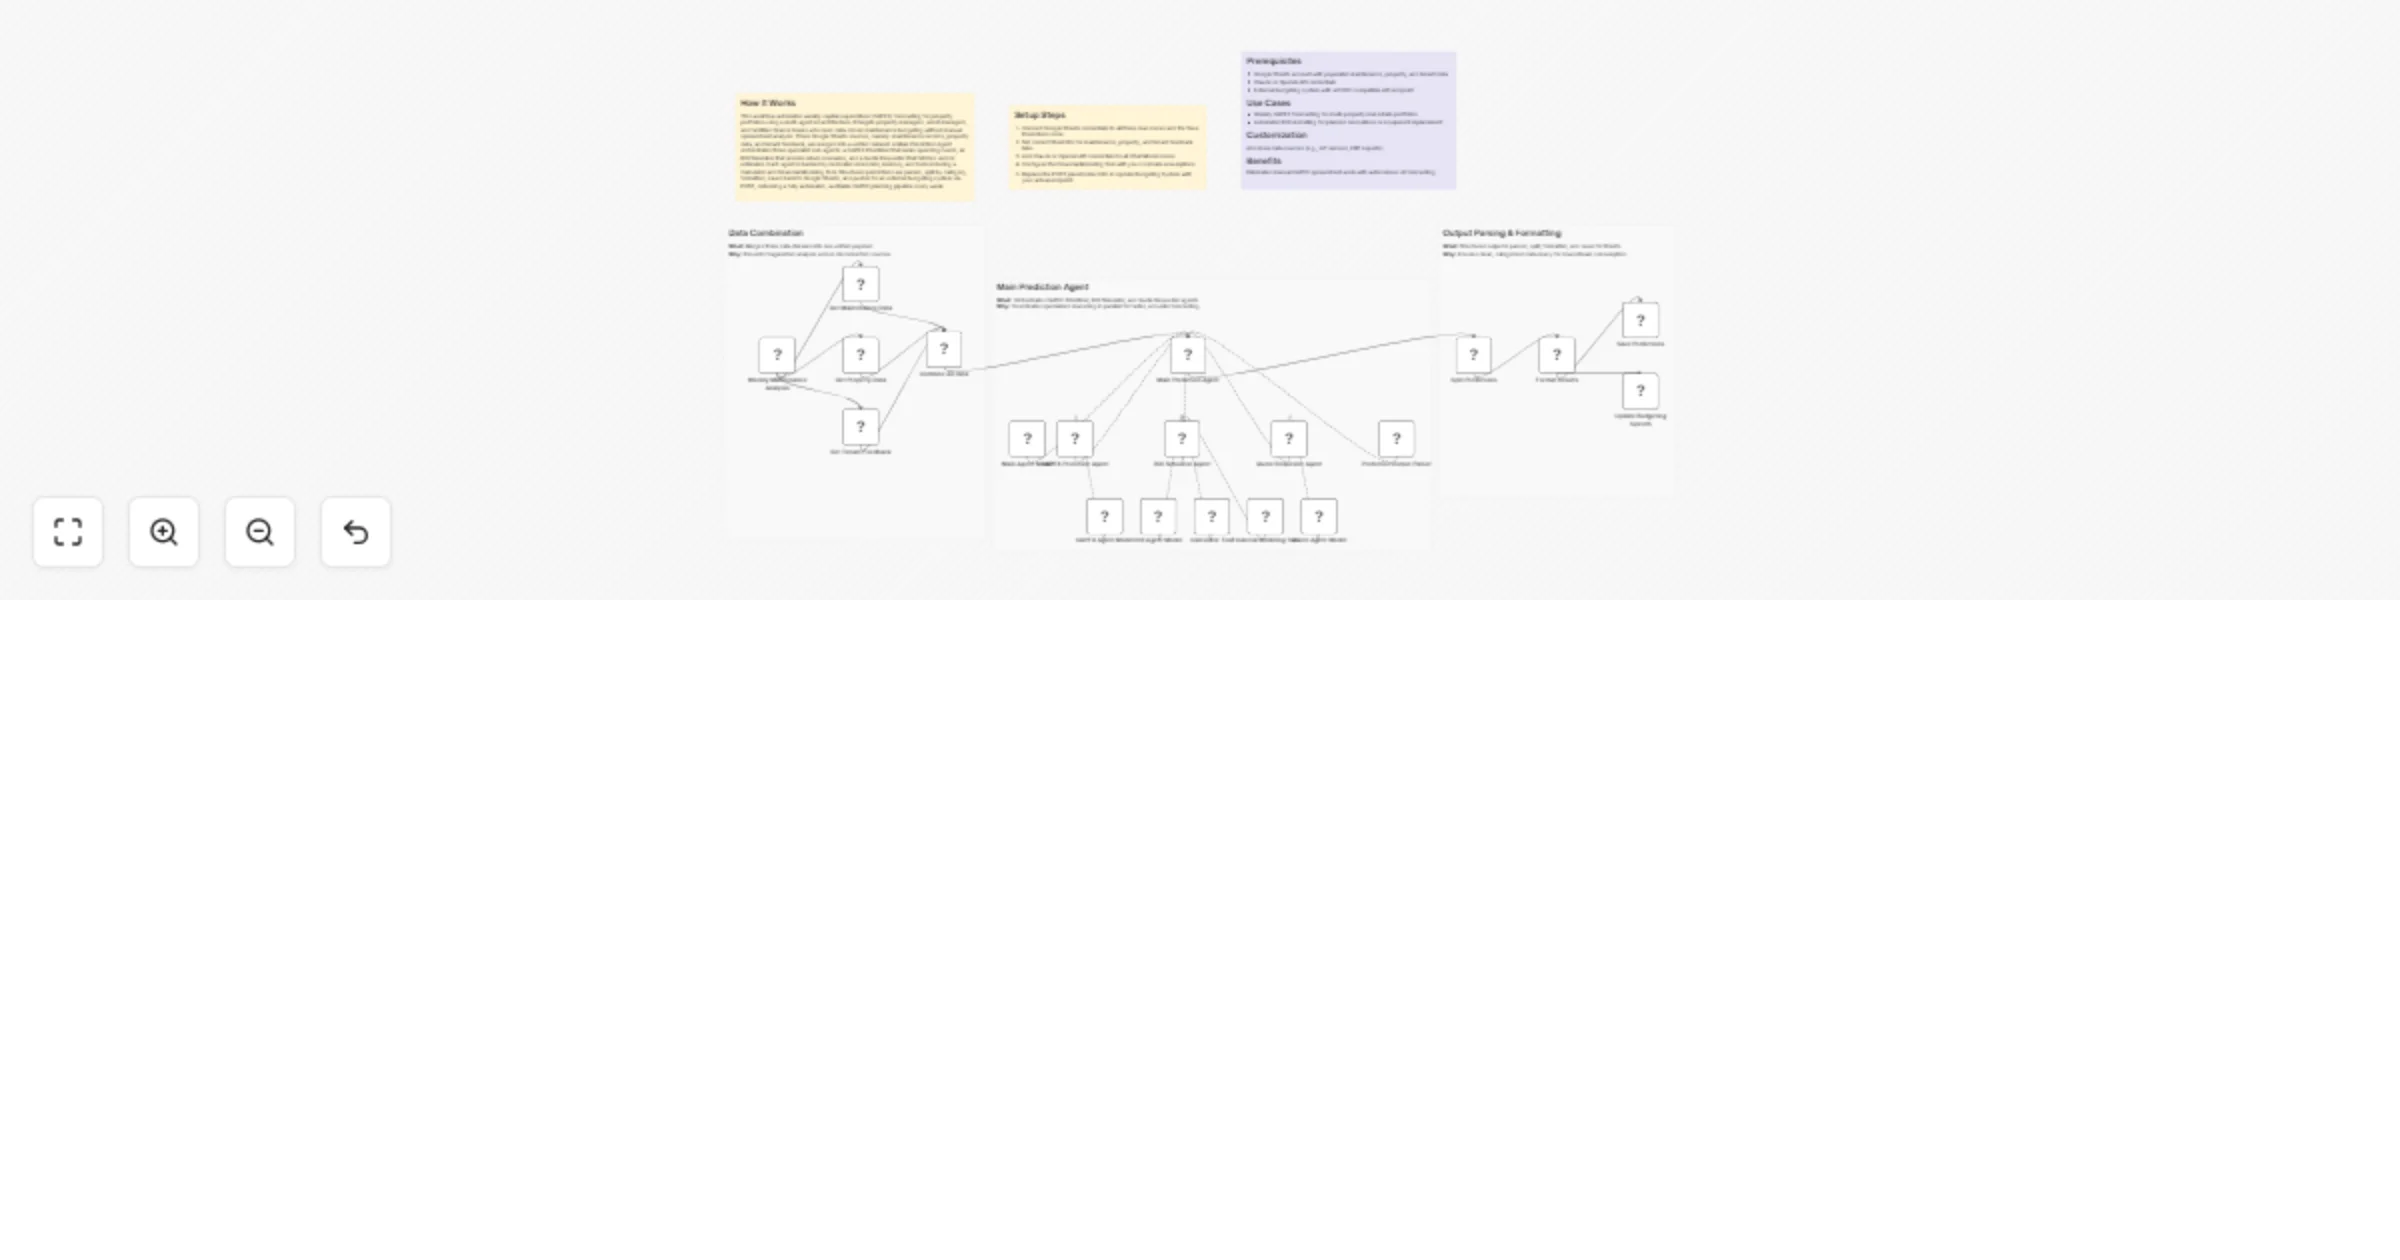
Forecast property CAPEX and ROI weekly using Google Sheets and GPT-4o
How It Works This workflow automates weekly capital expenditure (CAPEX) forecasting for property portfolios using a m...
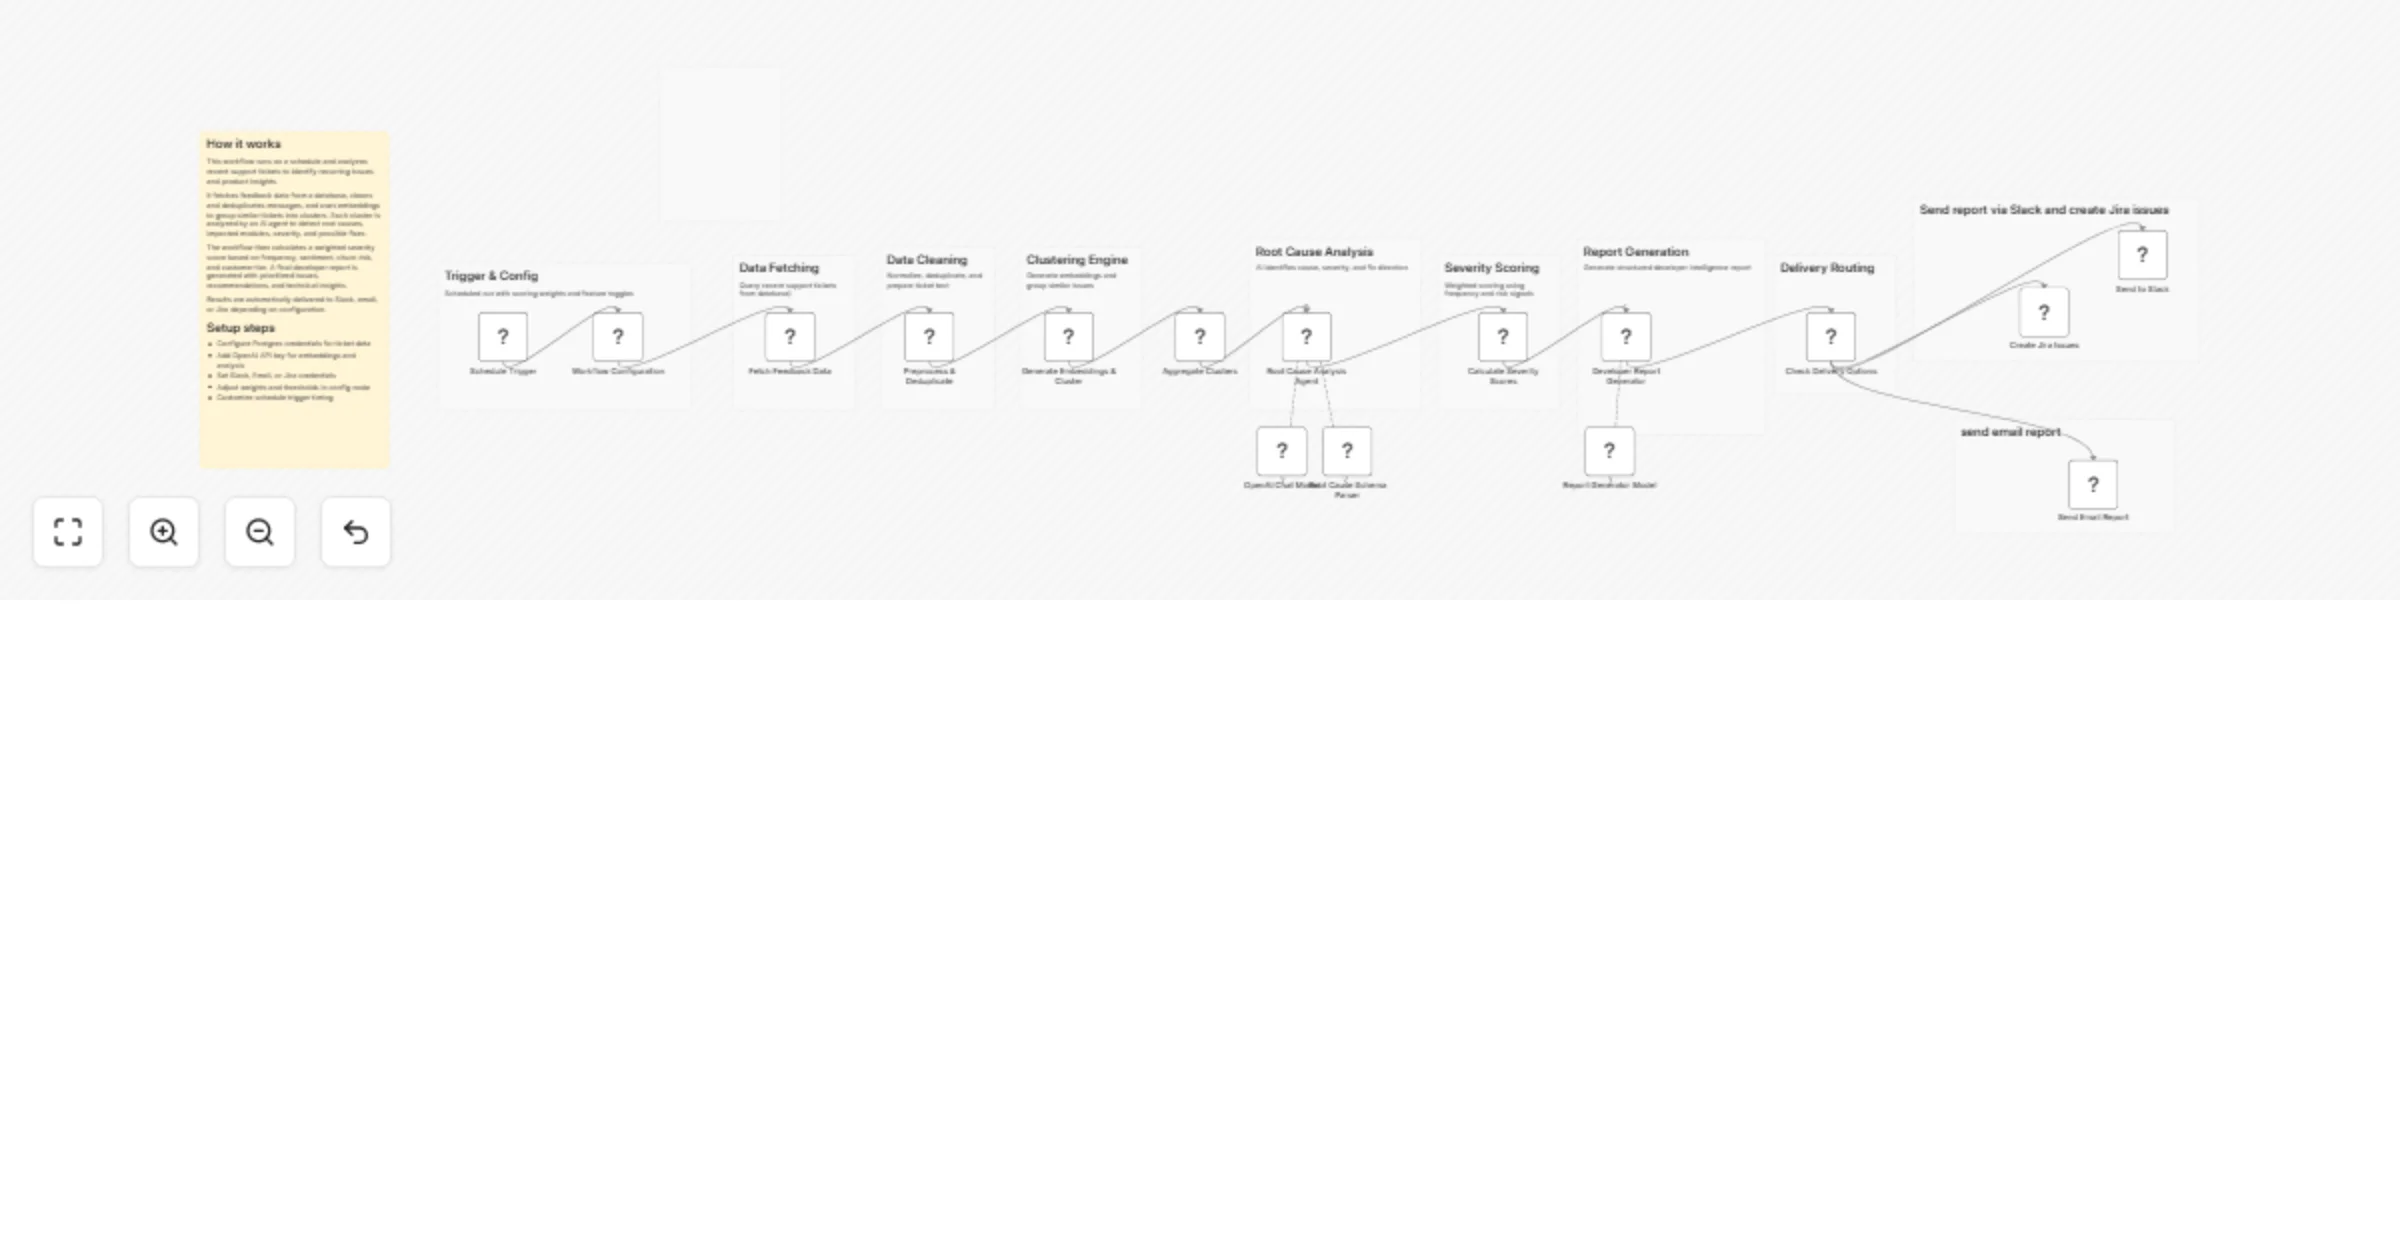
Turn support tickets into developer insights with OpenAI, Postgres, Slack and Jira
Overview This workflow transforms raw support tickets into actionable developer insights using AI and data processing...
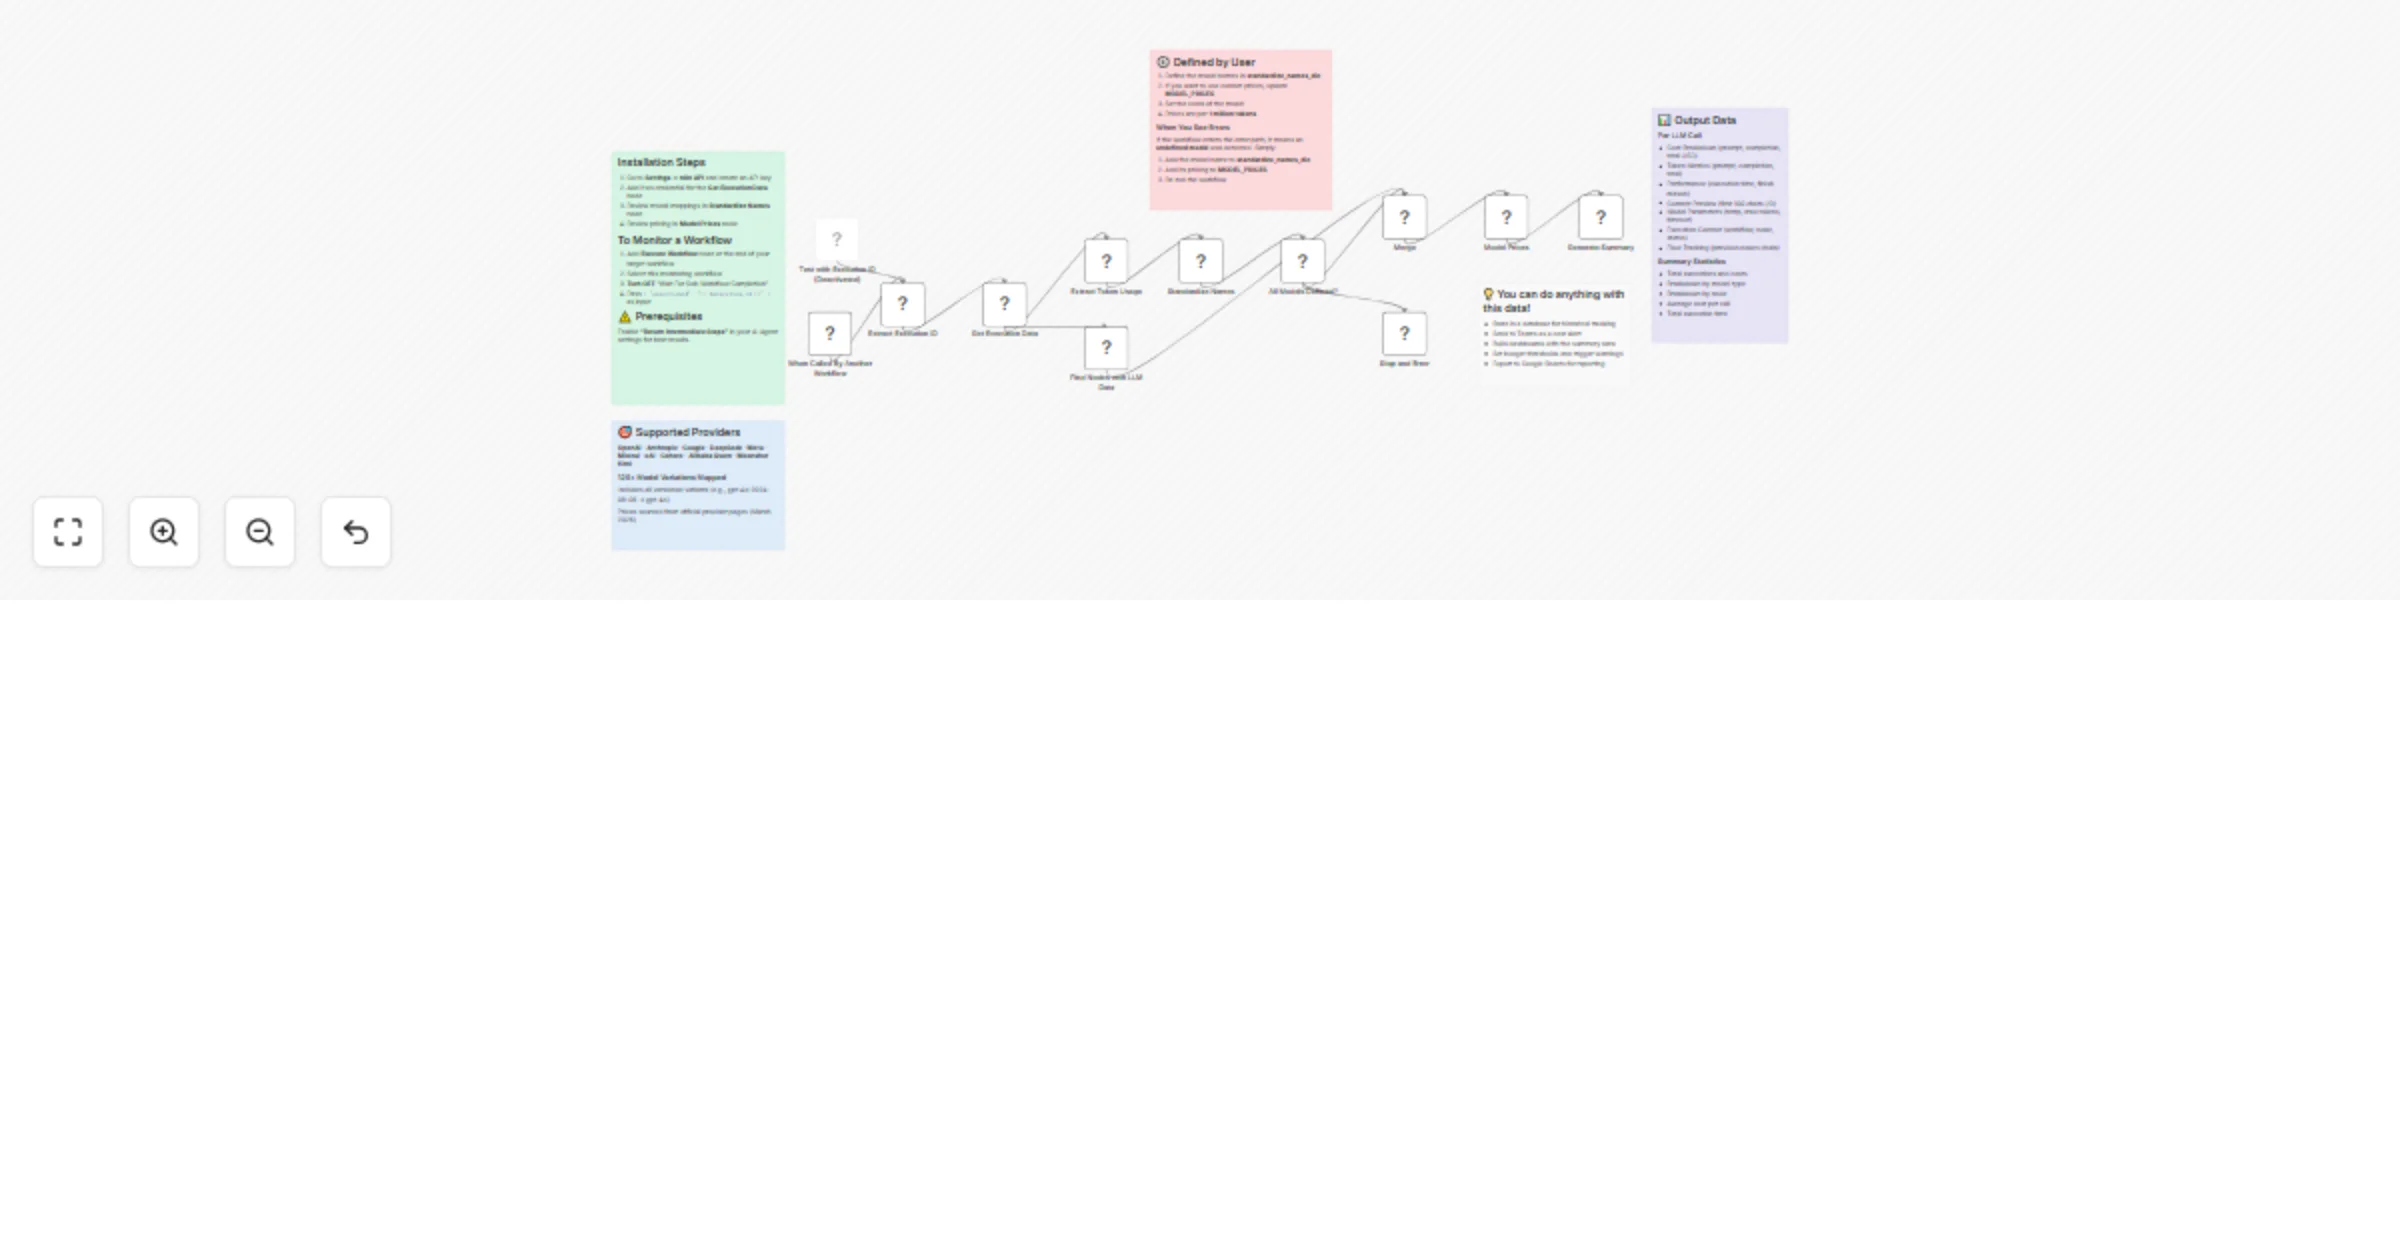
Track LLM costs and usage across OpenAI, Anthropic, Google and more
Installation Steps 1. Go to Settings → n8n API and create an API key 2. Add it as credential for the Get Execution Da...
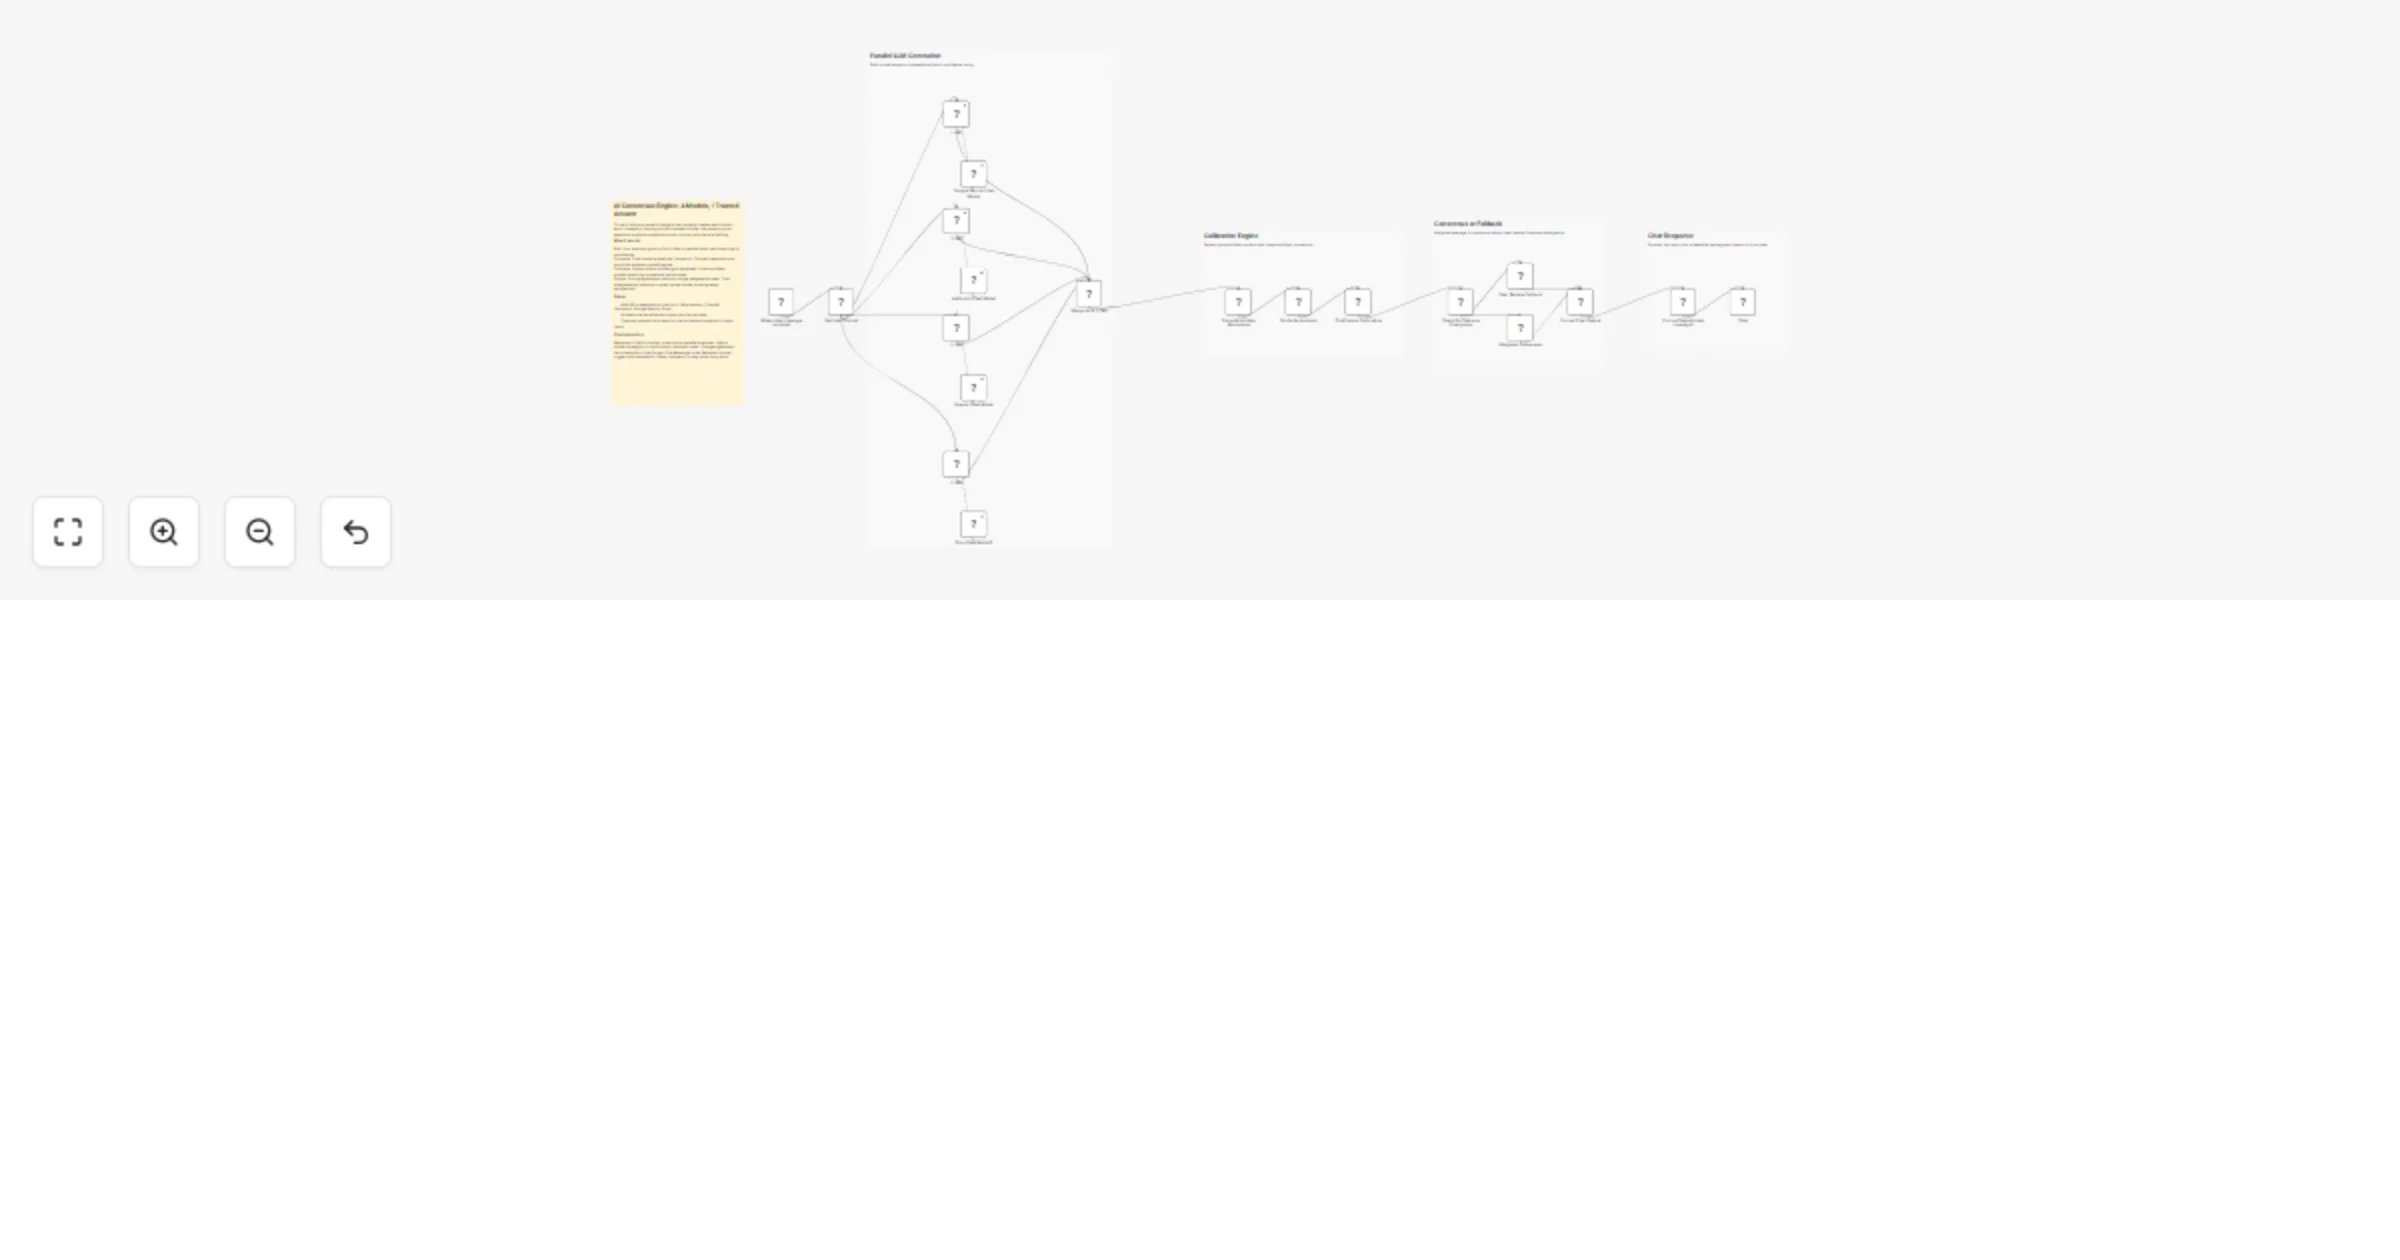
Combine answers from OpenAI, Anthropic, Gemini and Groq into one consensus
Stop trusting one model. Let multiple LLMs show you where they agree and where they don't. Ask the same question to m...

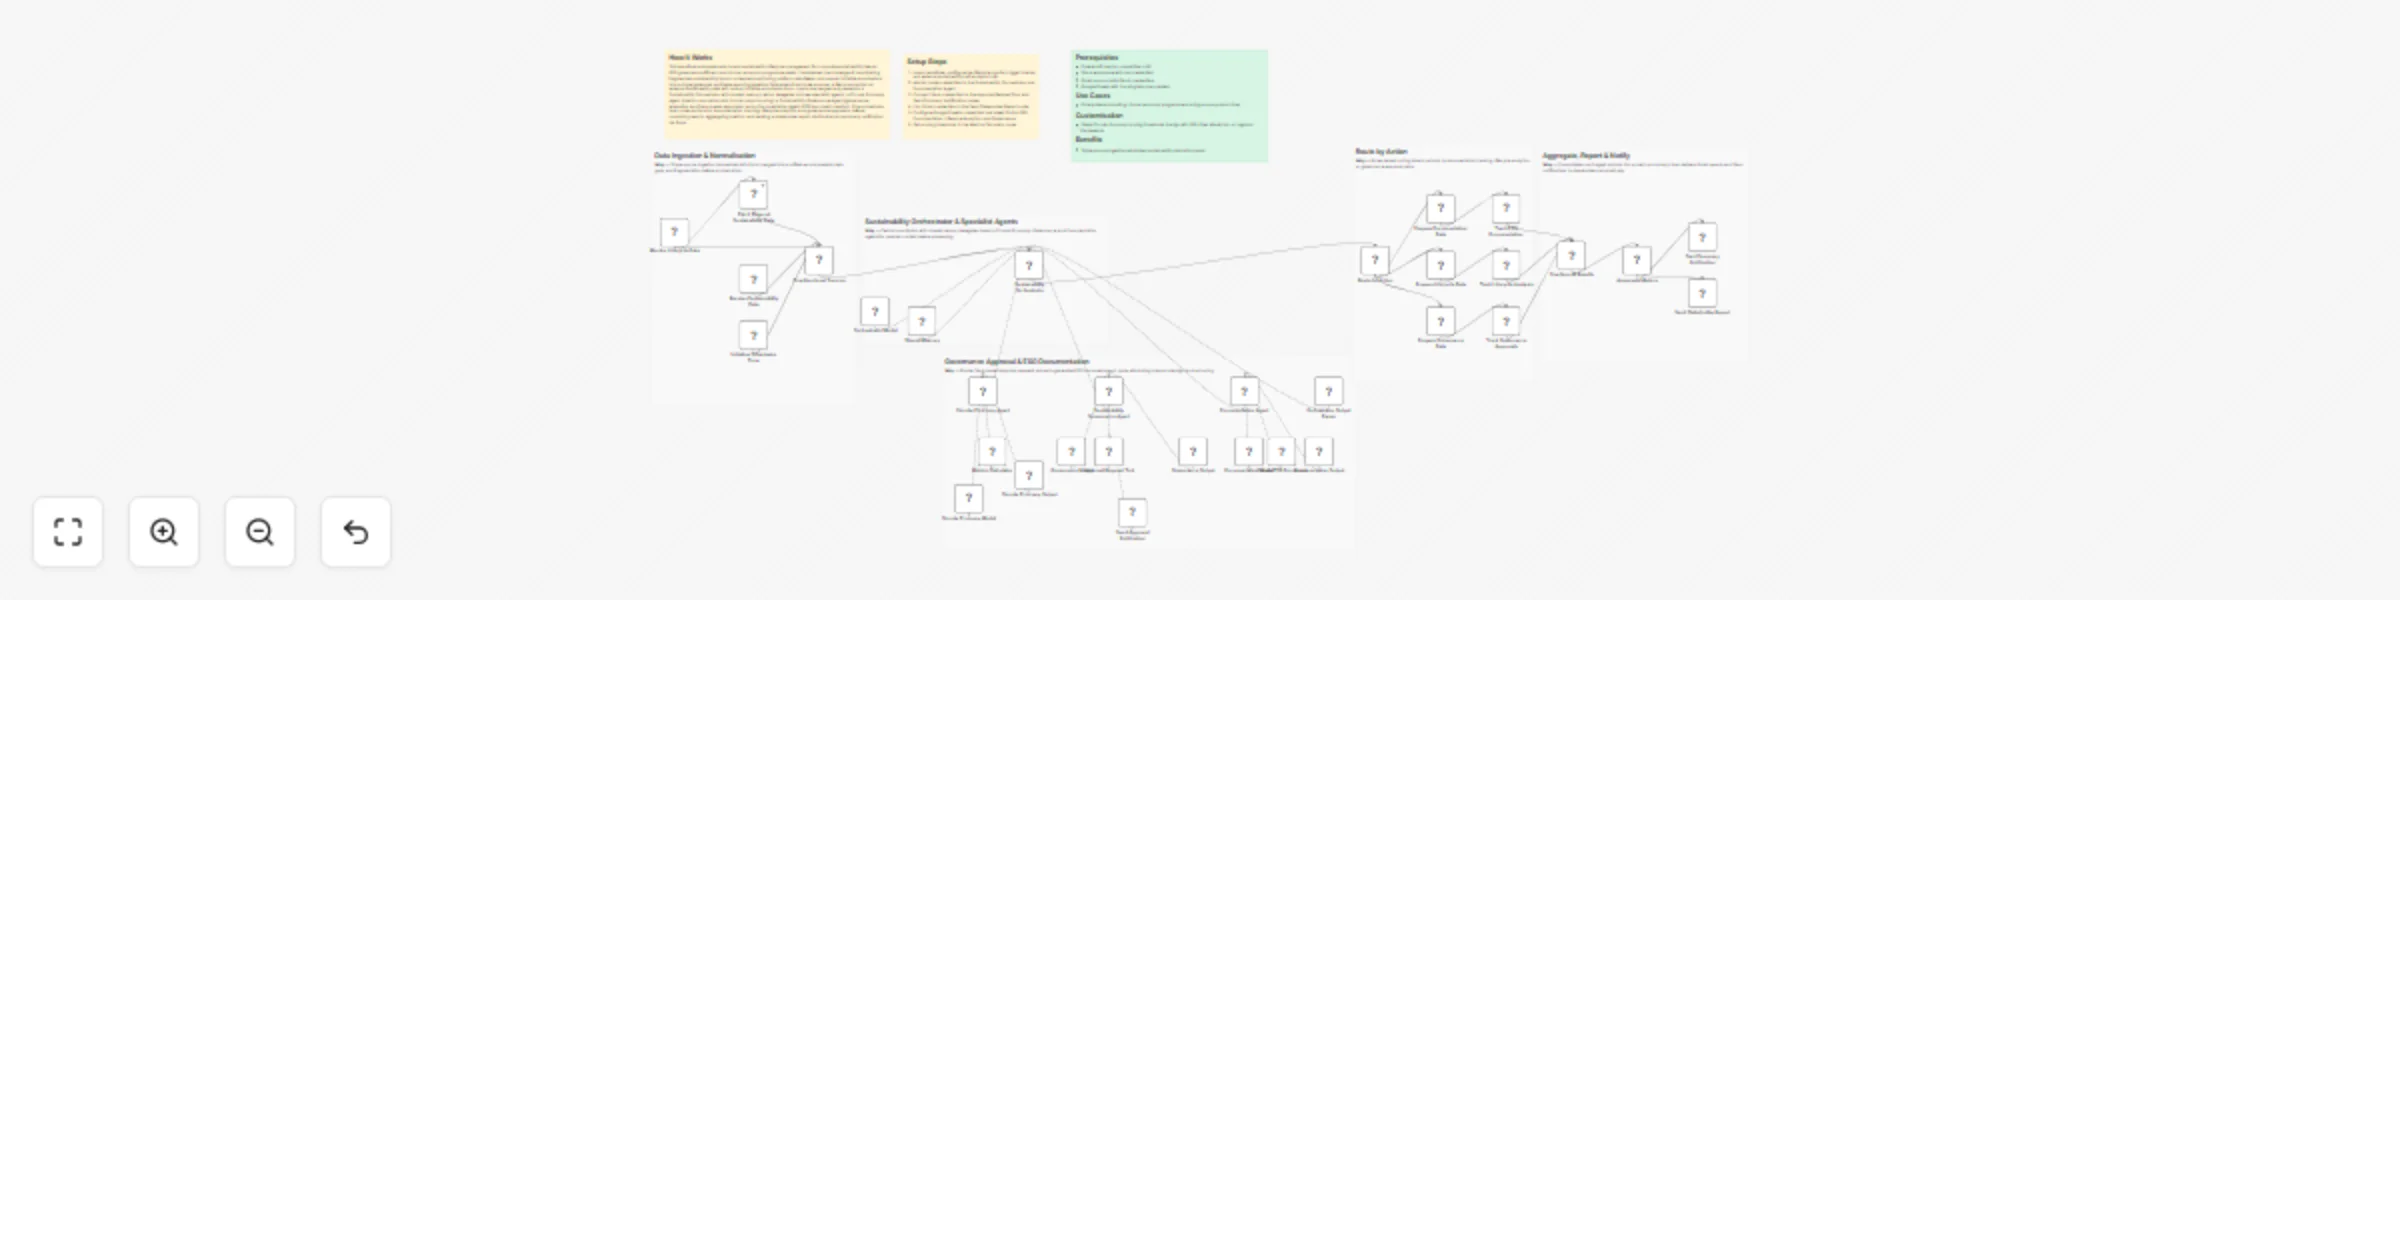
Automate ESG carbon monitoring and strategy execution with GPT-4o, Slack and Google Sheets
How It Works This workflow automates end to end carbon emissions monitoring, strategy optimisation, and ESG reporting...
Monitor and optimize carbon emissions for ESG reporting with GPT-4o, Slack and Sheets
How It Works This workflow automates end to end carbon emissions monitoring, strategy optimisation, and ESG reporting...
Automate ESG carbon monitoring and strategy execution with GPT-4o, Slack and Sheets
How It Works This workflow automates end to end carbon emissions monitoring, strategy optimisation, and ESG reporting...
Monitor and optimize carbon emissions for ESG with GPT‐4o, Slack and Google Sheets
How It Works This workflow automates end to end carbon emissions monitoring, strategy optimisation, and ESG reporting...
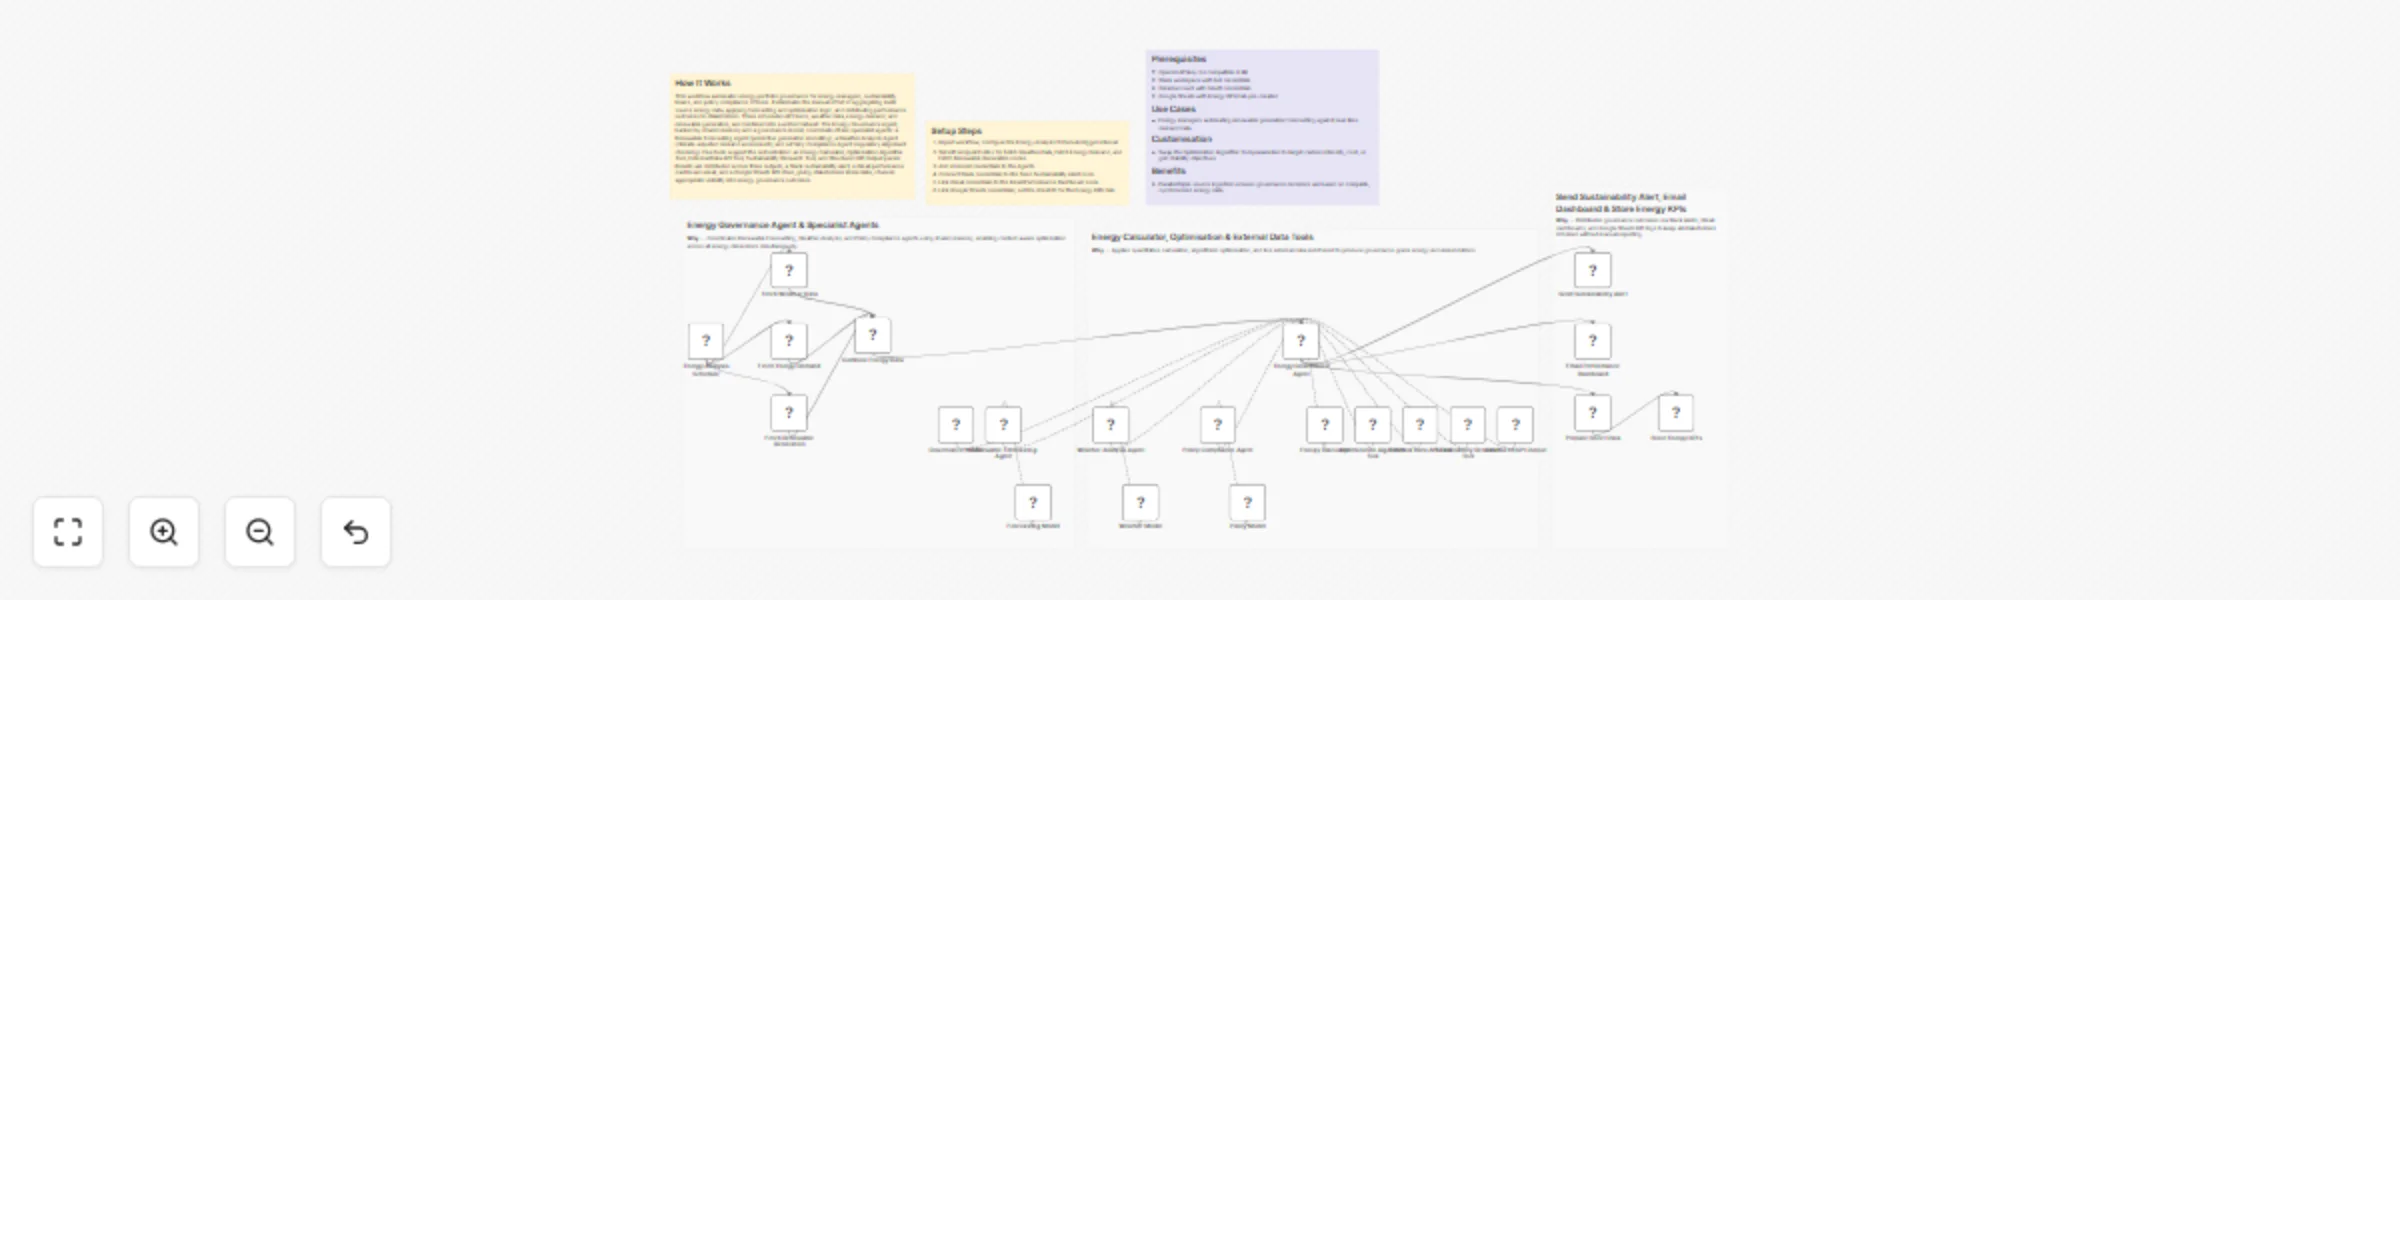
Govern energy portfolios with GPT-4o, Perplexity, Slack, Gmail and Sheets
How It Works This workflow automates energy portfolio governance for energy managers, sustainability teams, and polic...
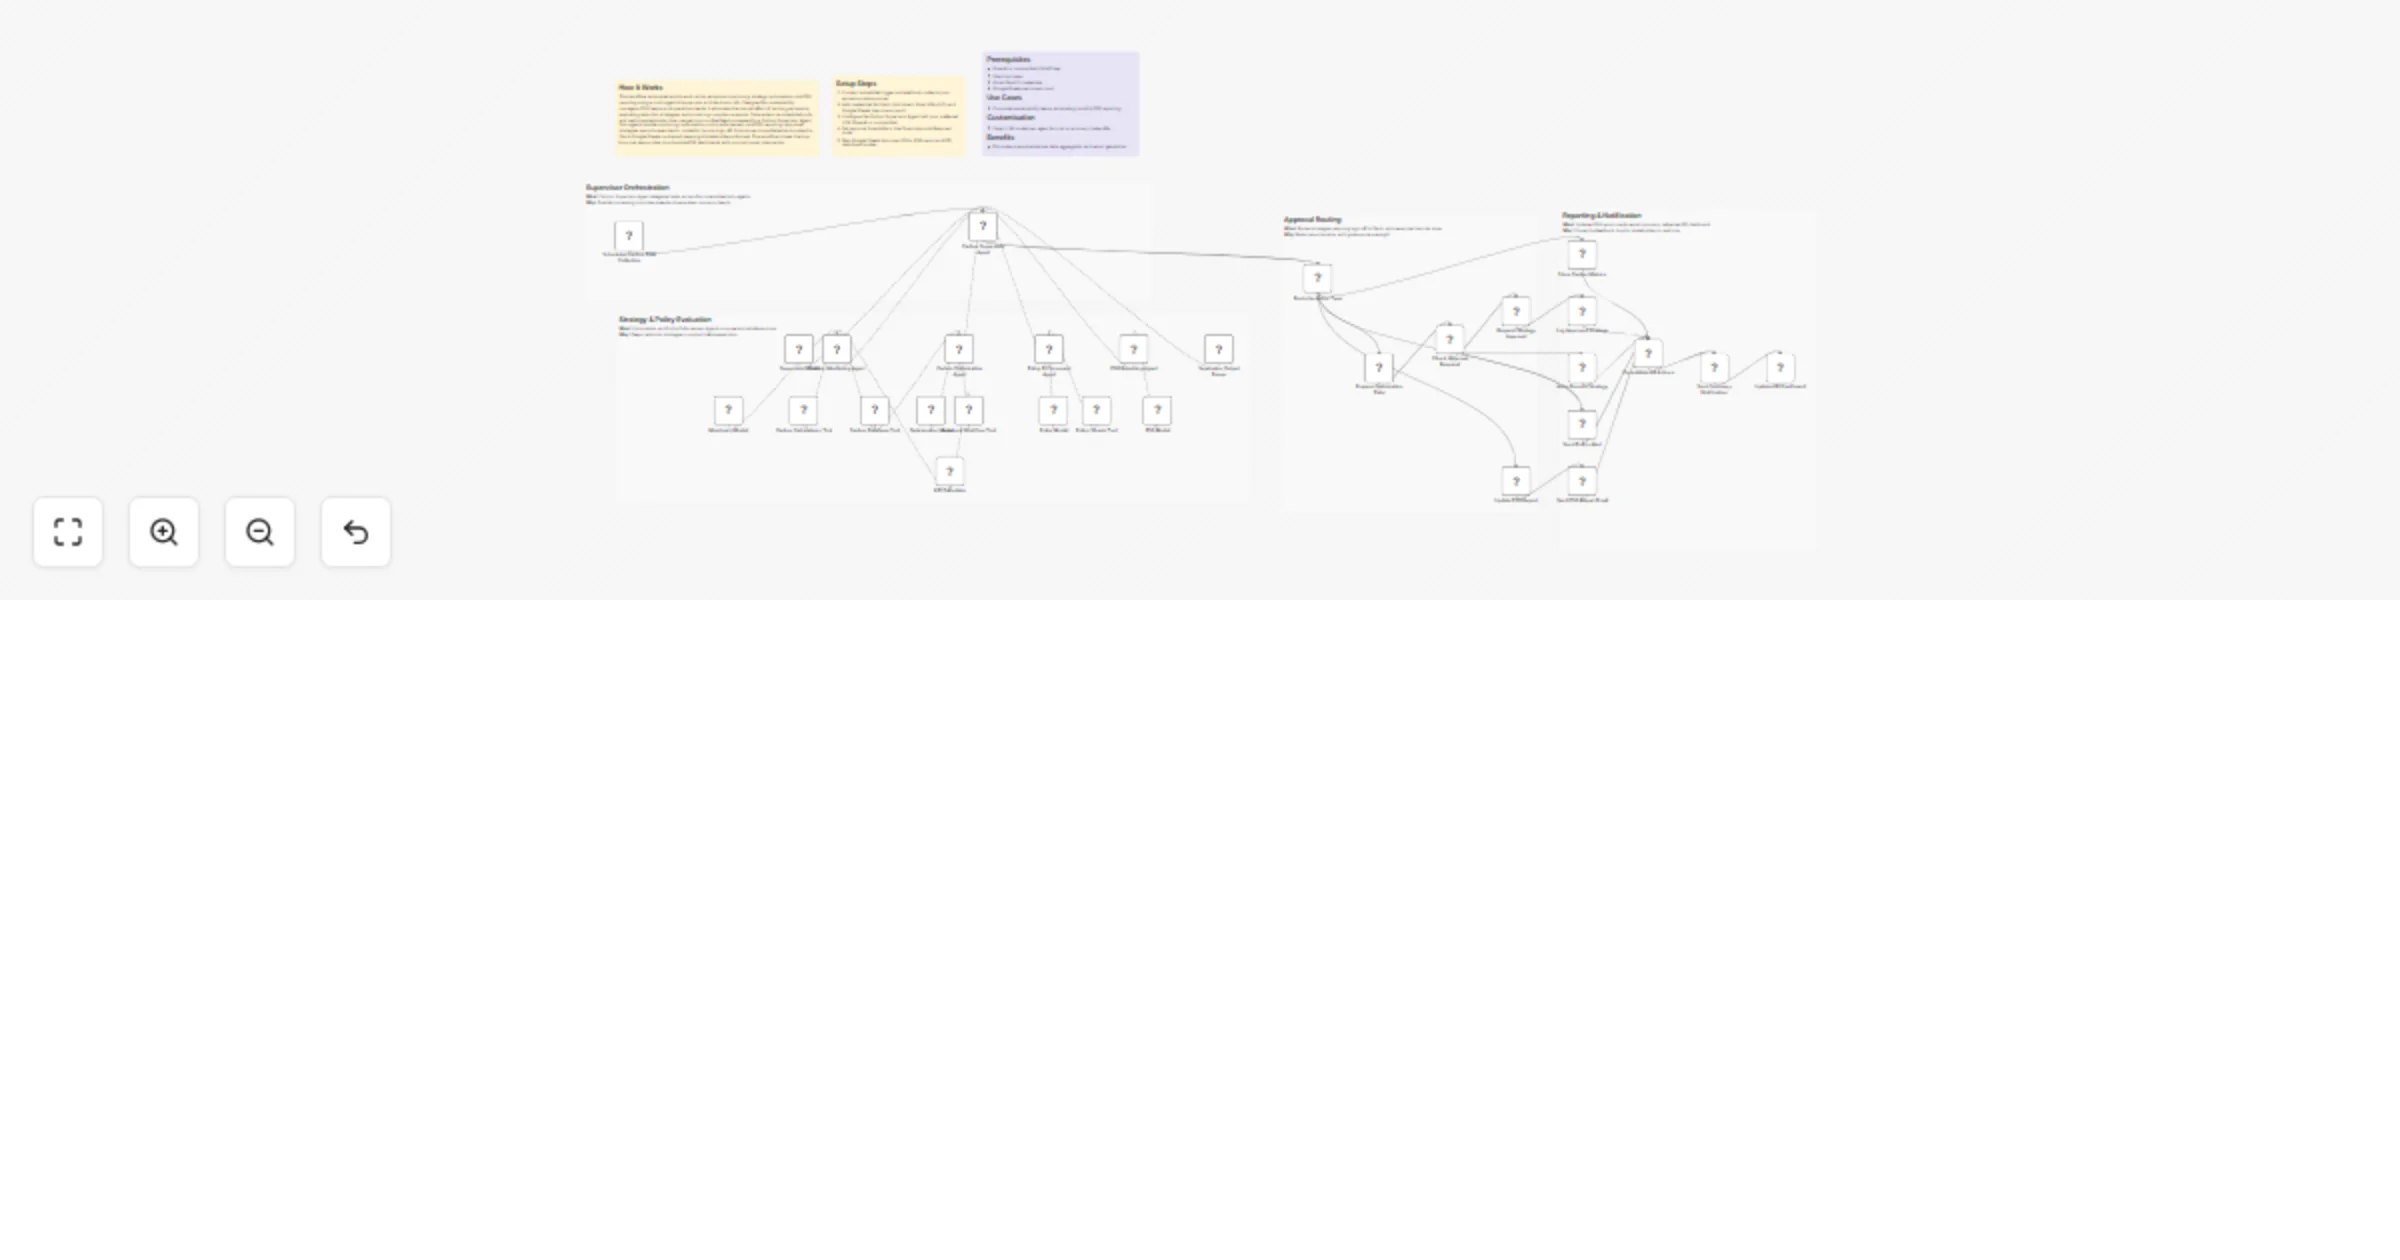
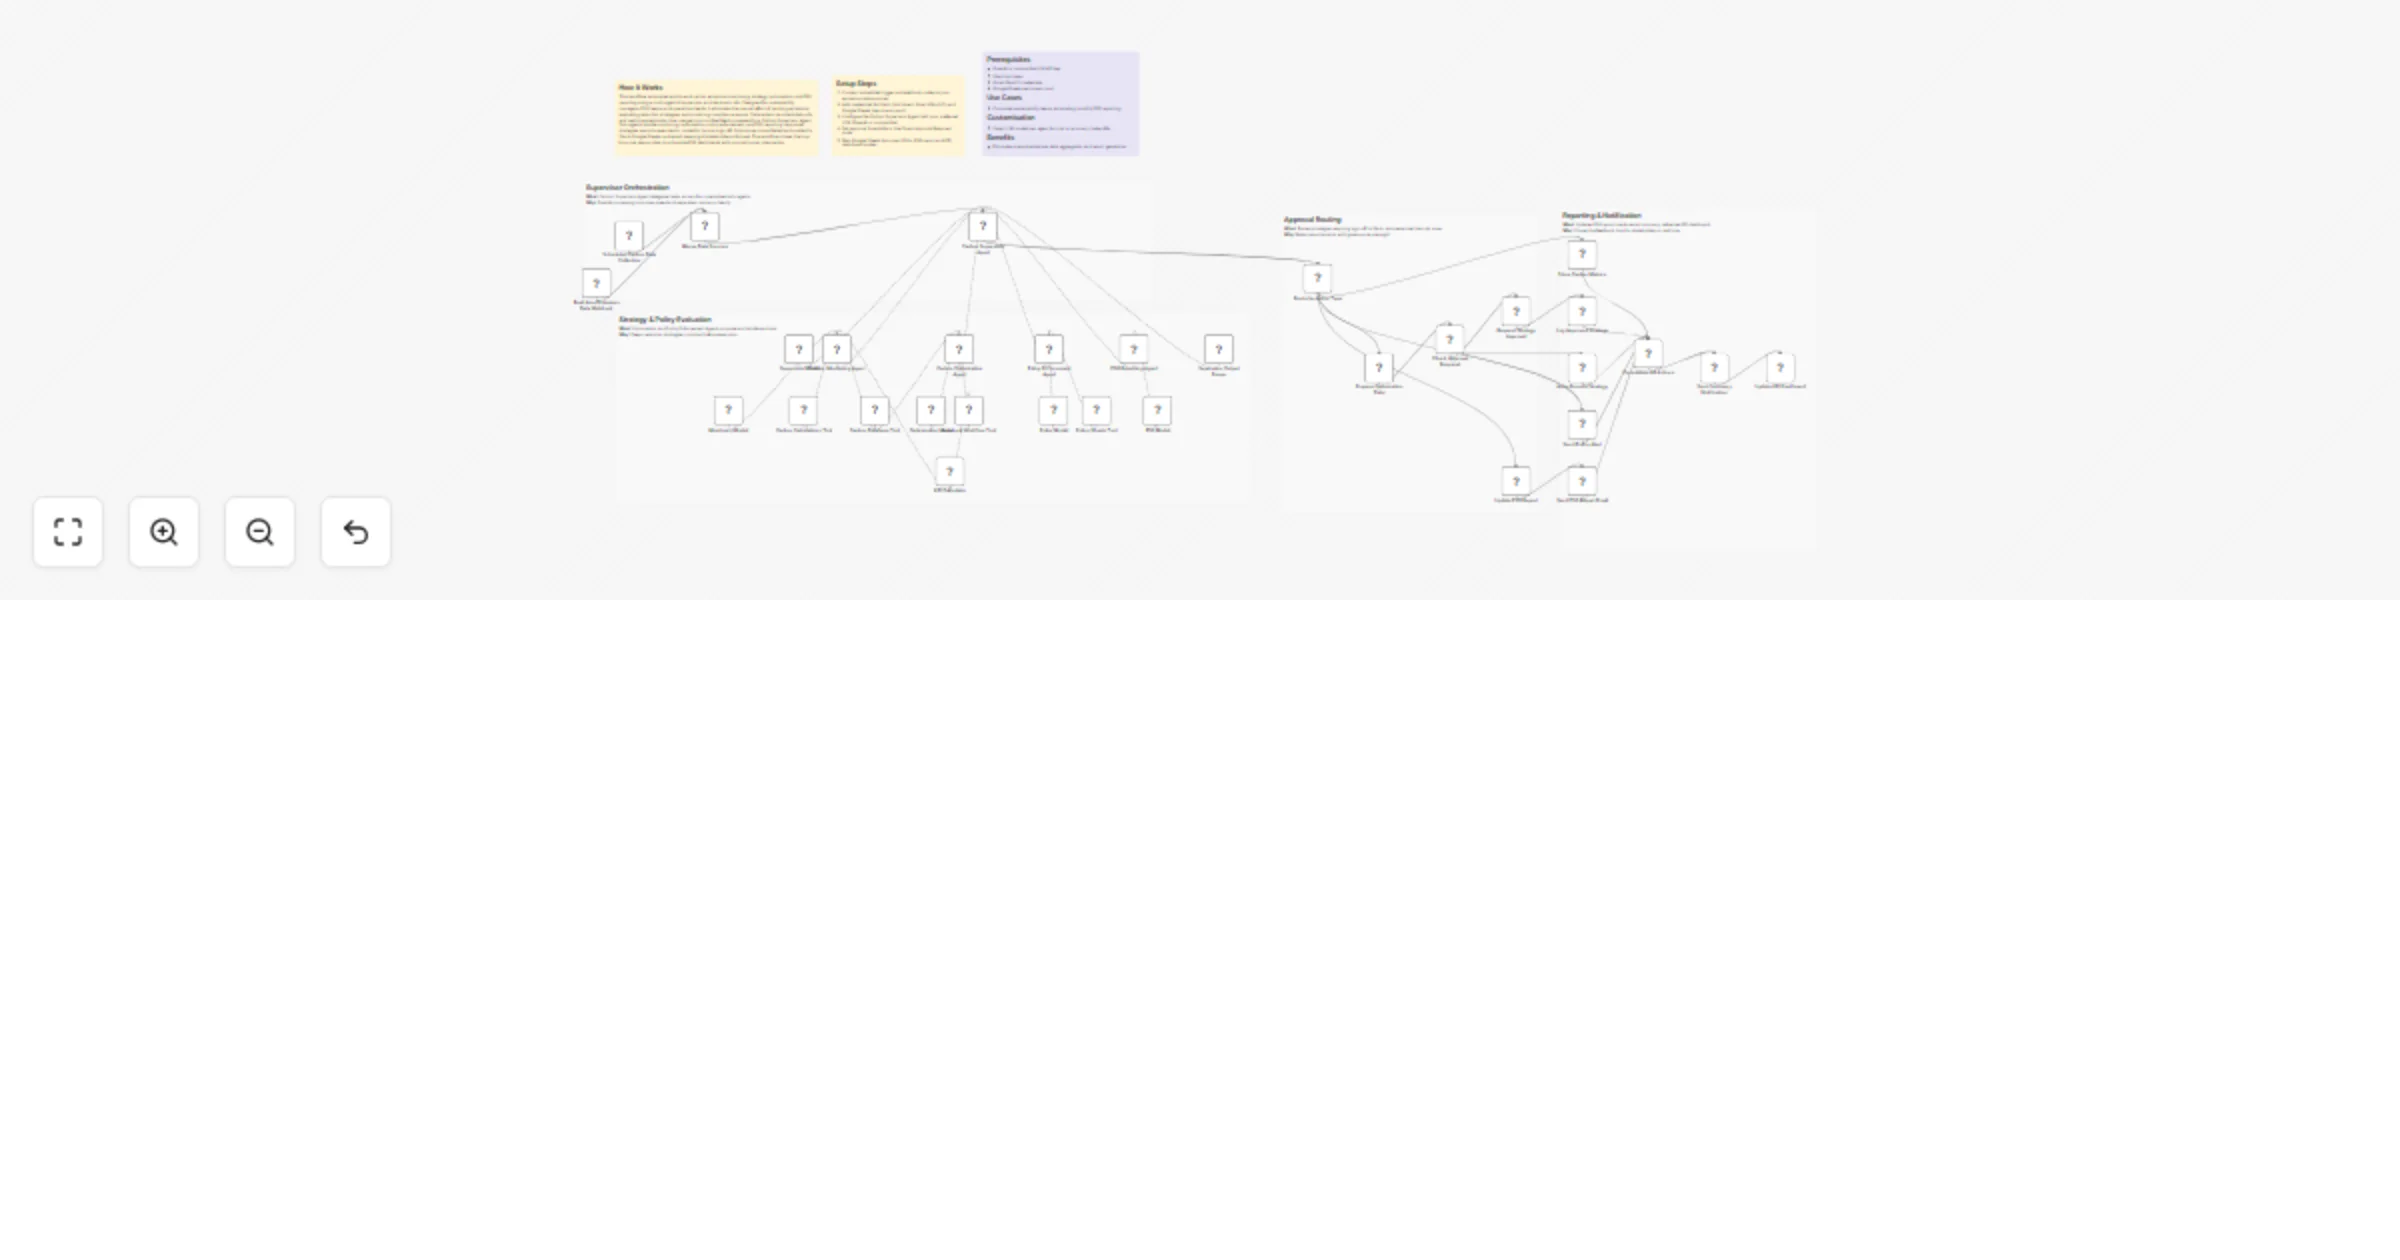
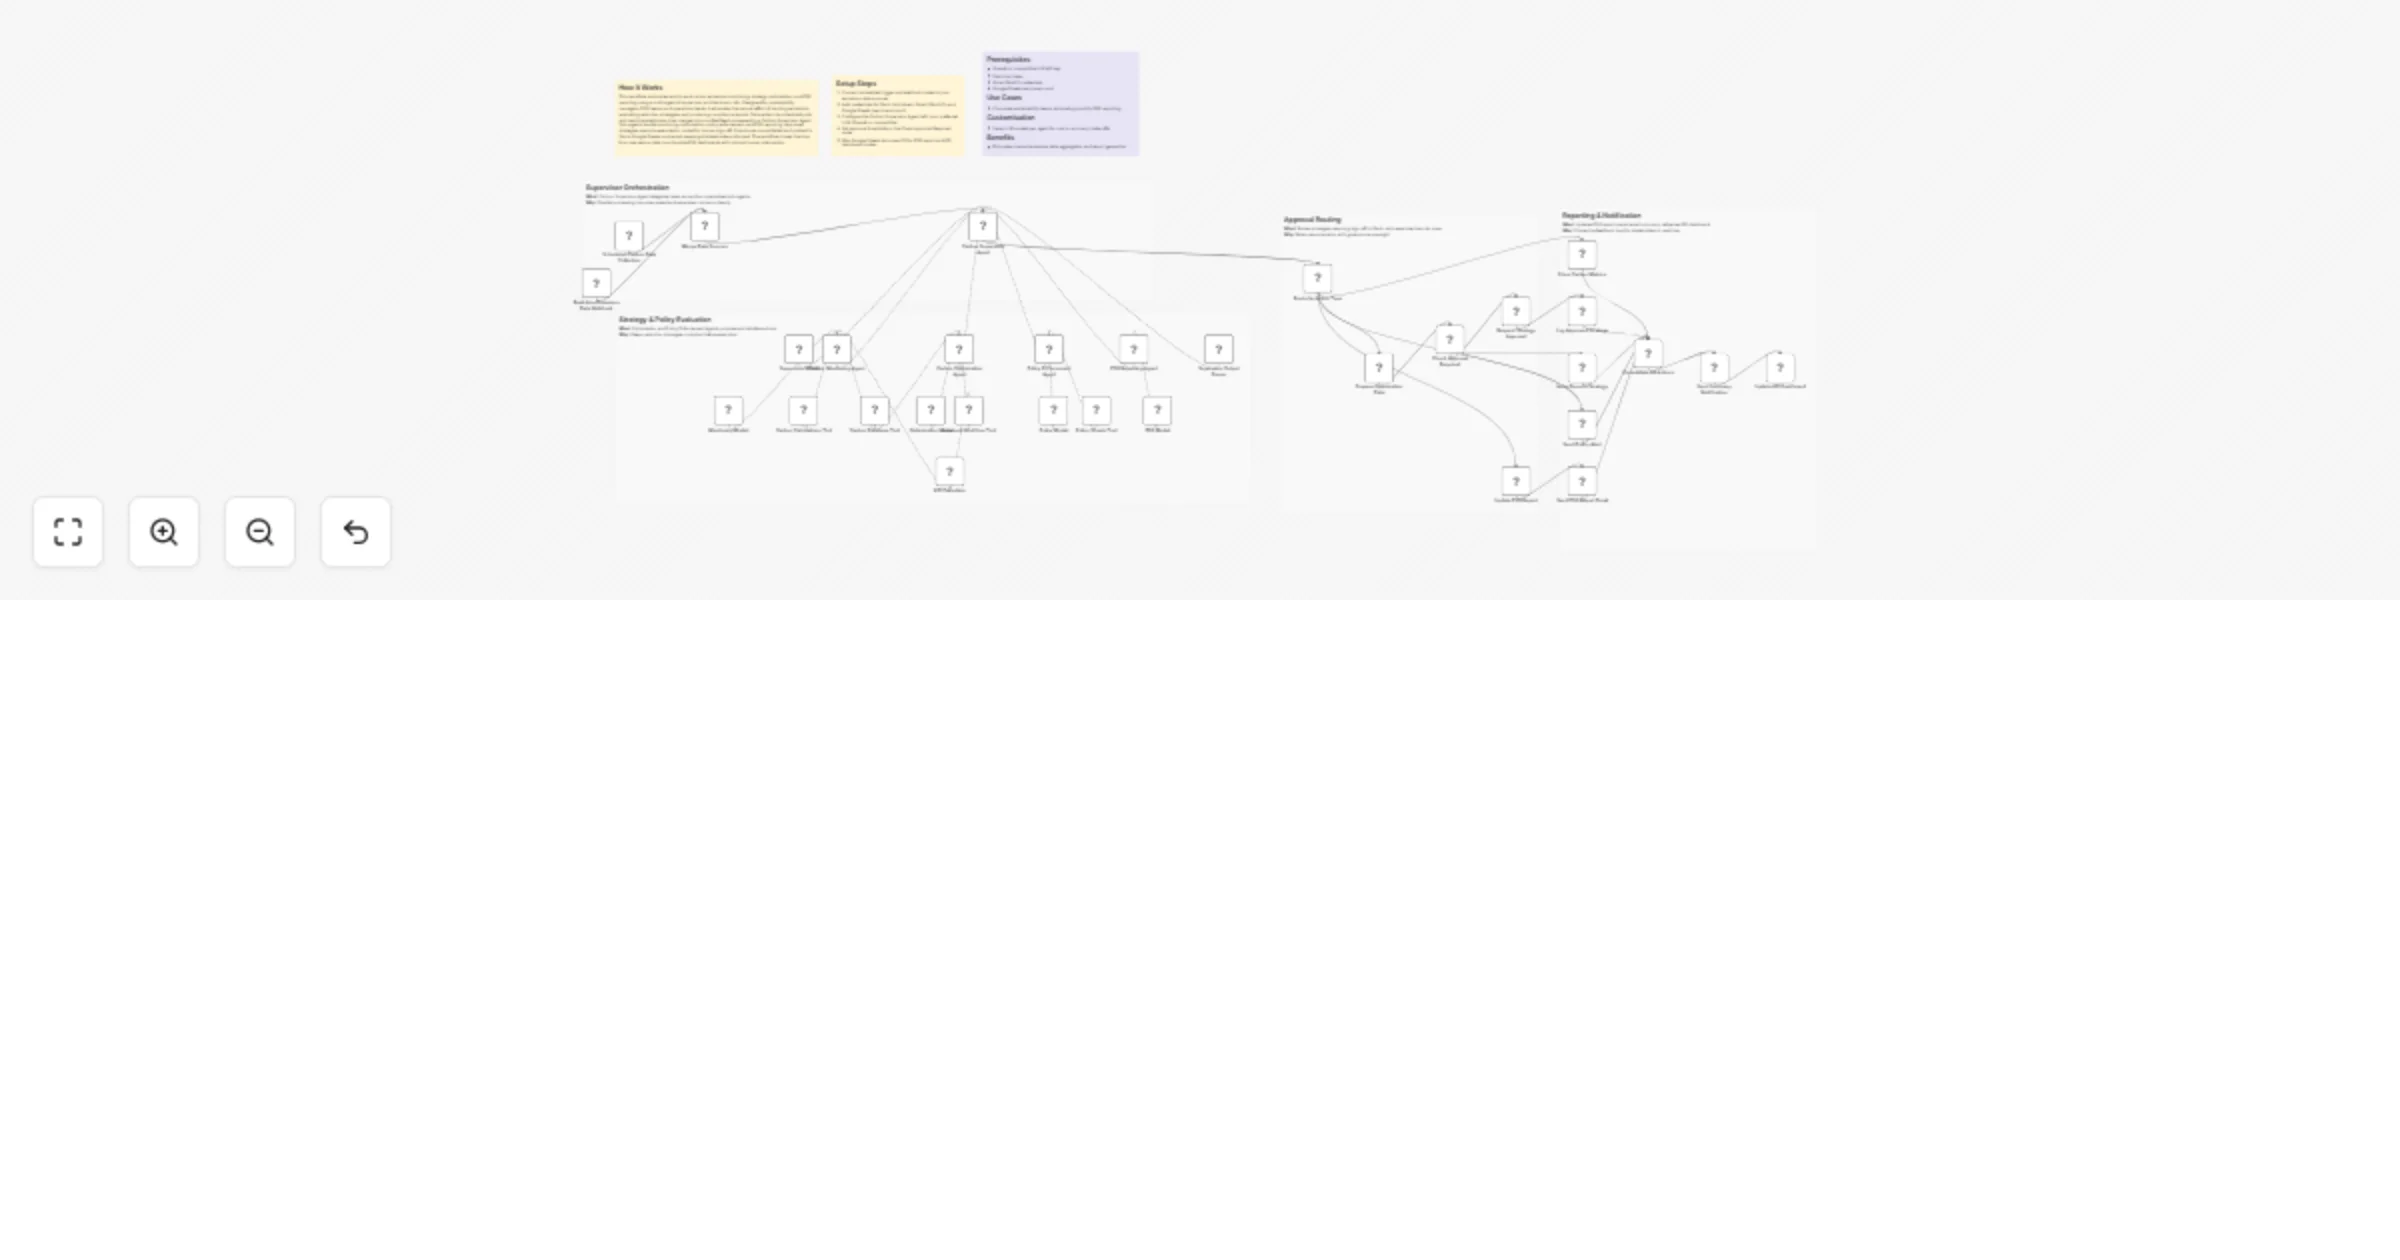
Orchestrate sustainability lifecycle analytics with GPT-4o, Slack, Gmail and Google Docs
How It Works This workflow automates end to end sustainability lifecycle management for corporate sustainability team...
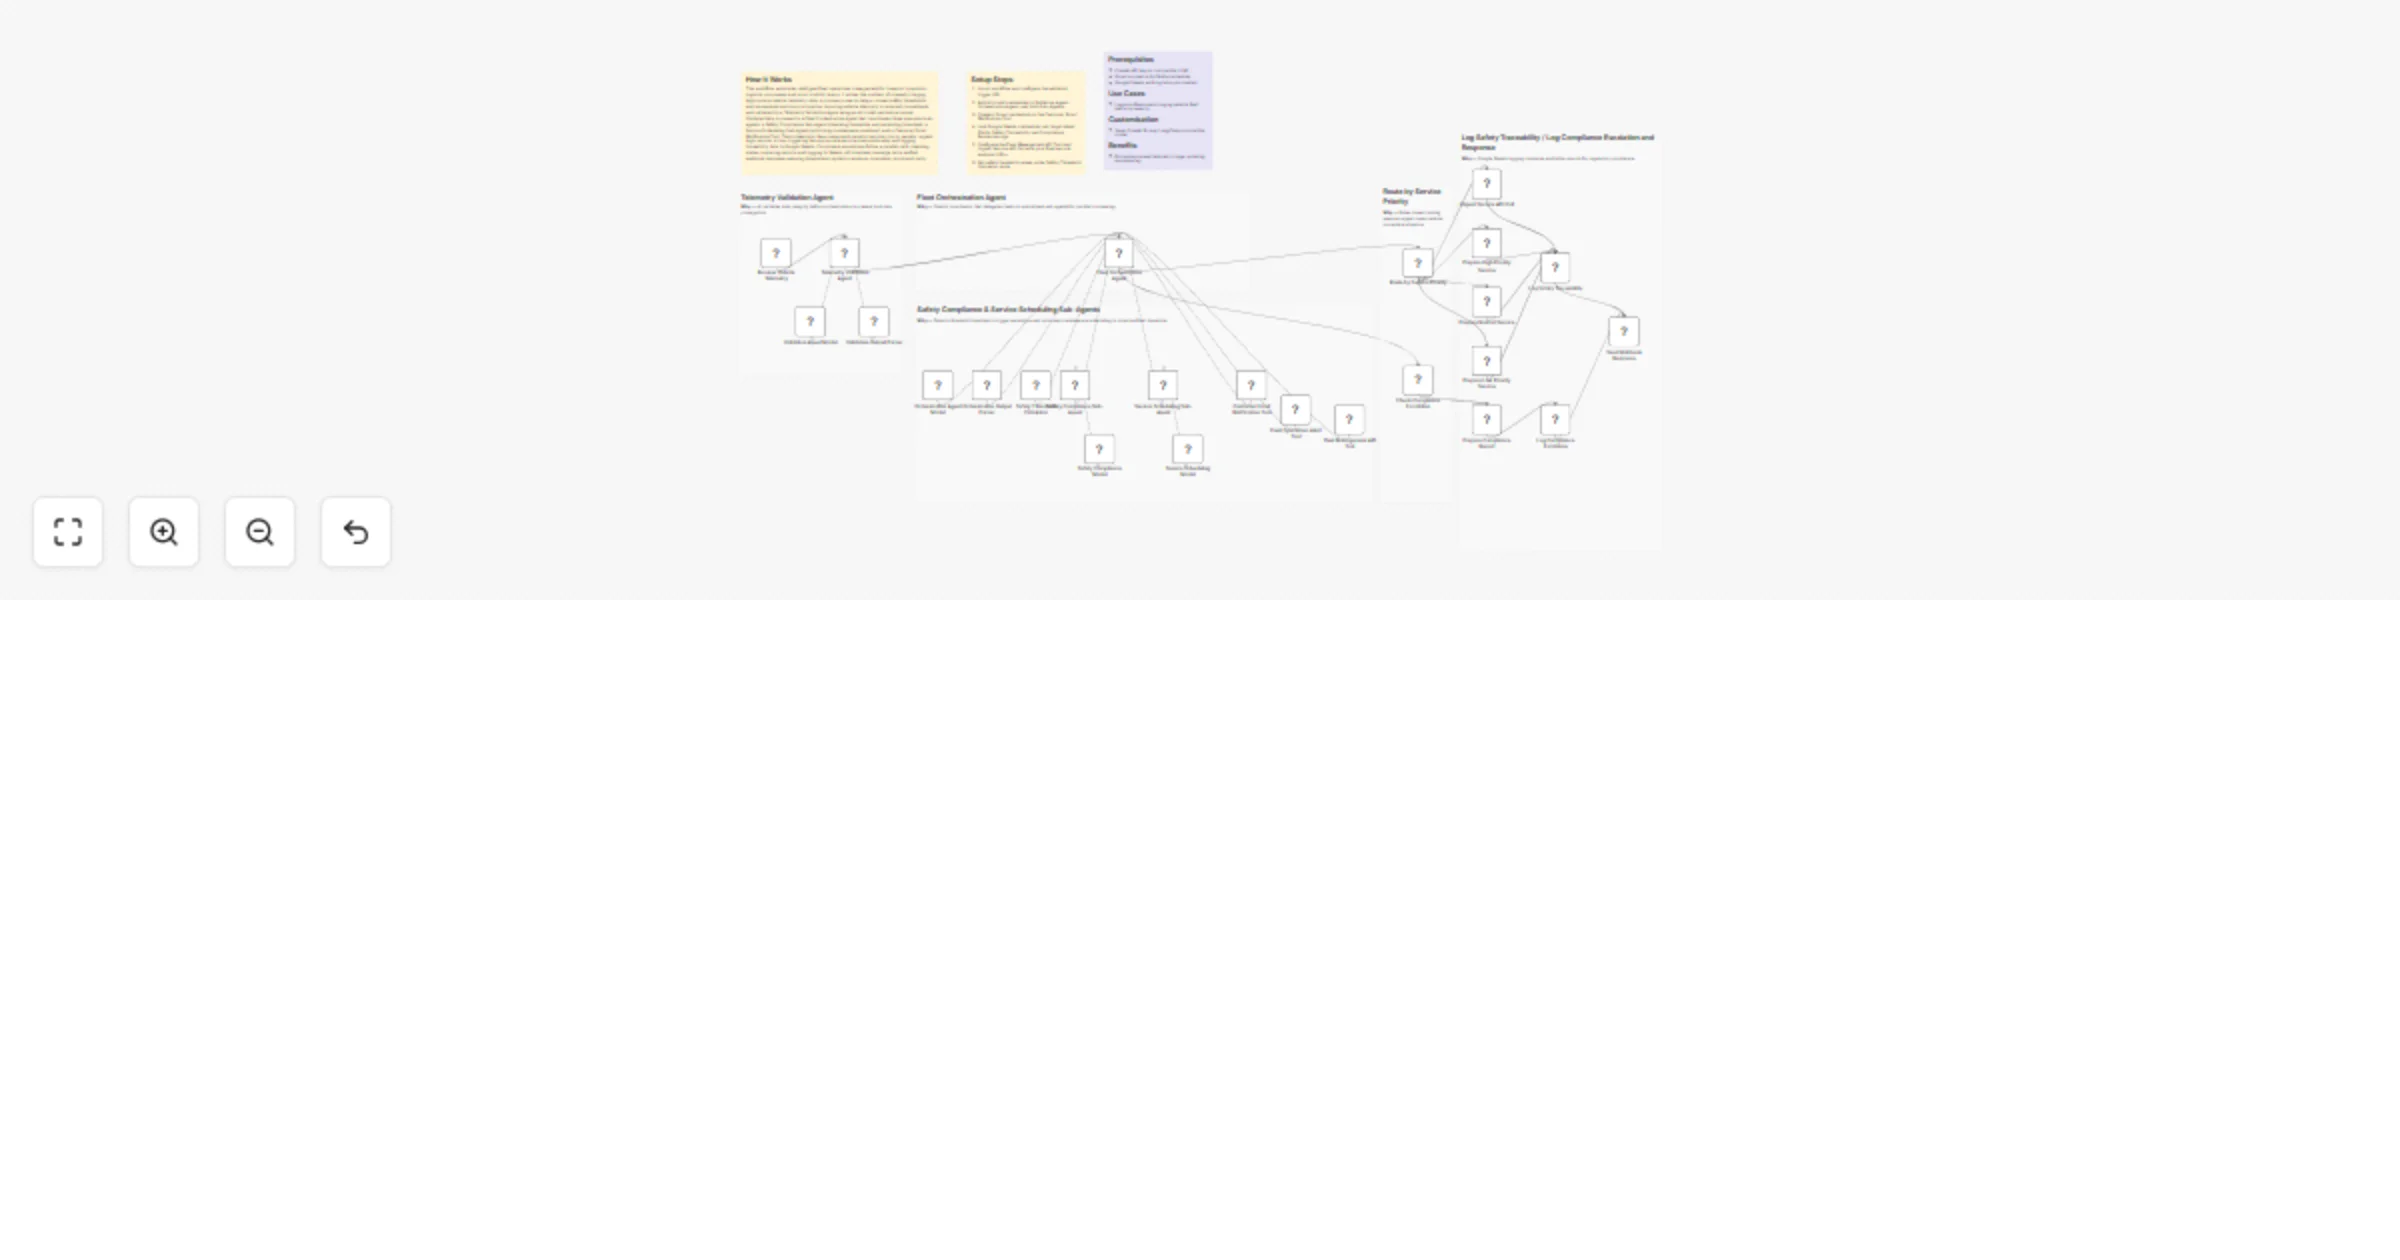
Triage fleet telemetry and route safety compliance with GPT-4o, Gmail and Sheets
How It Works This workflow automates intelligent fleet operations management for transport operators, logistics compa...

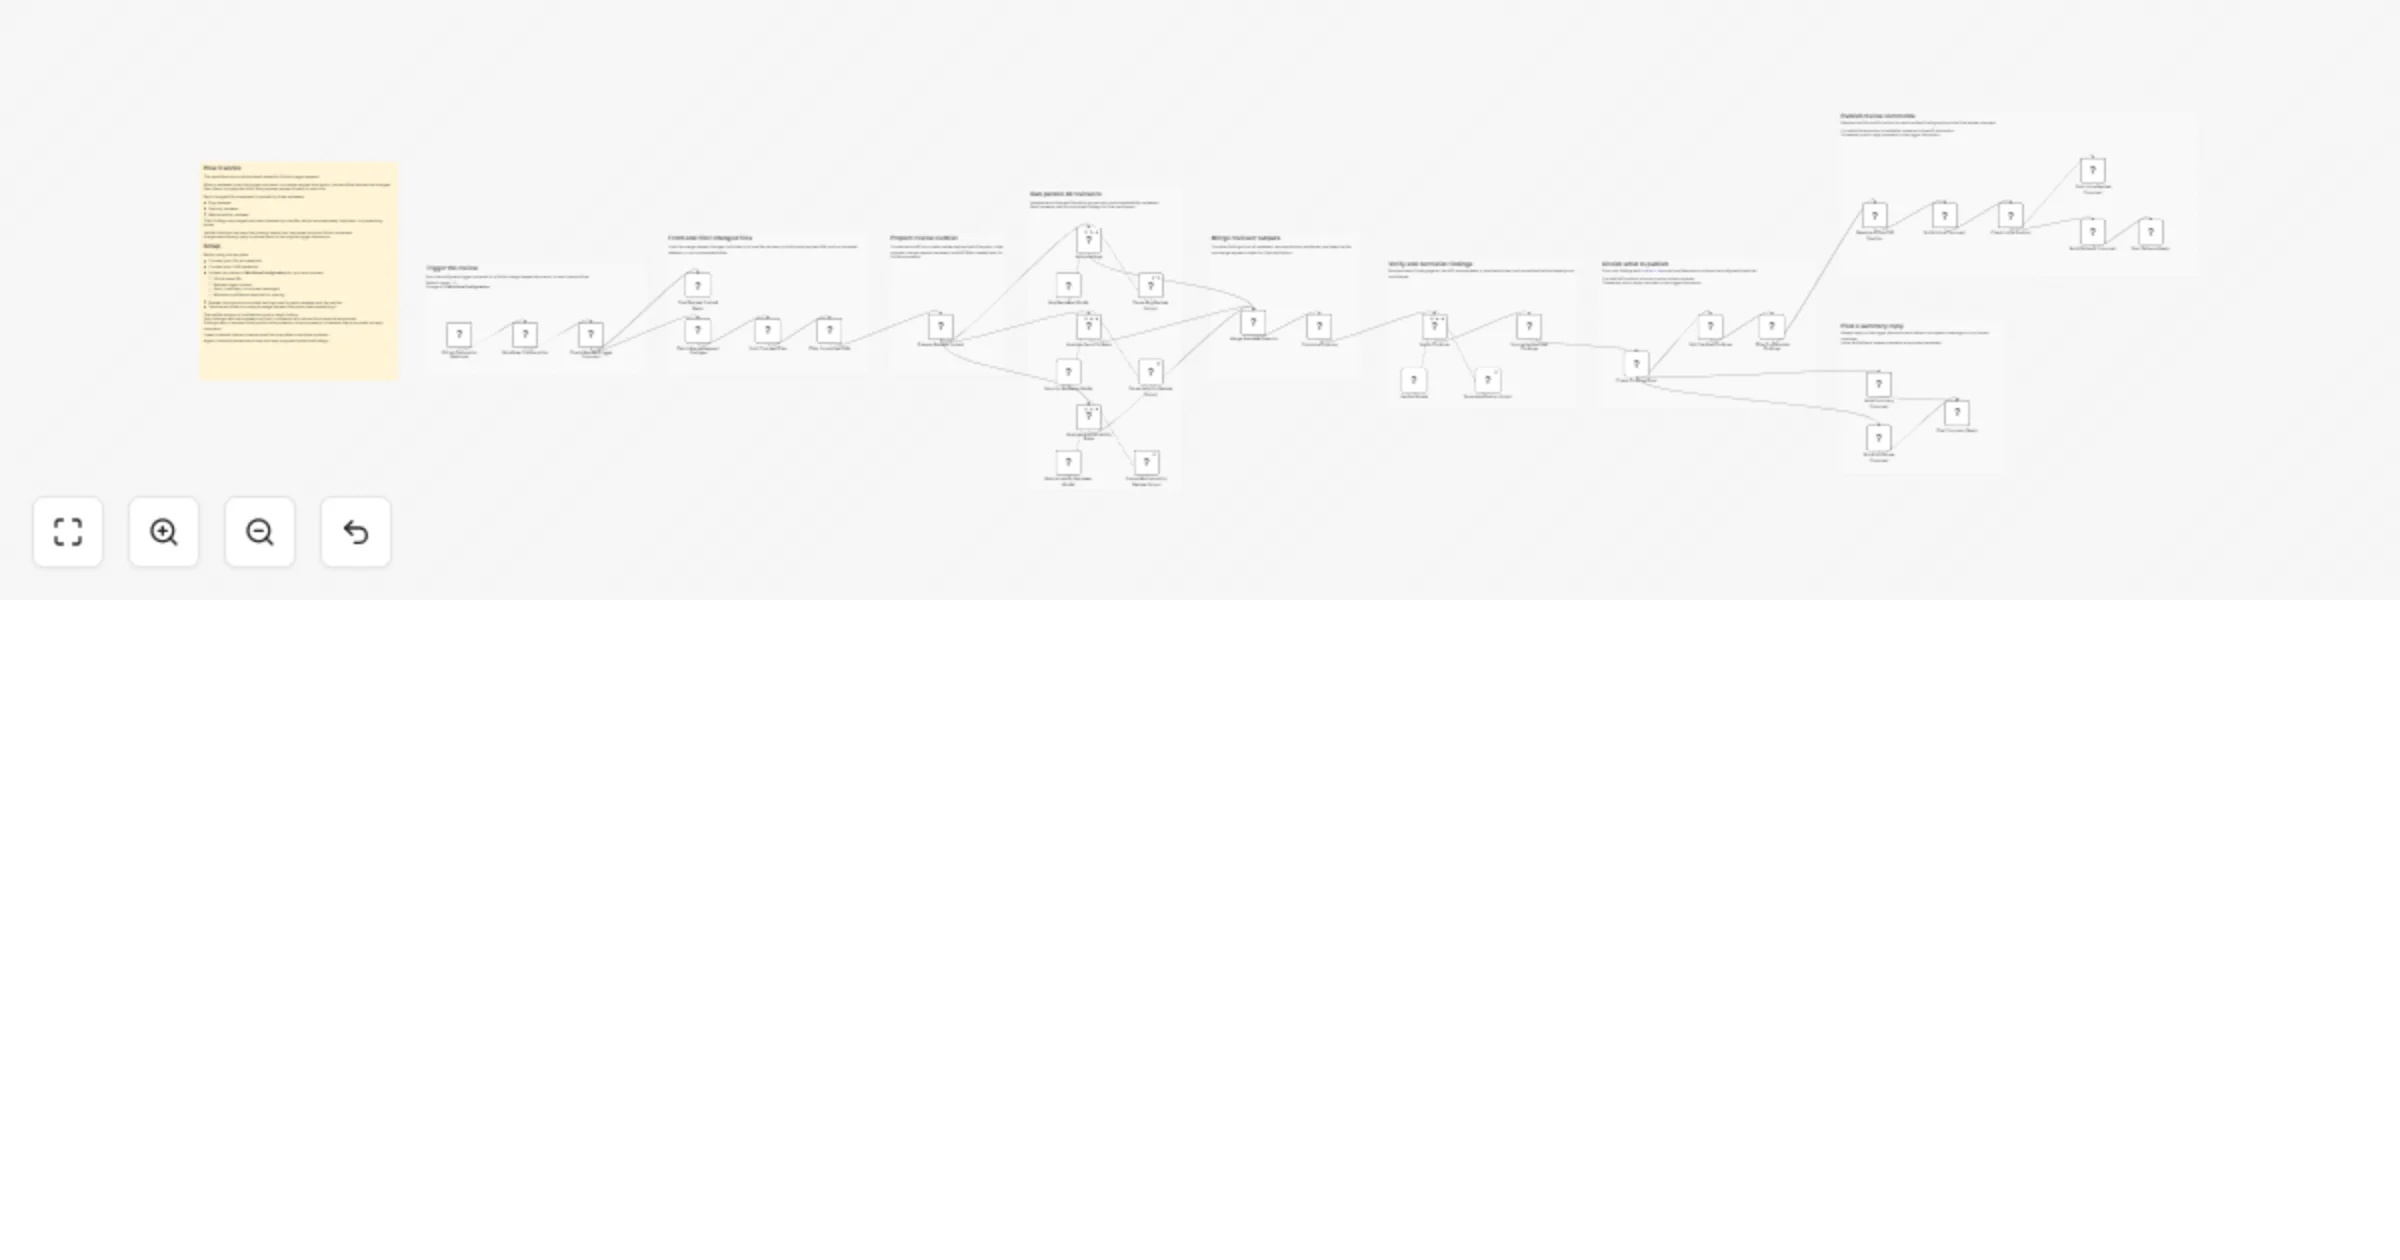
Generate multi-pass Seedance AI roto mattes with QC and Nuke handoff
📘 Description This workflow is an AI powered roto matte generation and first pass compositing pipeline designed for...
Review GitLab merge requests with parallel Azure OpenAI reviewers
Who this template is for This template is for teams that use GitLab merge requests and want a practical AI assisted r...
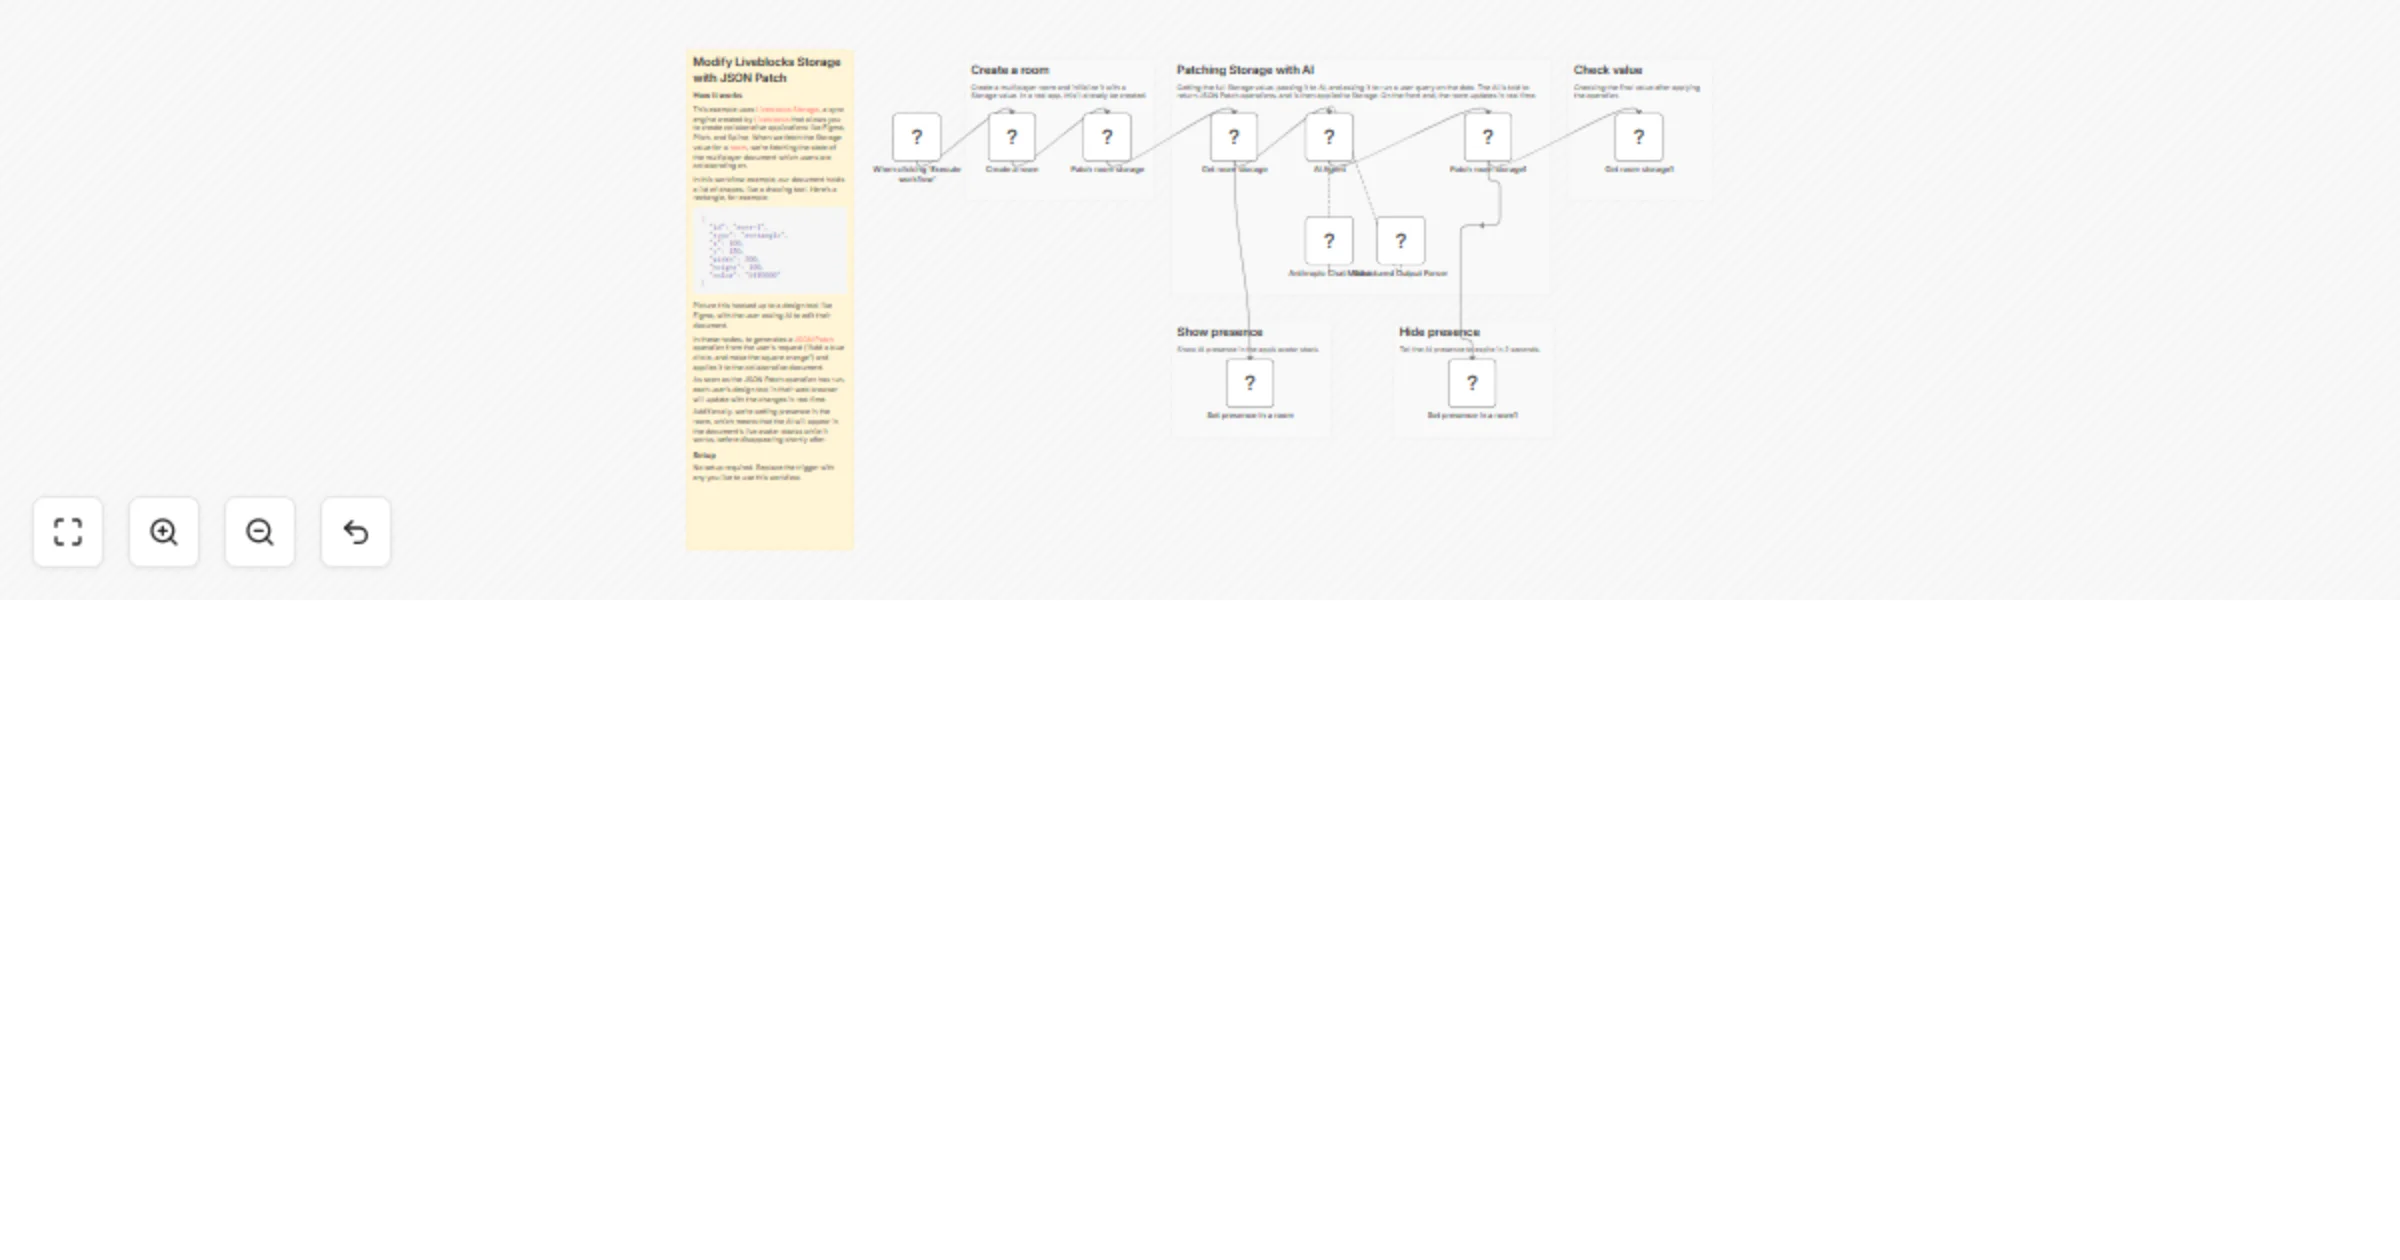
Modify Liveblocks storage with JSON Patch and Anthropic Claude
Modify Liveblocks Storage with JSON Patch This example uses Liveblocks Storage, a sync engine created by...
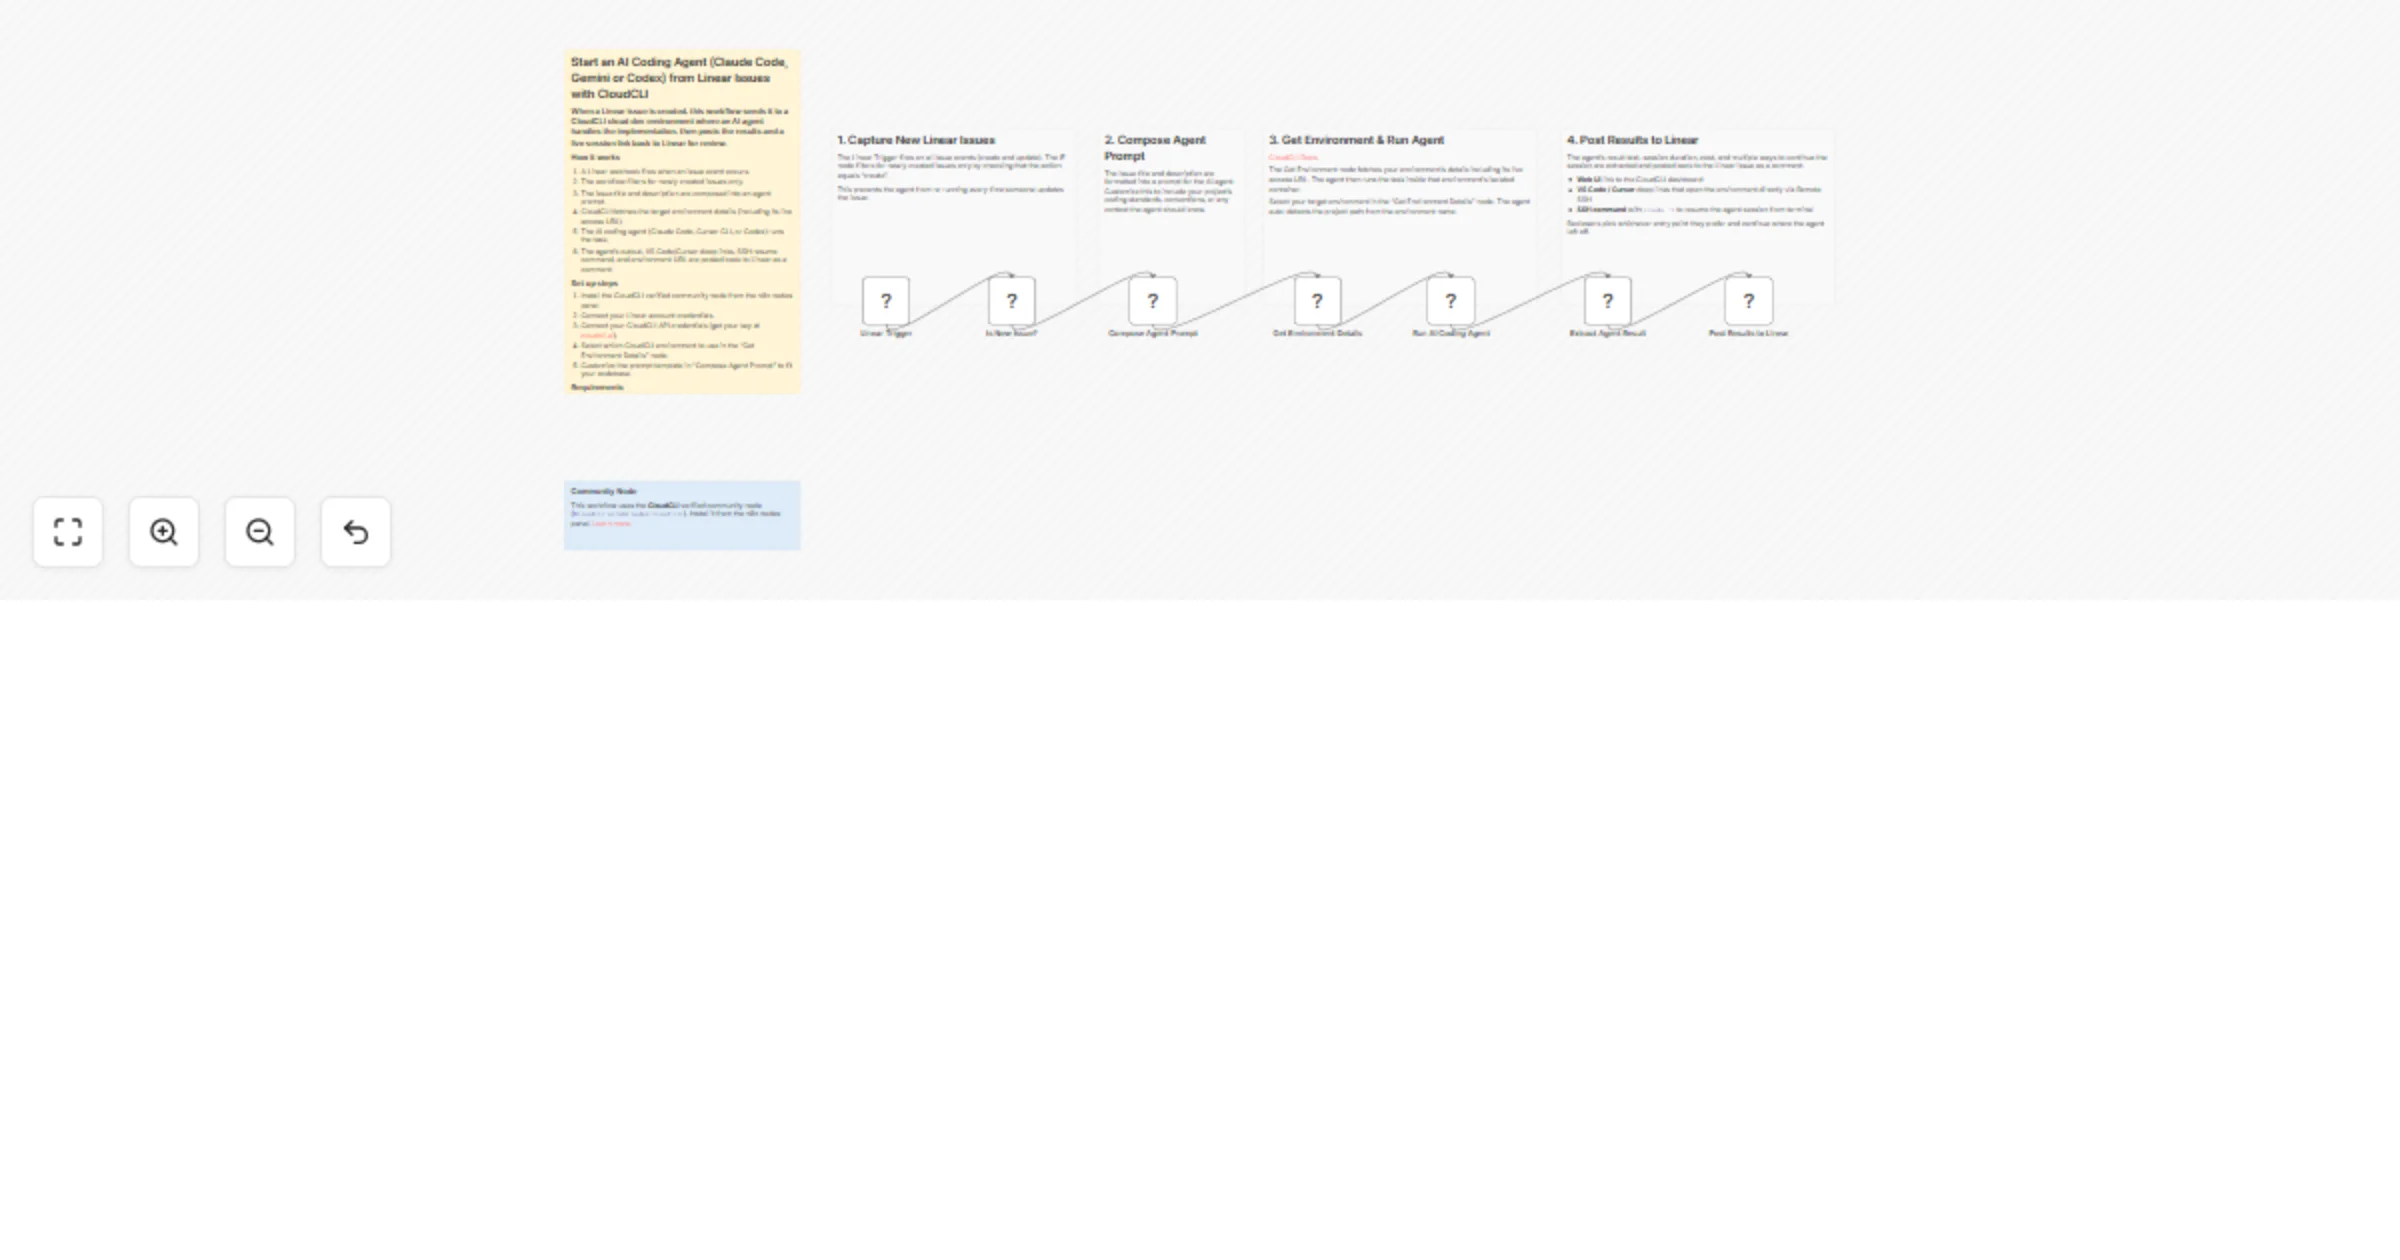
Start an AI coding agent from Linear issues with CloudCLI
Turn new Linear issues into automated AI coding sessions. When an issue is created, this workflow runs an AI coding a...
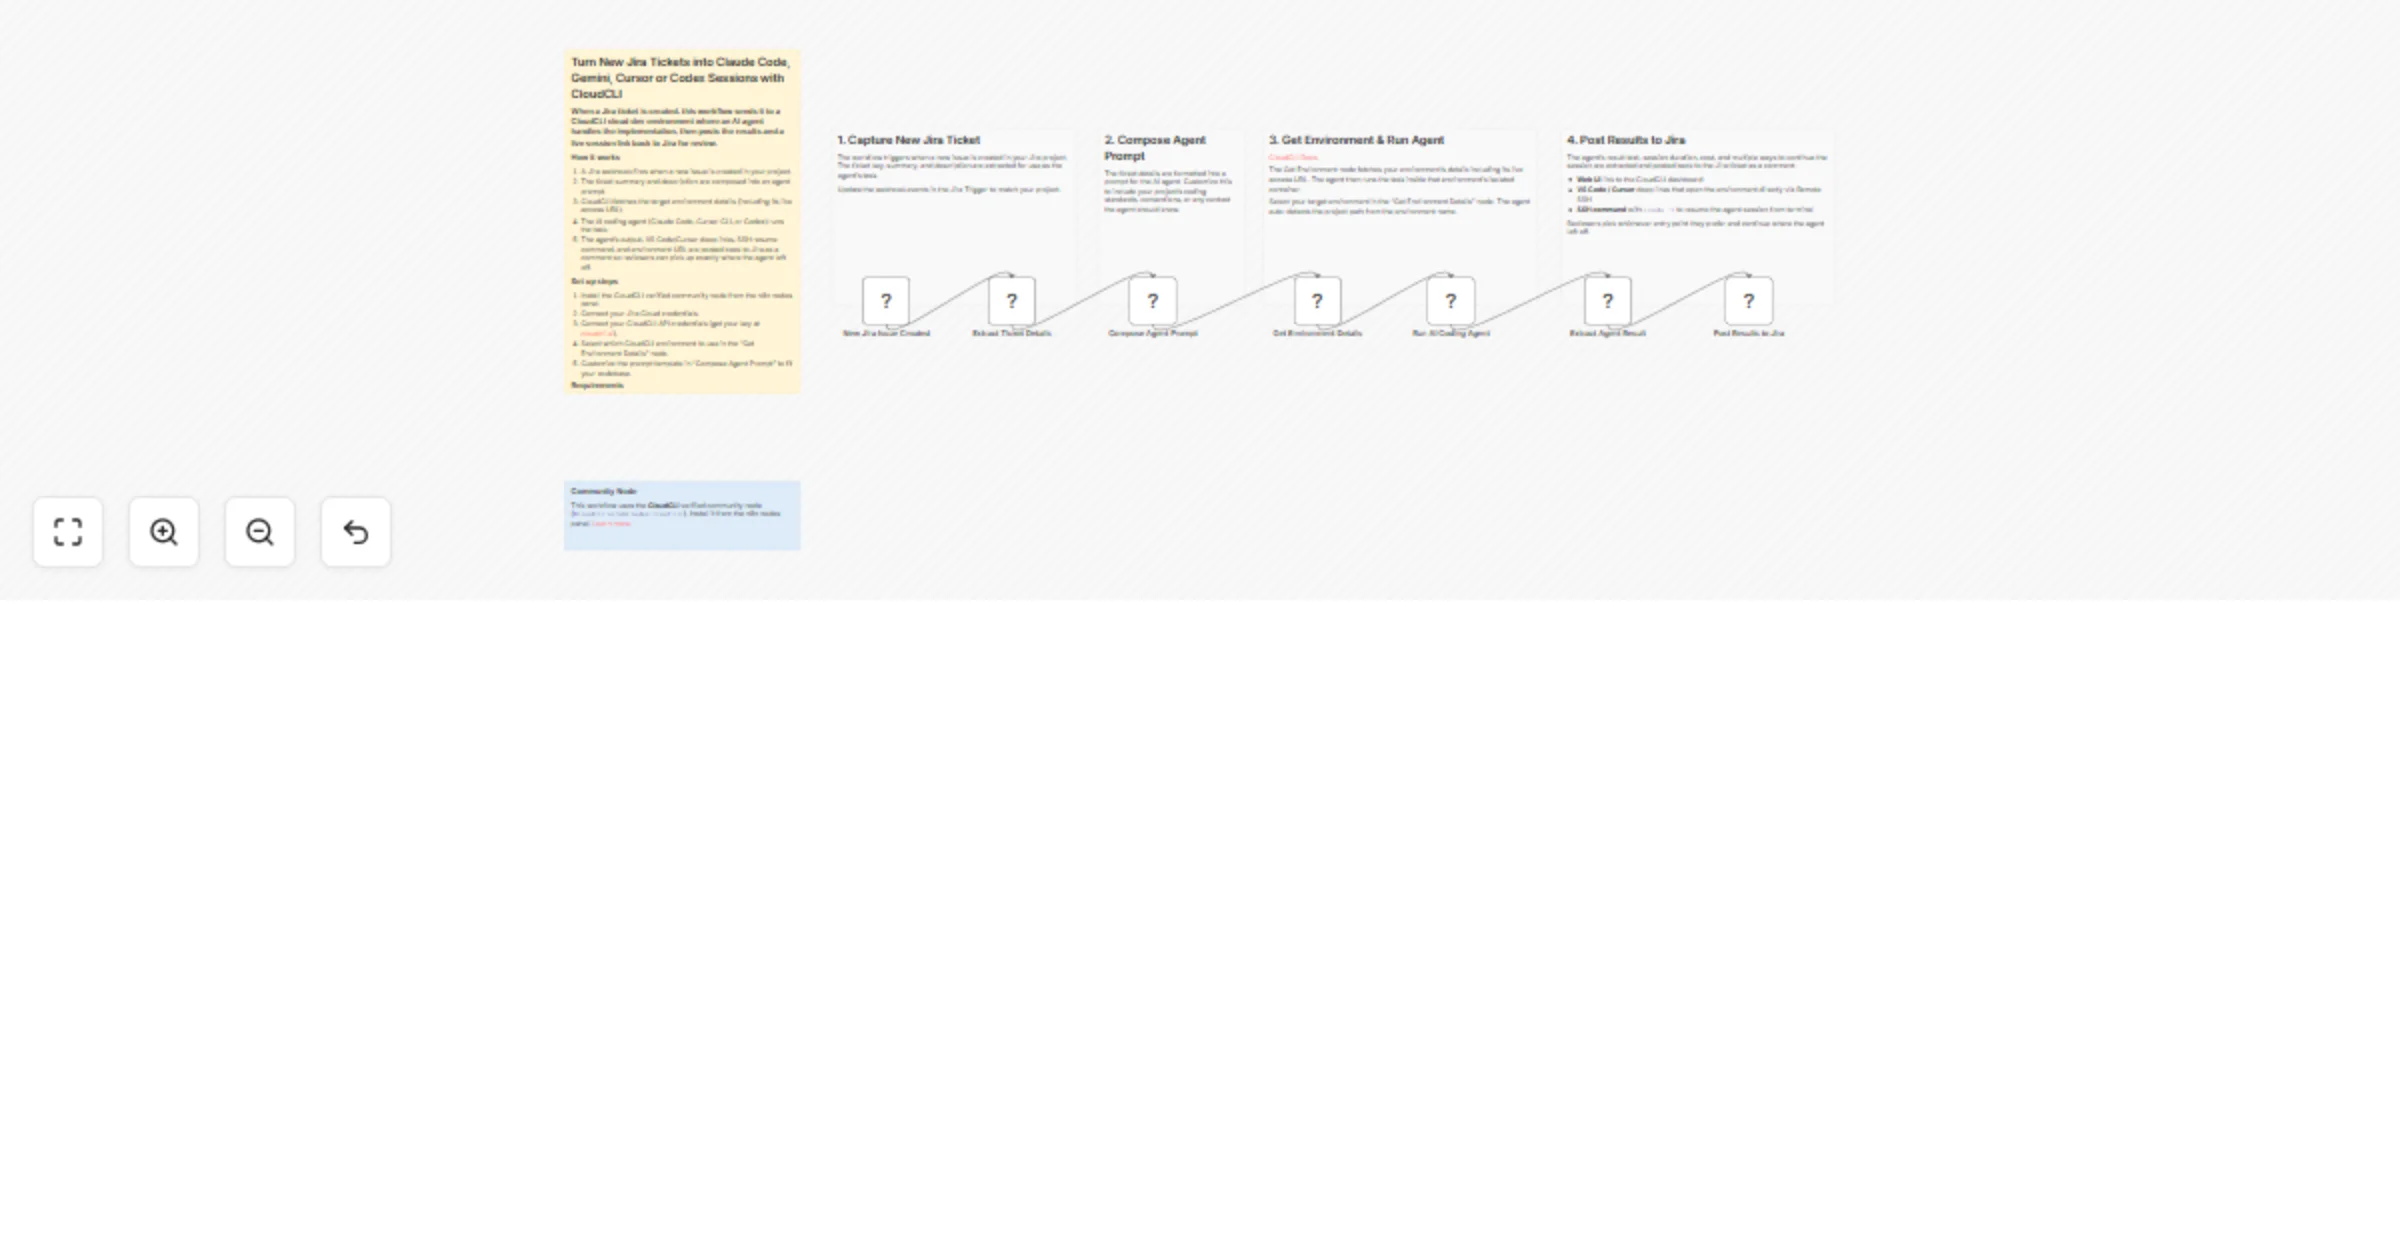
Turn new Jira tickets into CloudCLI AI coding sessions with Claude Code
Turn new Jira tickets into automated AI coding sessions. When a ticket is created, this workflow runs an AI coding ag...
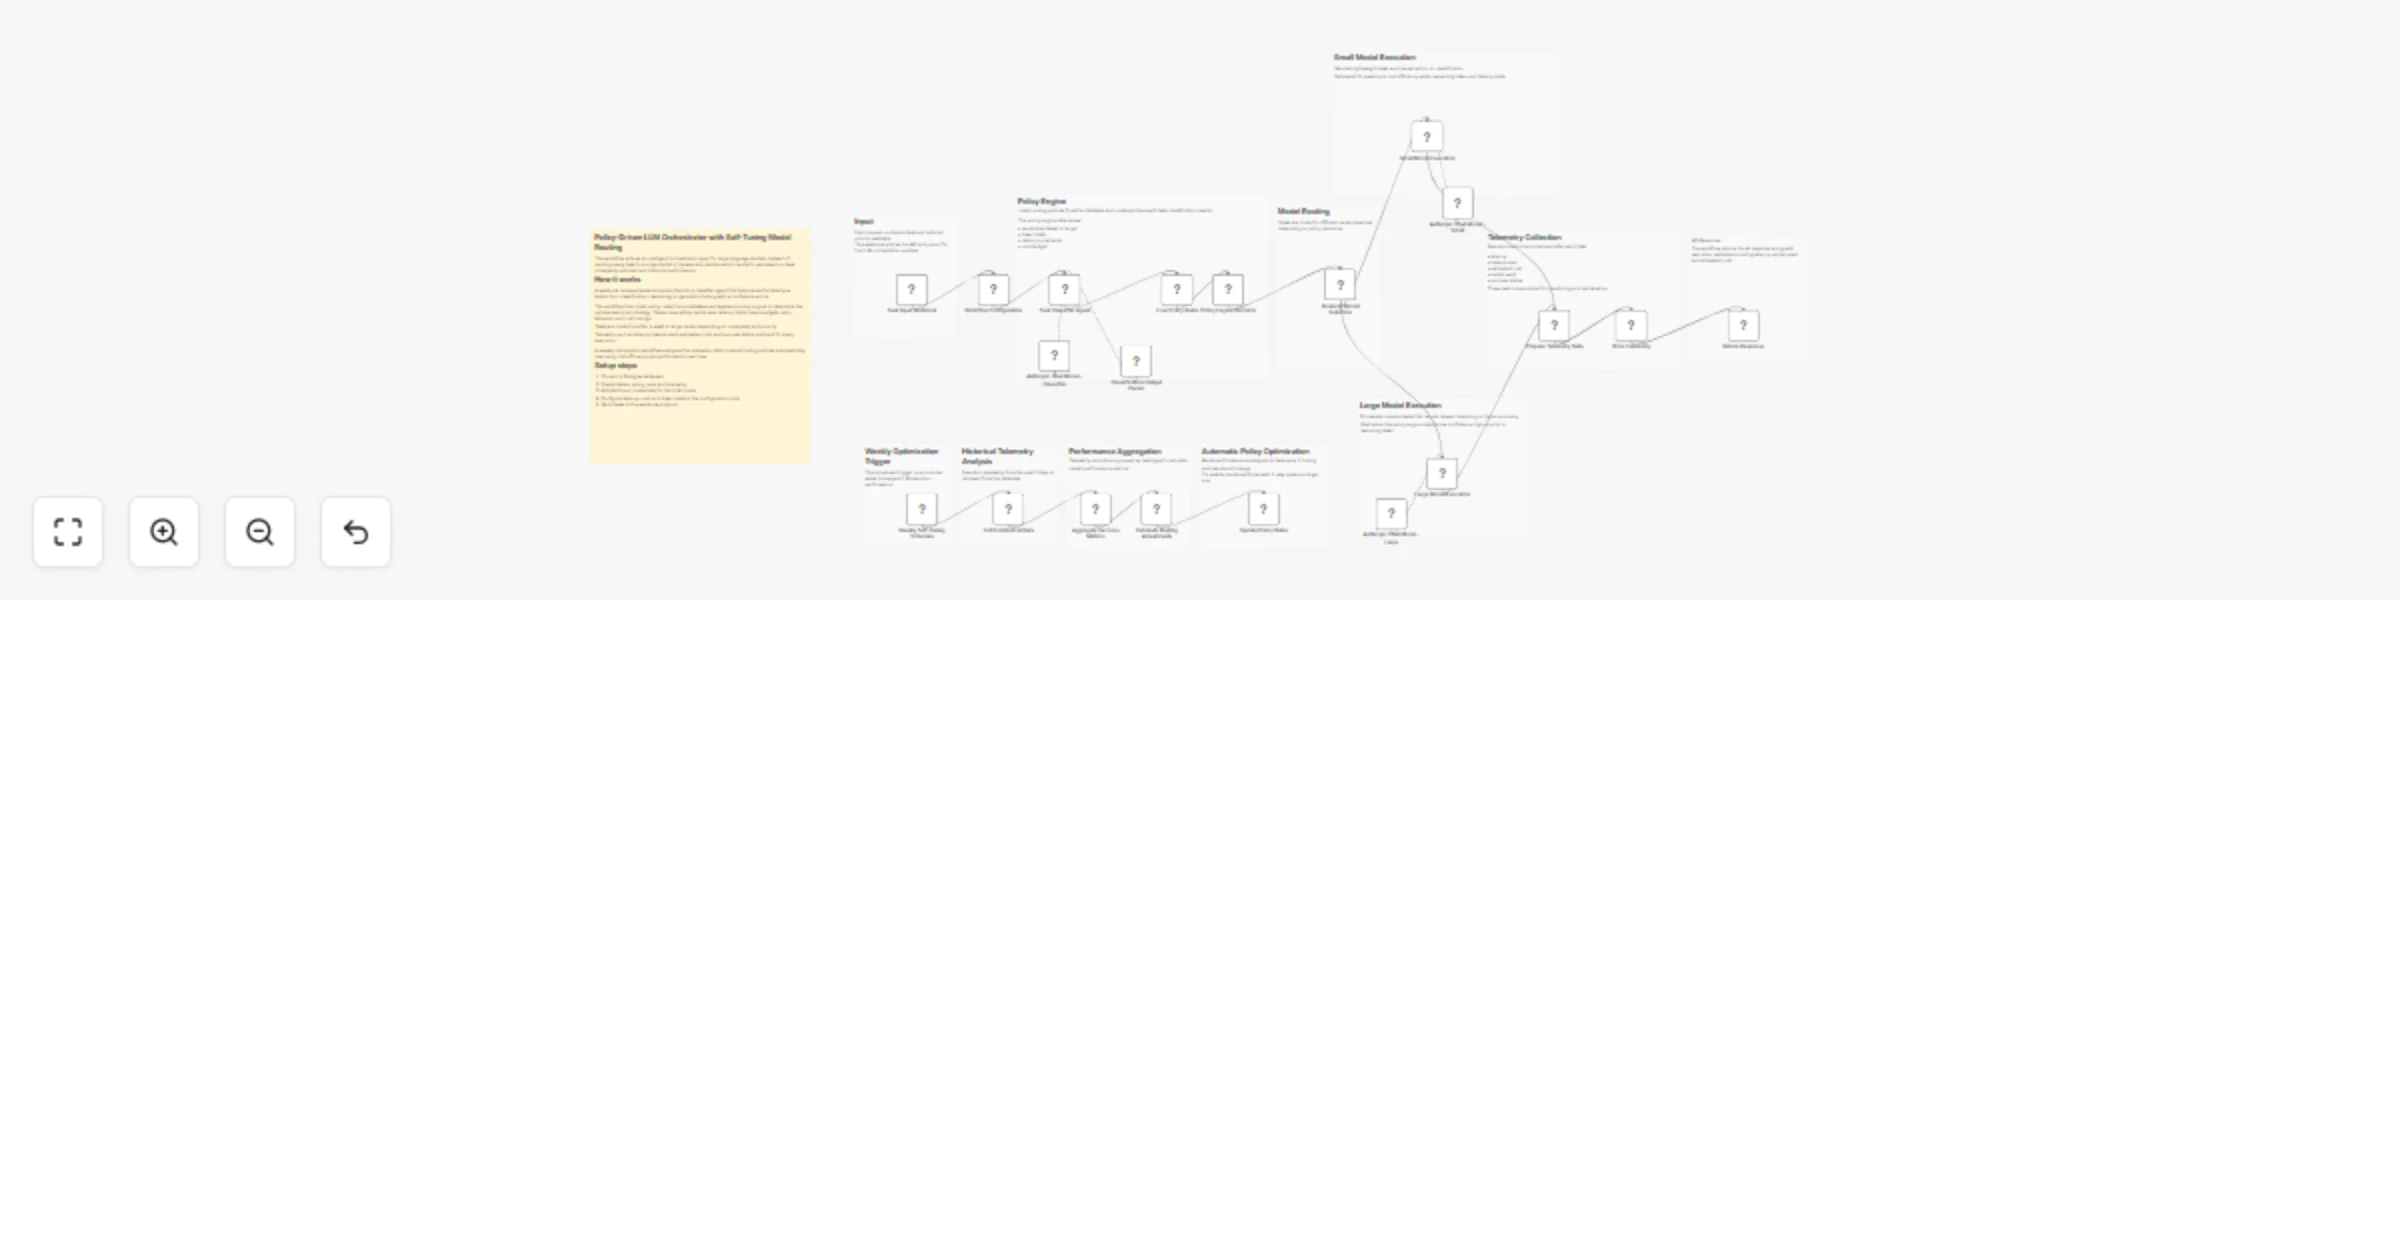
Route AI tasks between Anthropic Claude models with Postgres policies and SLA
Overview This workflow implements a policy driven LLM orchestration system that dynamically routes AI tasks to differ...

Maintain RAG embeddings with OpenAI, Postgres and auto drift rollback
Overview This workflow implements a self healing Retrieval Augmented Generation (RAG) maintenance system that automat...
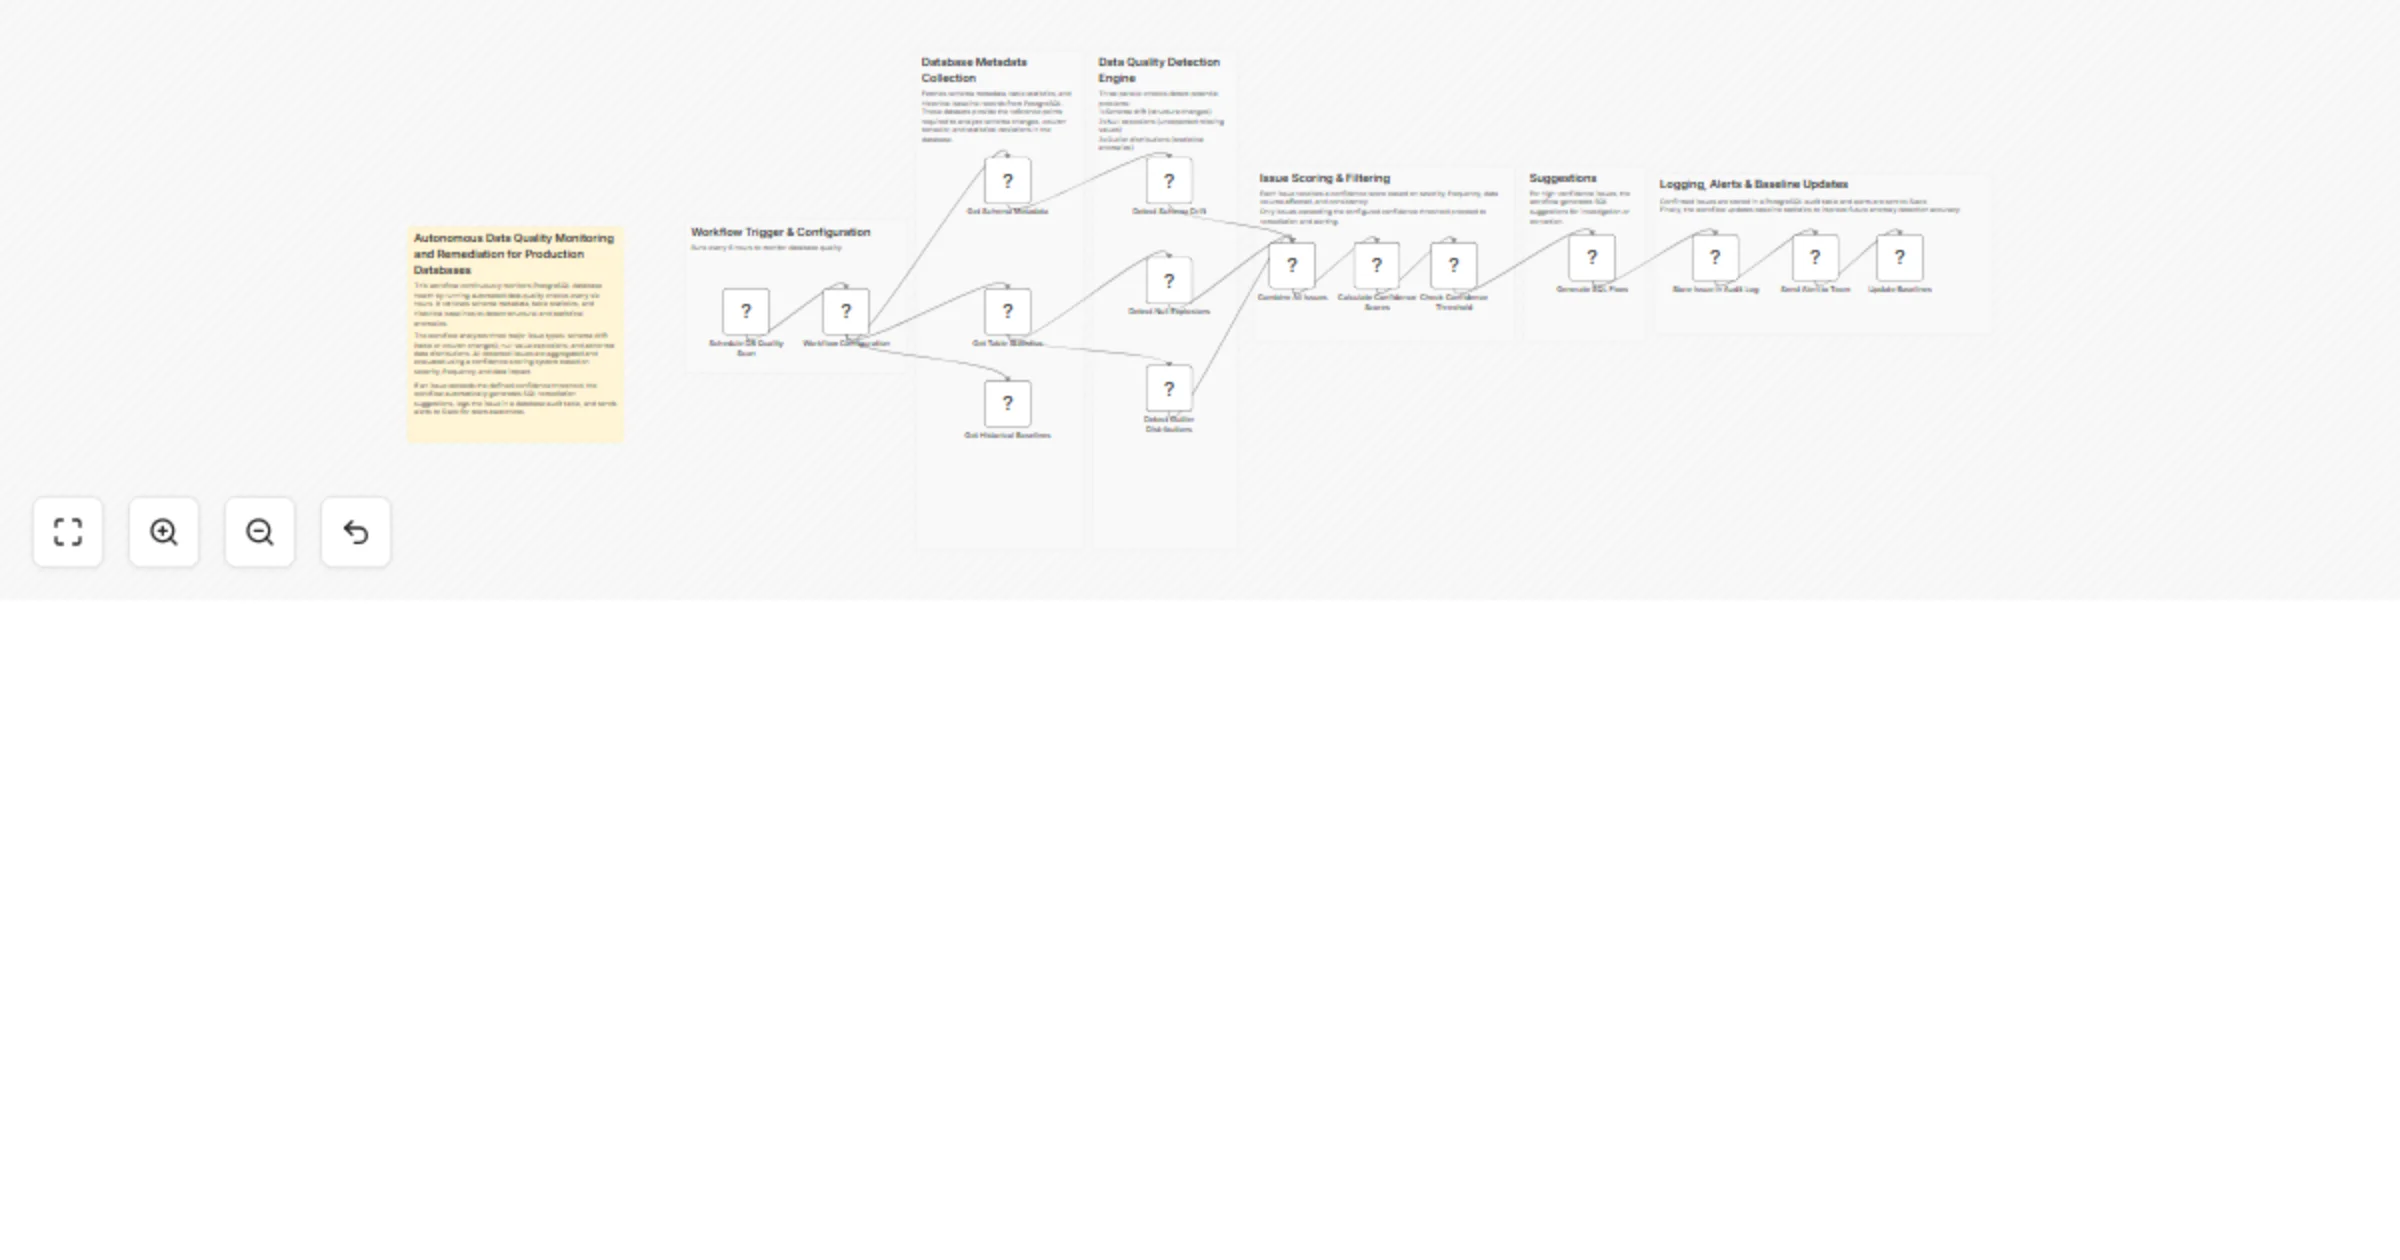
Monitor PostgreSQL data quality and generate remediation alerts with Slack
Autonomous PostgreSQL Data Quality Monitoring & Remediation Overview This workflow automatically monitors PostgreSQL...
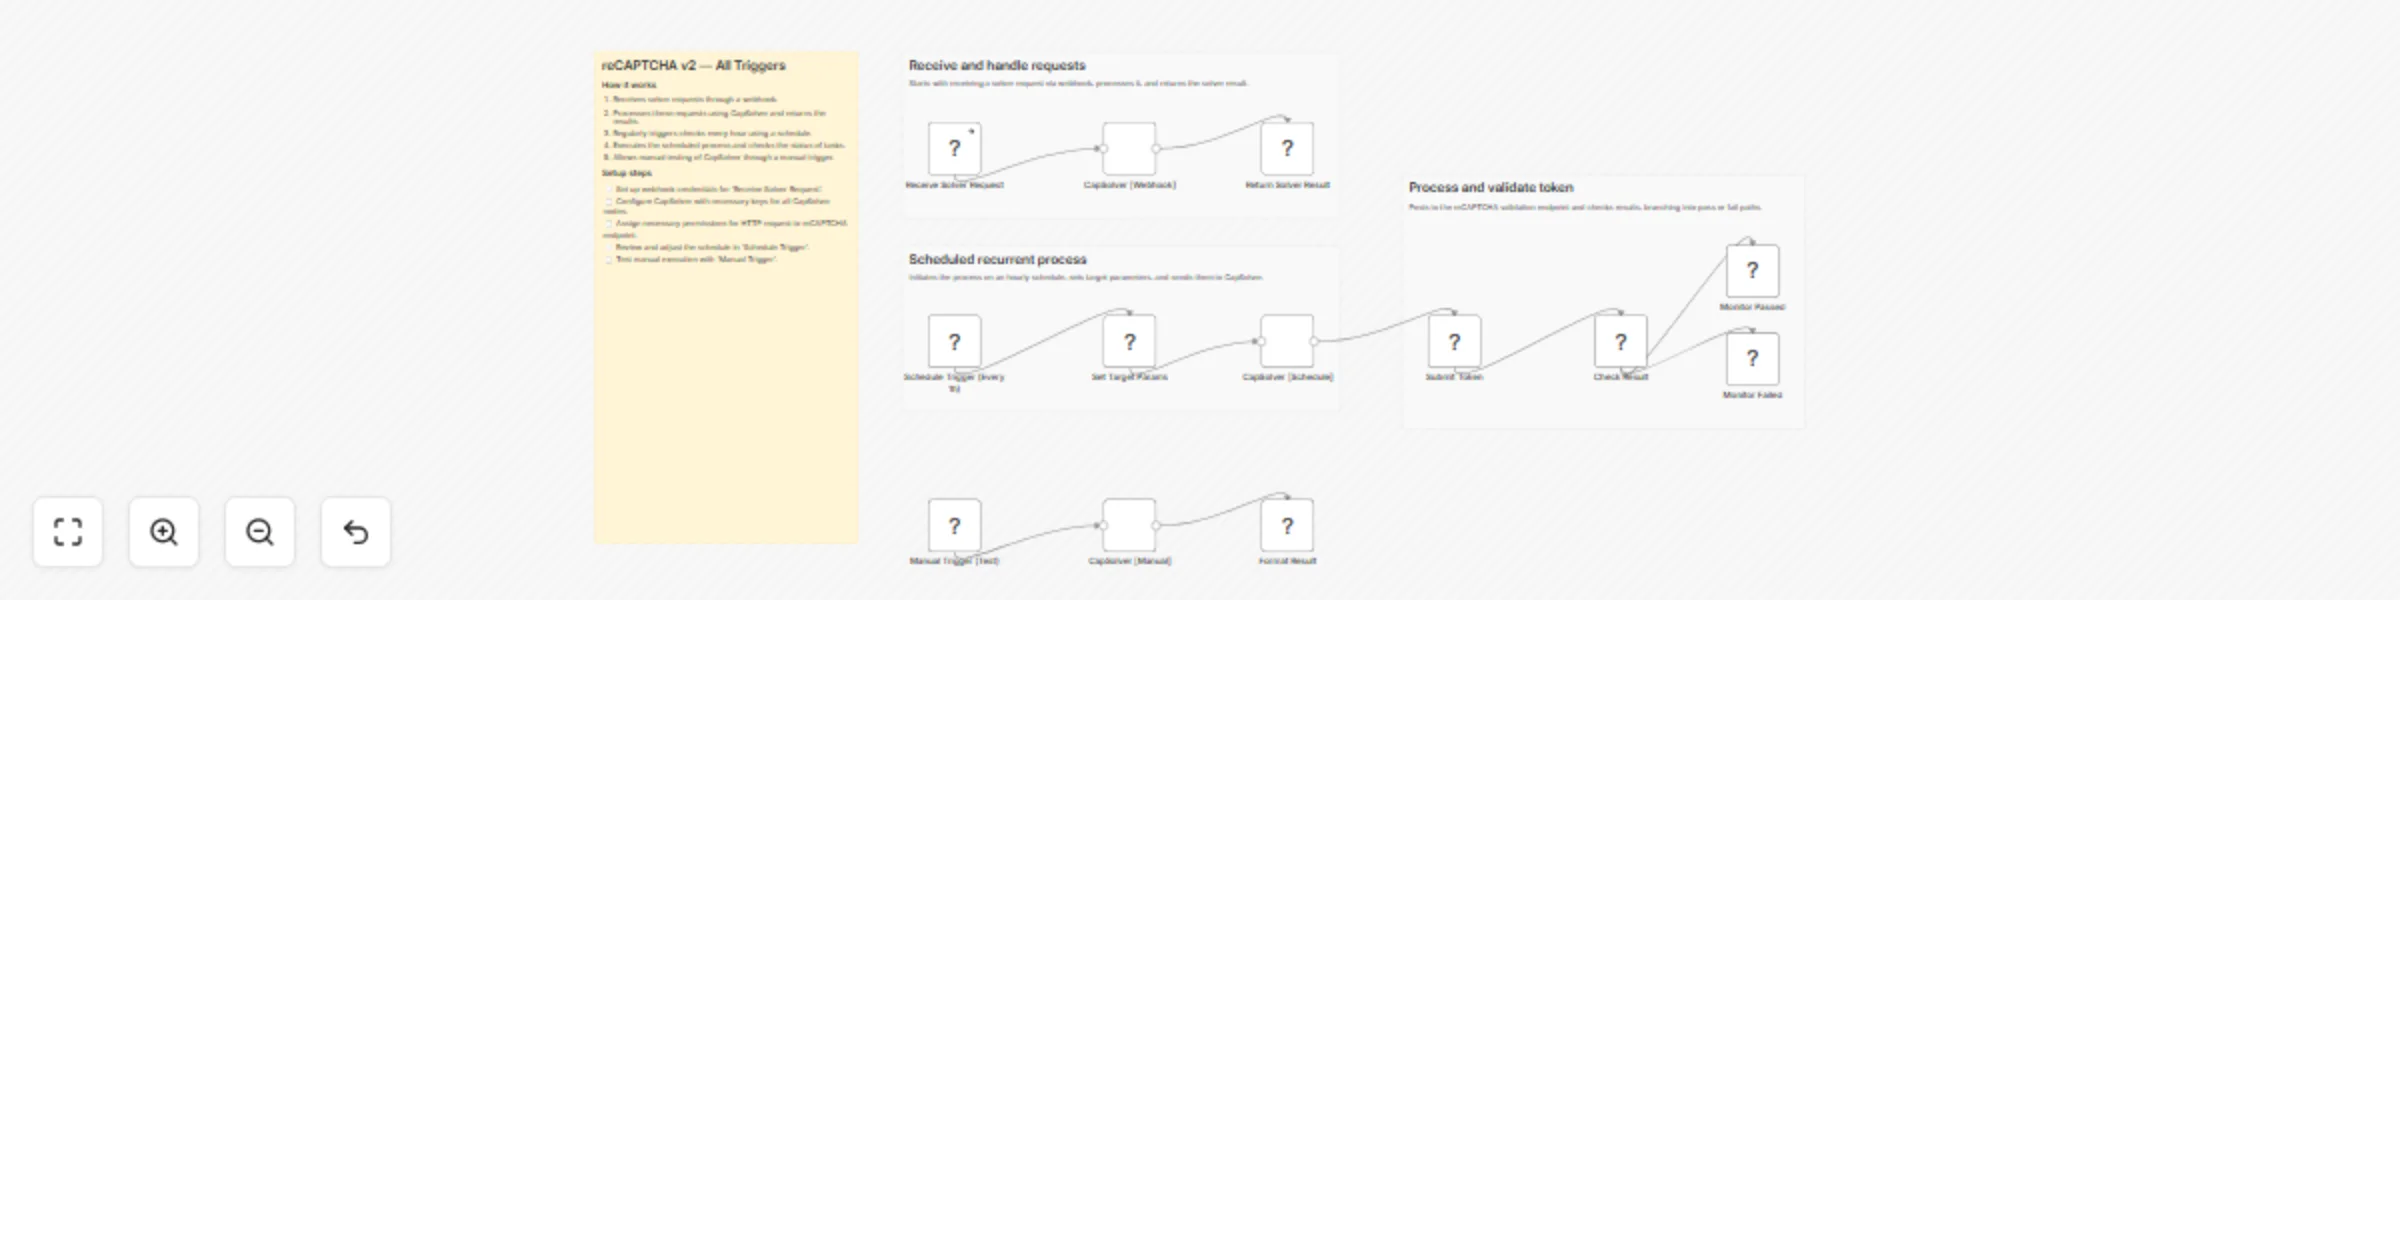
Automatically solve reCAPTCHA v2 with CapSolver
reCAPTCHA v2 Solver (CapSolver + n8n) How it works • Receives reCAPTCHA v2 solving requests via webhook • Sends tasks...
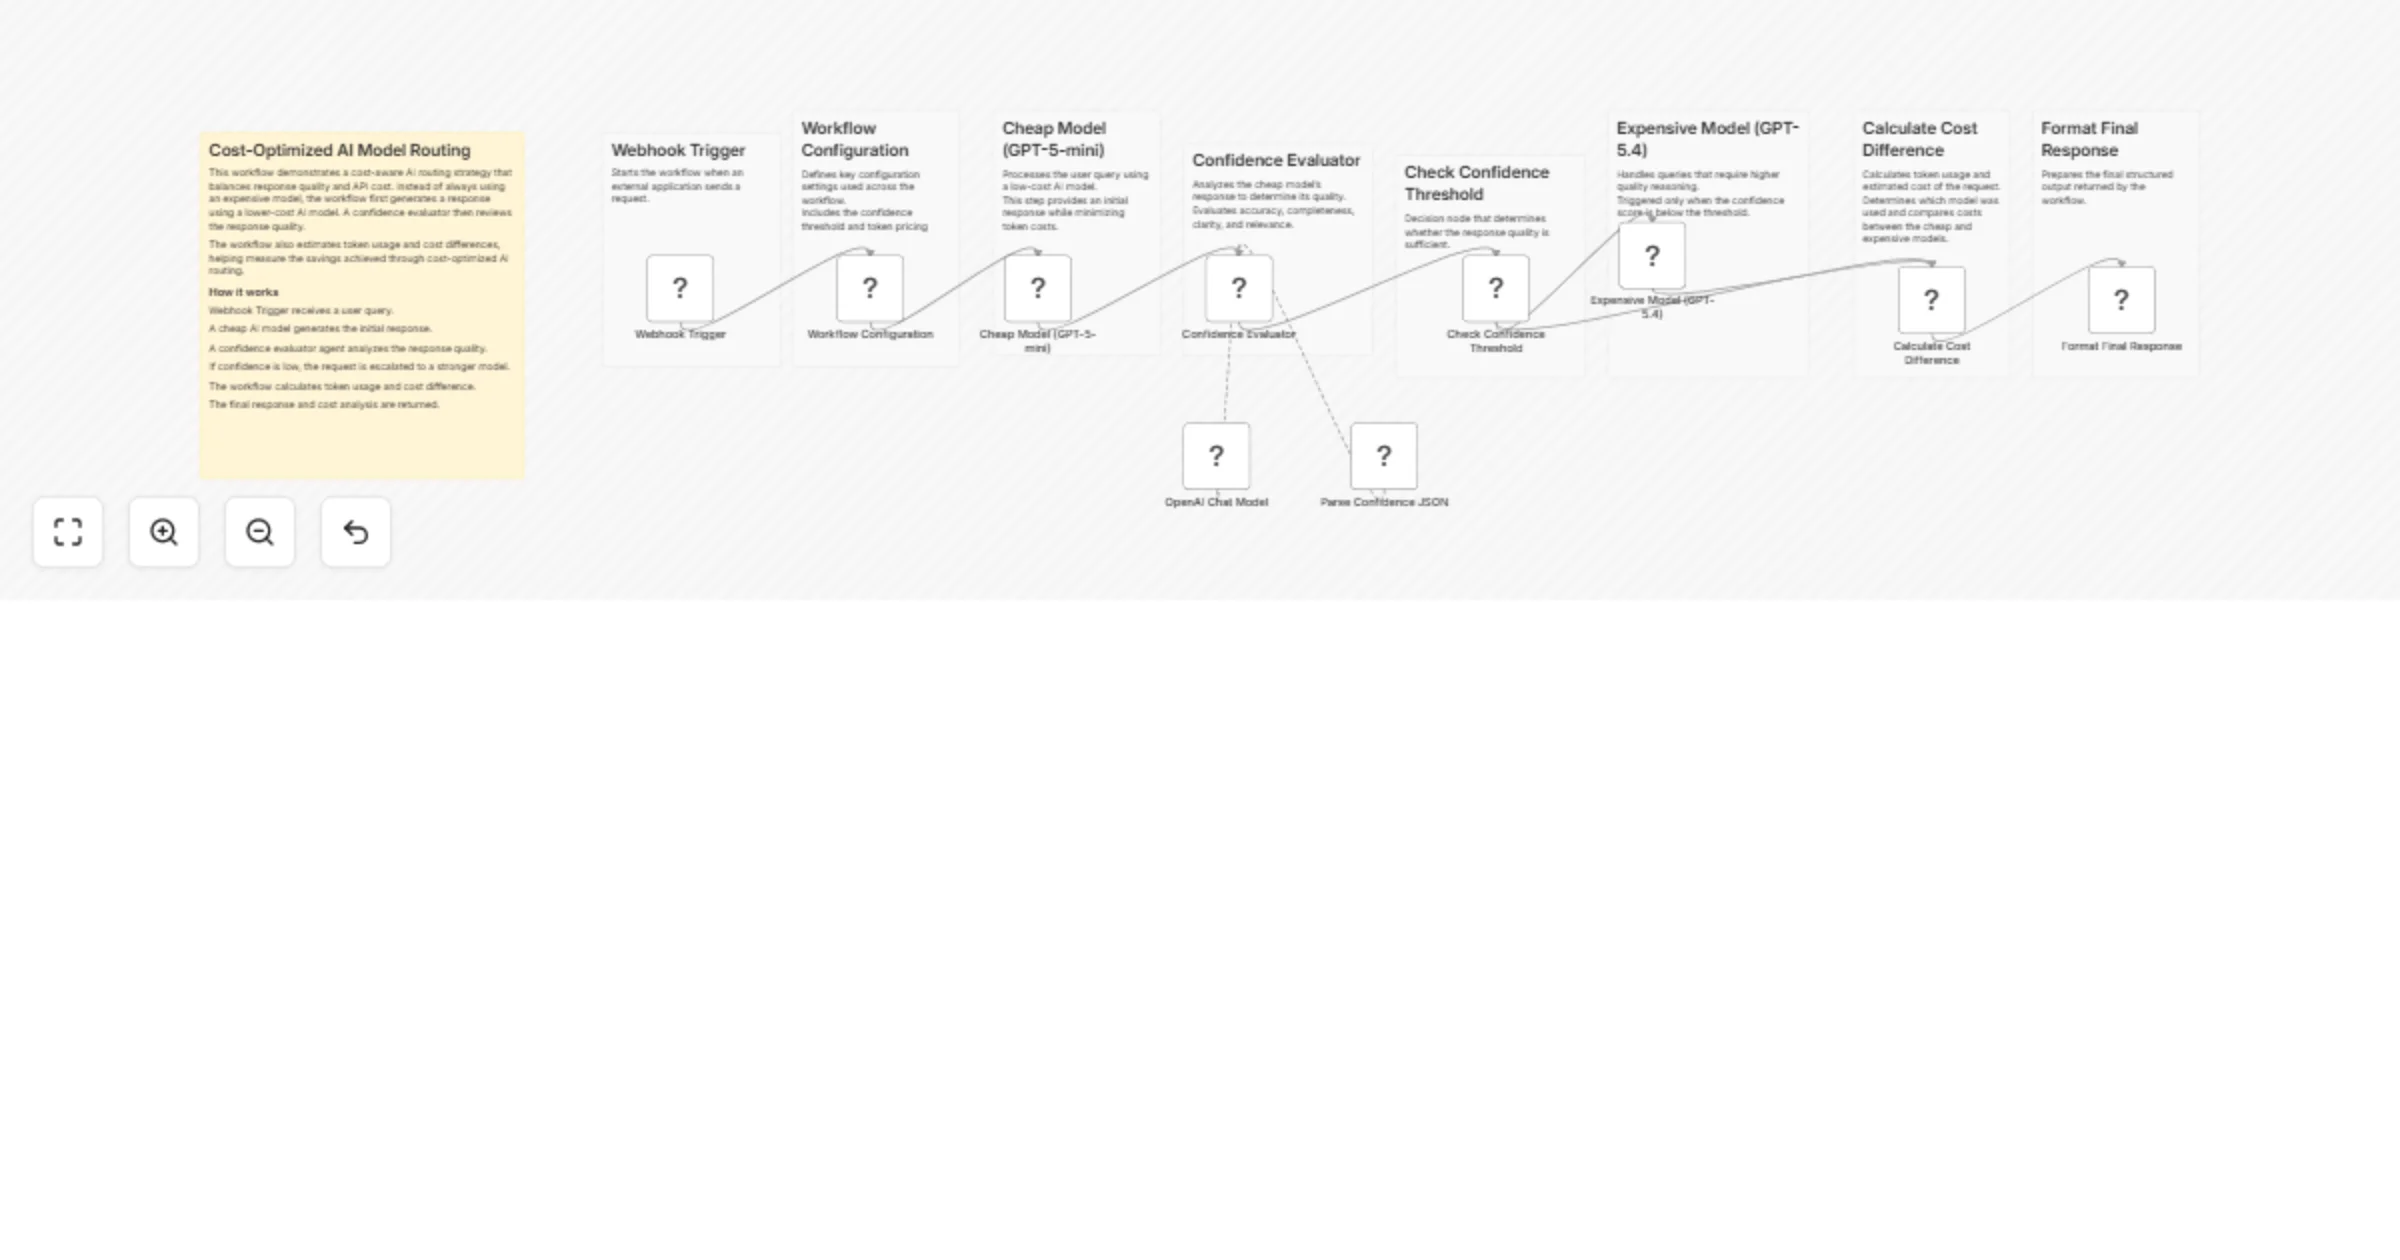
Route AI queries cost‐efficiently with GPT‐4o‐mini, GPT‐4o and confidence scoring
This workflow implements a cost optimized AI routing system using n8n. It intelligently decides whether a request sho...
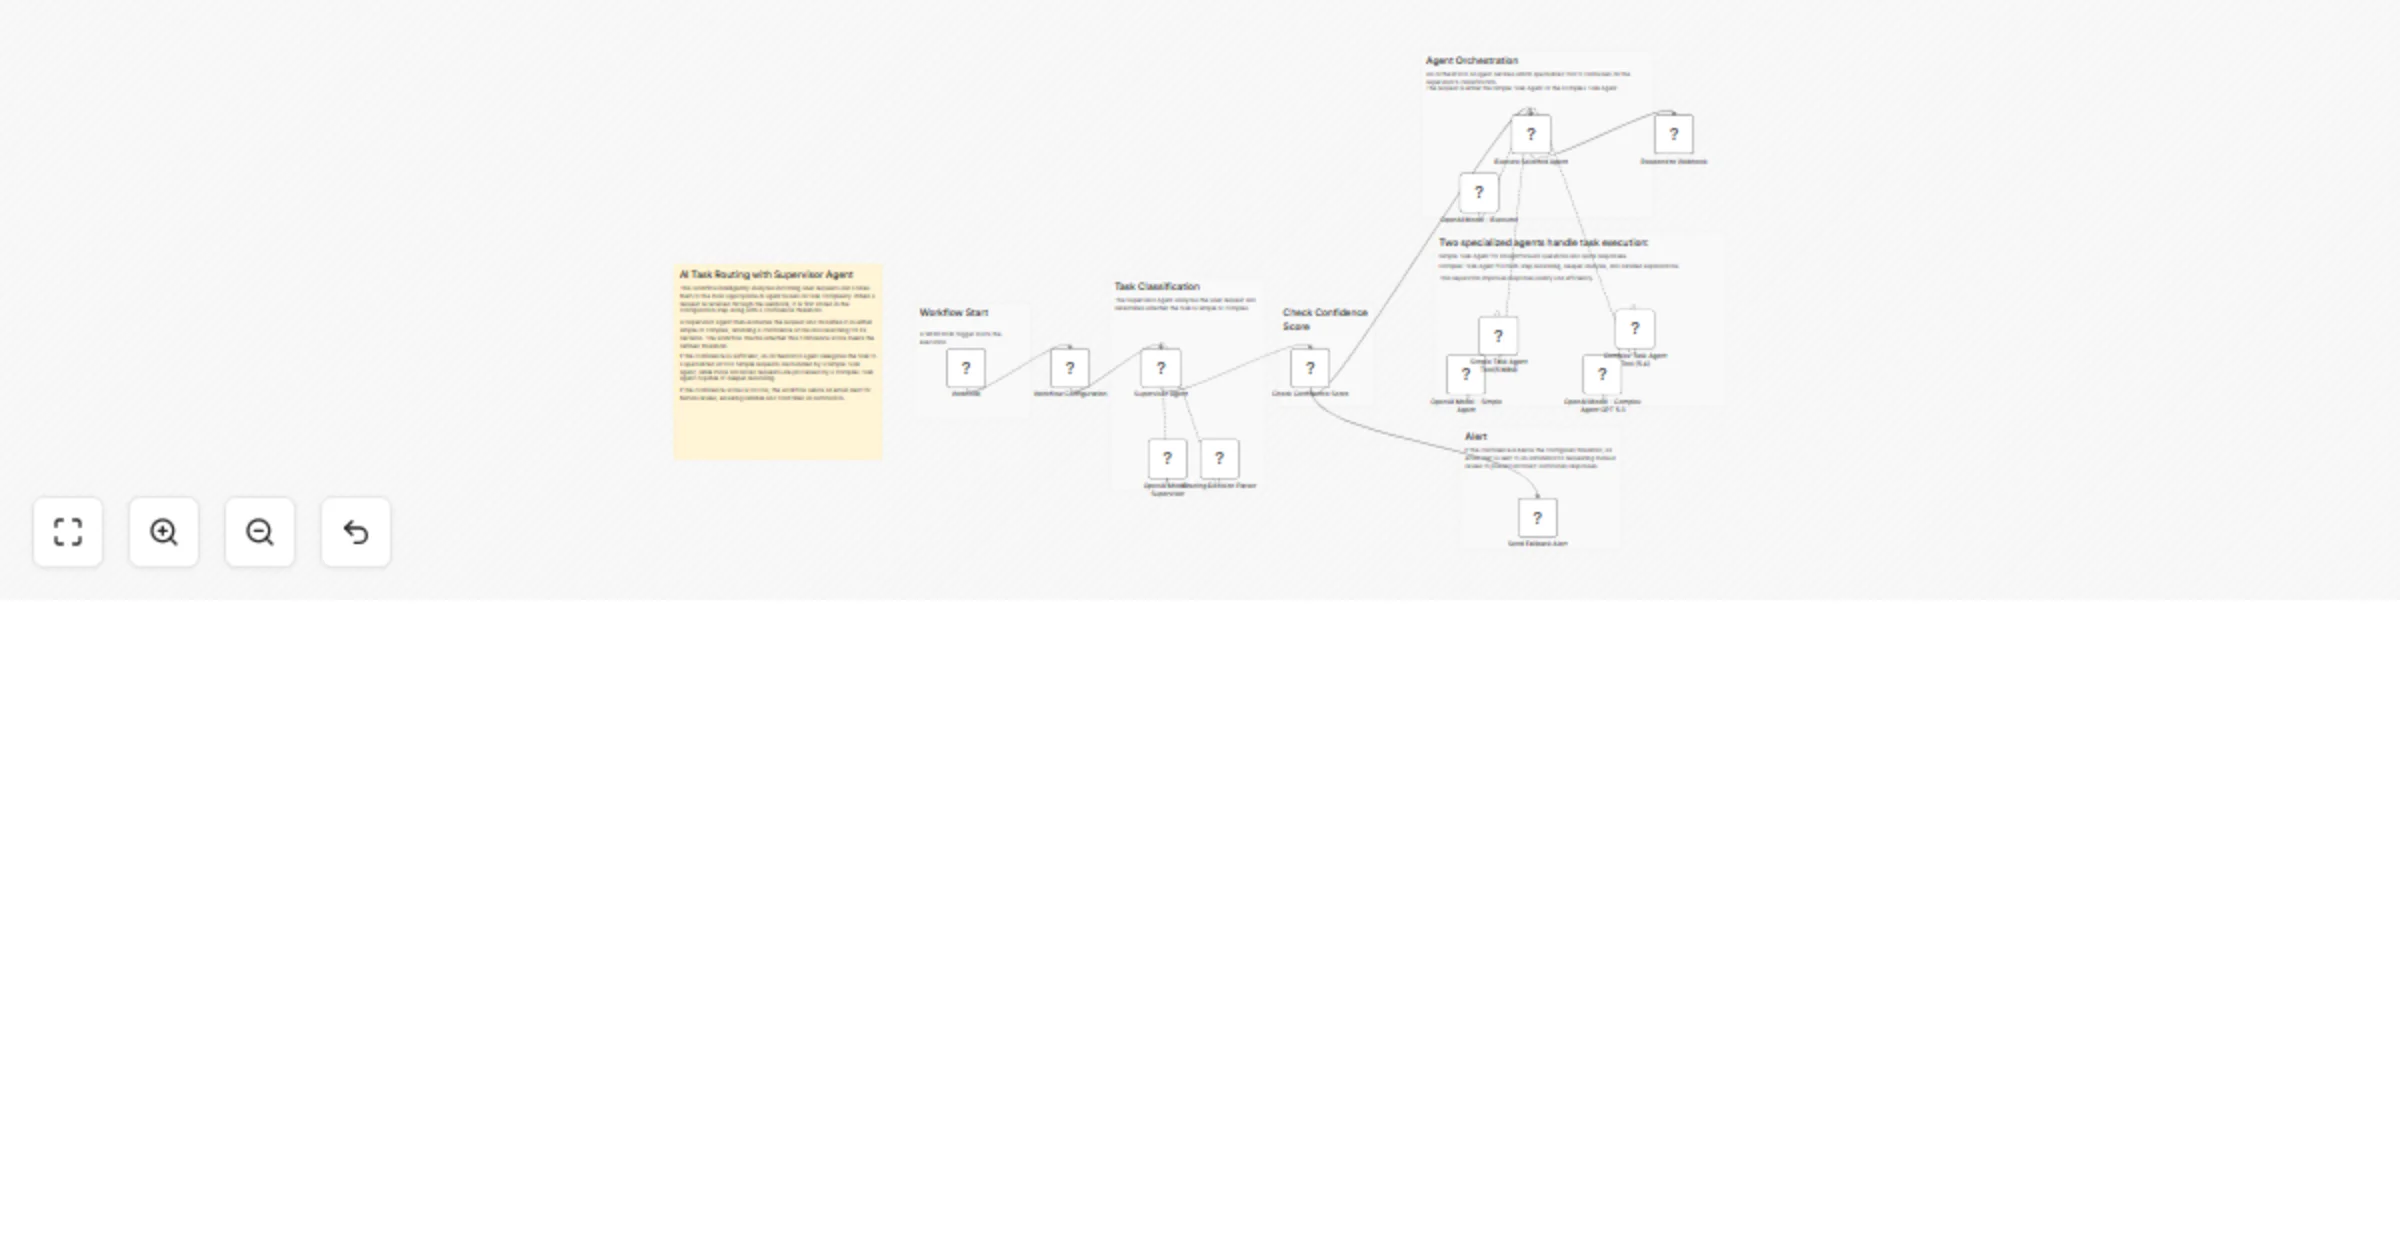
Route AI tasks between OpenAI agents with confidence-based email fallback
Overview This workflow demonstrates an AI task routing system using multiple agents in n8n . It analyzes incoming use...
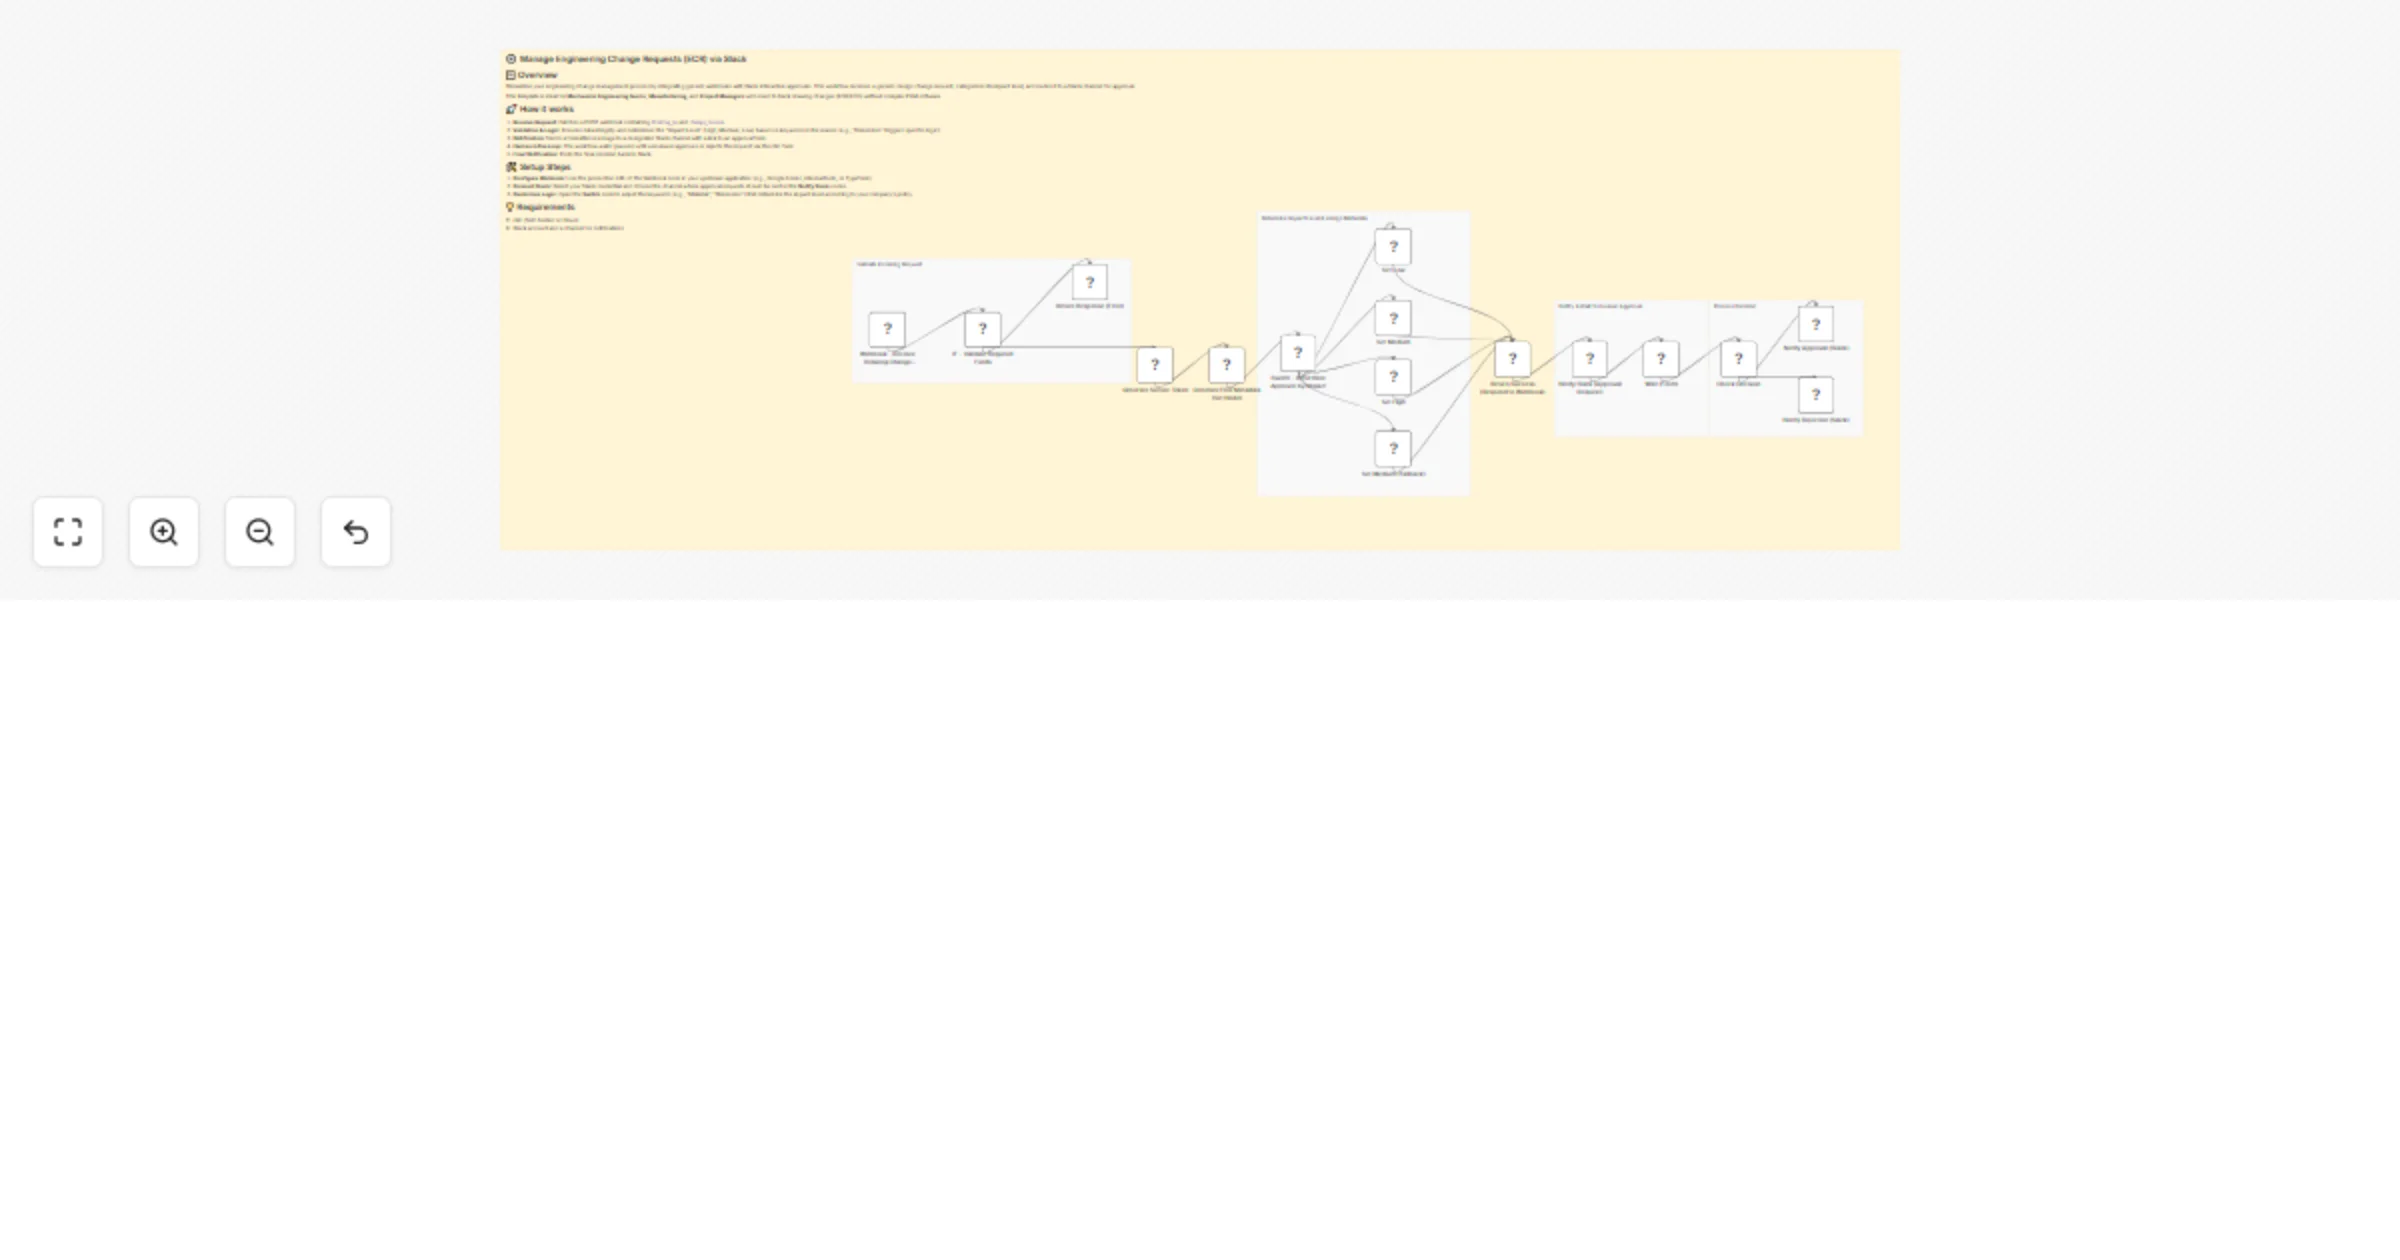
Manage engineering change requests via webhooks and Slack approvals
⚙️ Manage Engineering Change Requests (ECR) via Slack 📋 Overview Streamline your engineering change management proce...
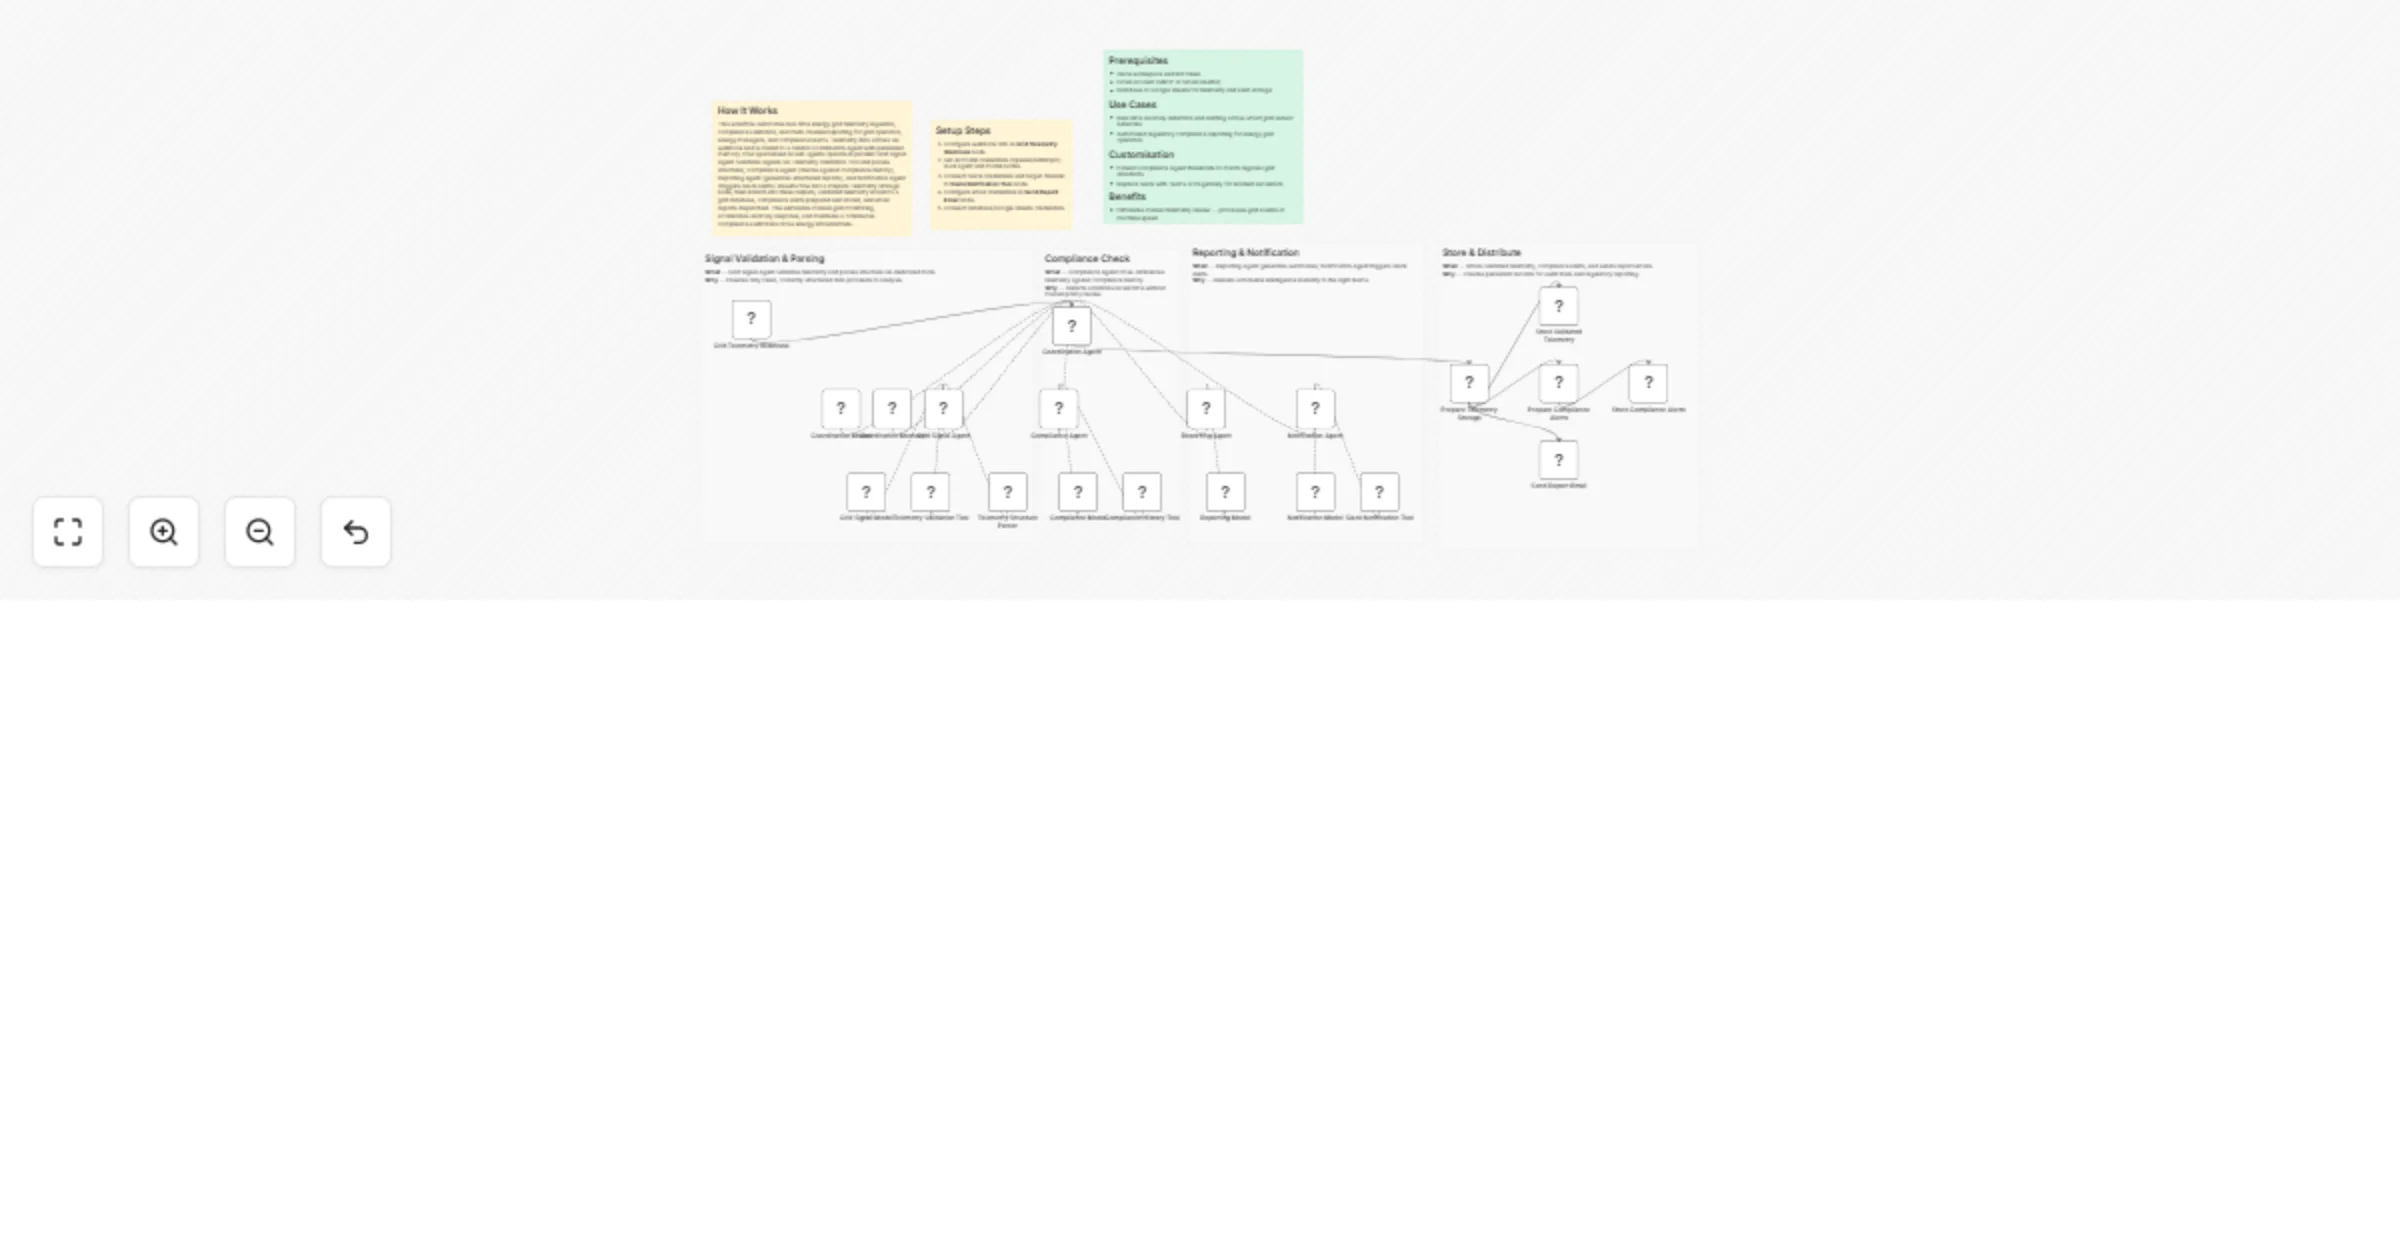
Monitor grid telemetry and automate compliance alerts with GPT-4o and Slack
How It Works This workflow automates real time energy grid telemetry ingestion, compliance validation, and multi chan...