
Elodie Tasia
3
Workflows
Workflows by Elodie Tasia
Free advanced
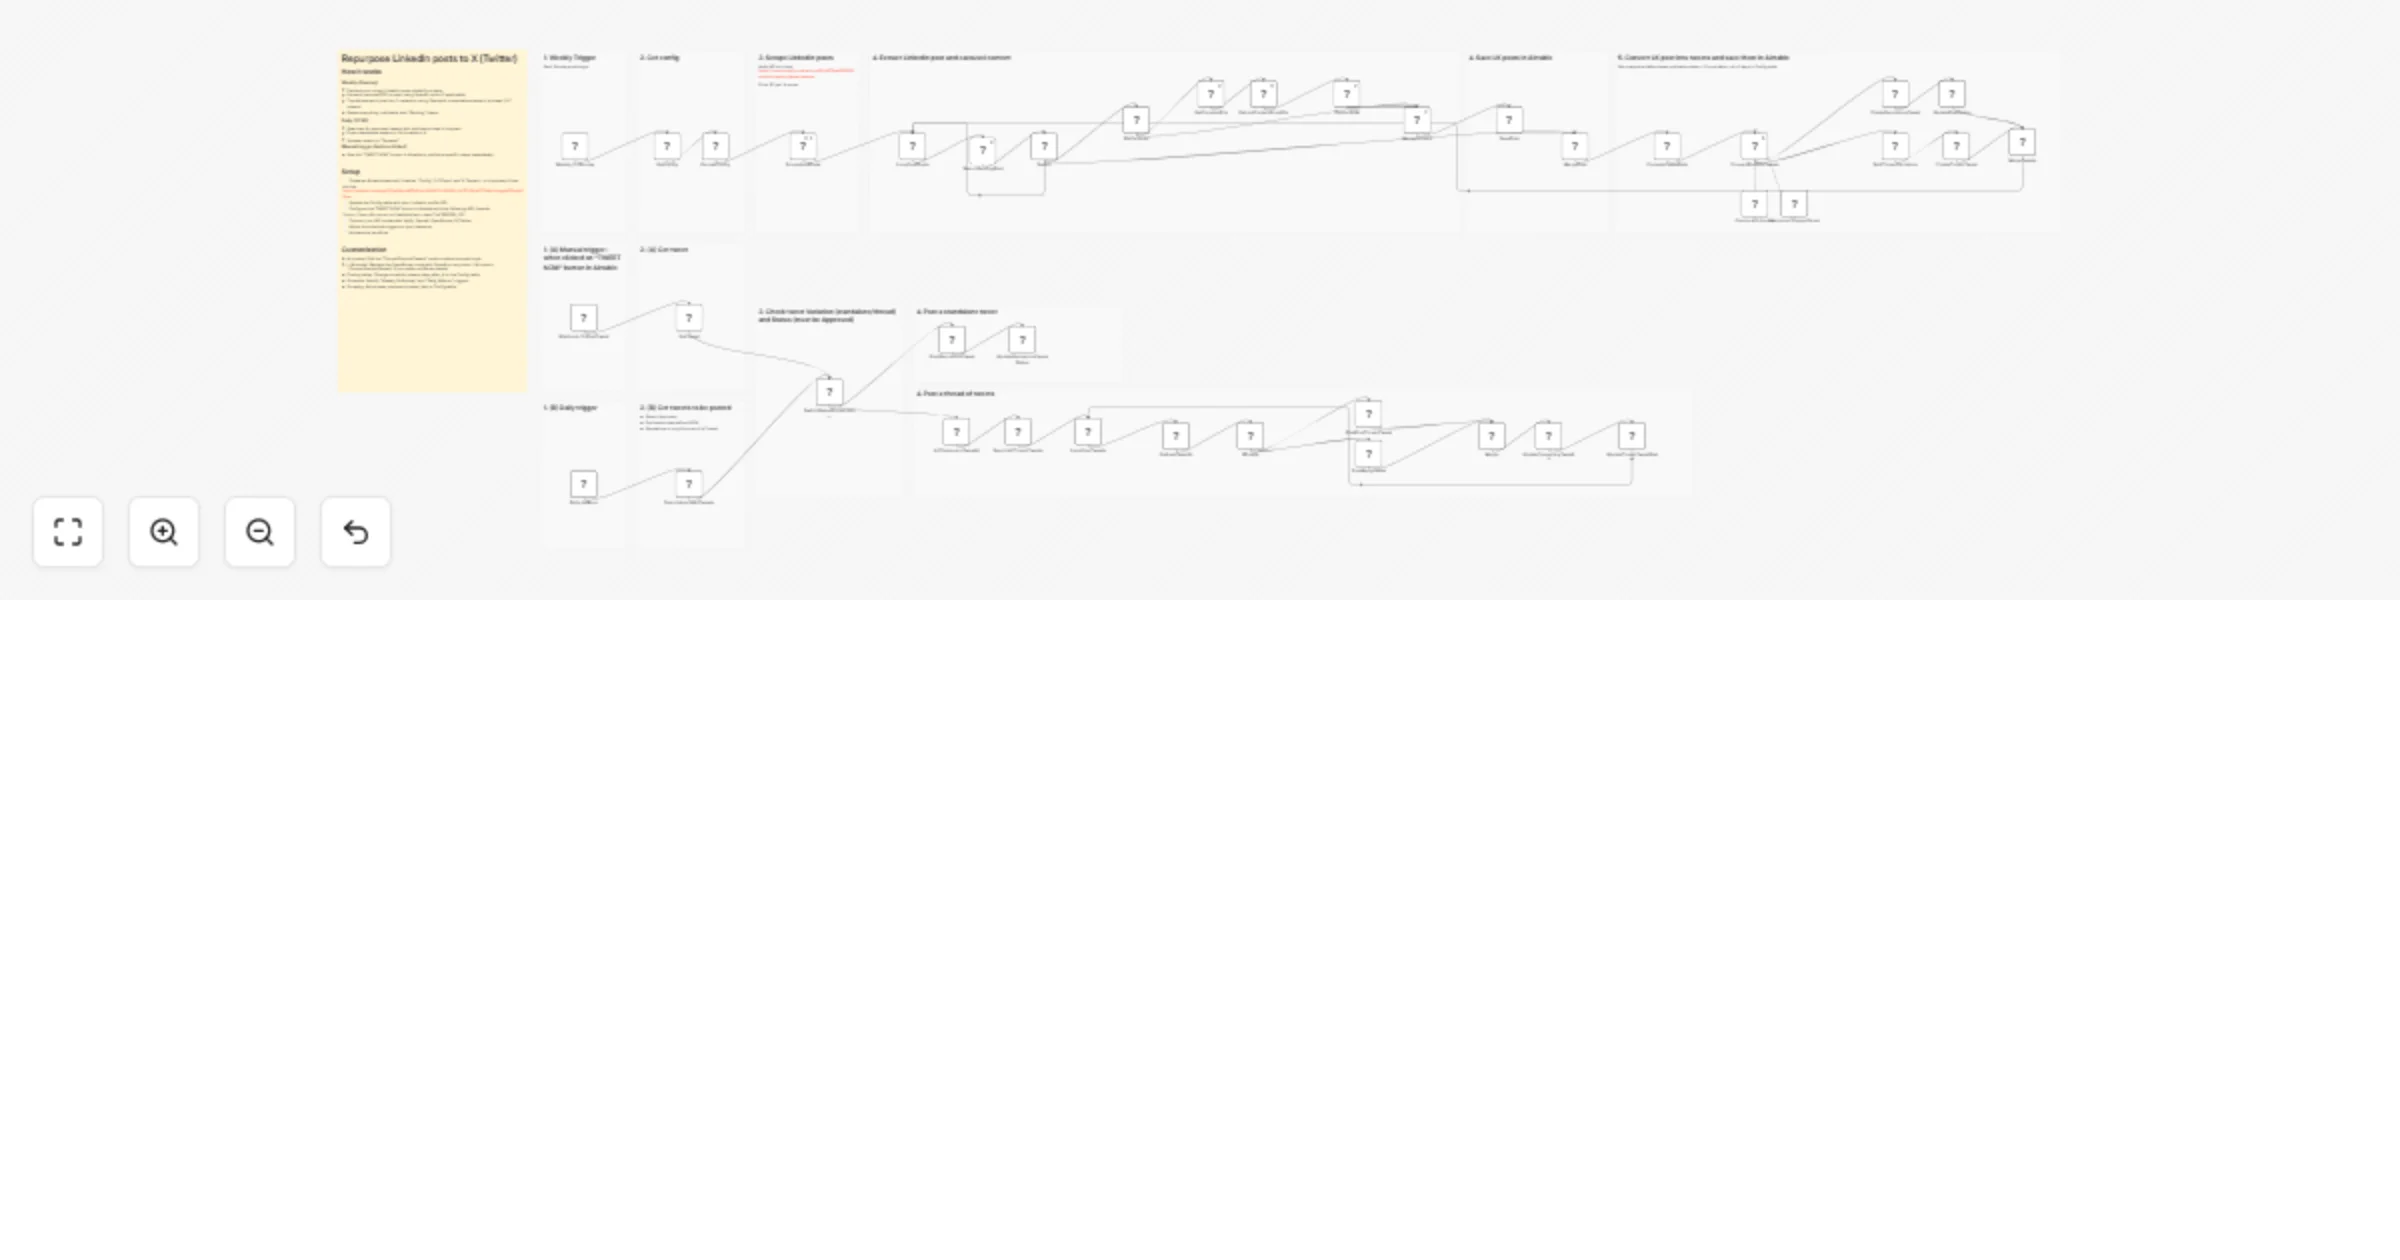
Repurpose LinkedIn posts into X tweets with Apify, Claude AI and Airtable
Automatically scrape LinkedIn posts with Apify, transform them into optimized tweets and threads using Claude AI, sto...
Social Media
20 Jan 2026
42
0

Free advanced
Create Branded Social Media Images with Bannerbear (Sync/Async modes)
Automatically create branded social media graphics, certificates, thumbnails, or marketing visuals using Bannerbear's...
Social Media
13 Oct 2025
136
0

Free intermediate
Create structured logging system with Supabase and Log4j2-style levels
Create centralized, structured logs directly from your n8n workflows, using Supabase as your scalable log database. W...
Engineering
14 Sep 2025
149
0