
Davide Boizza
Workflows by Davide Boizza
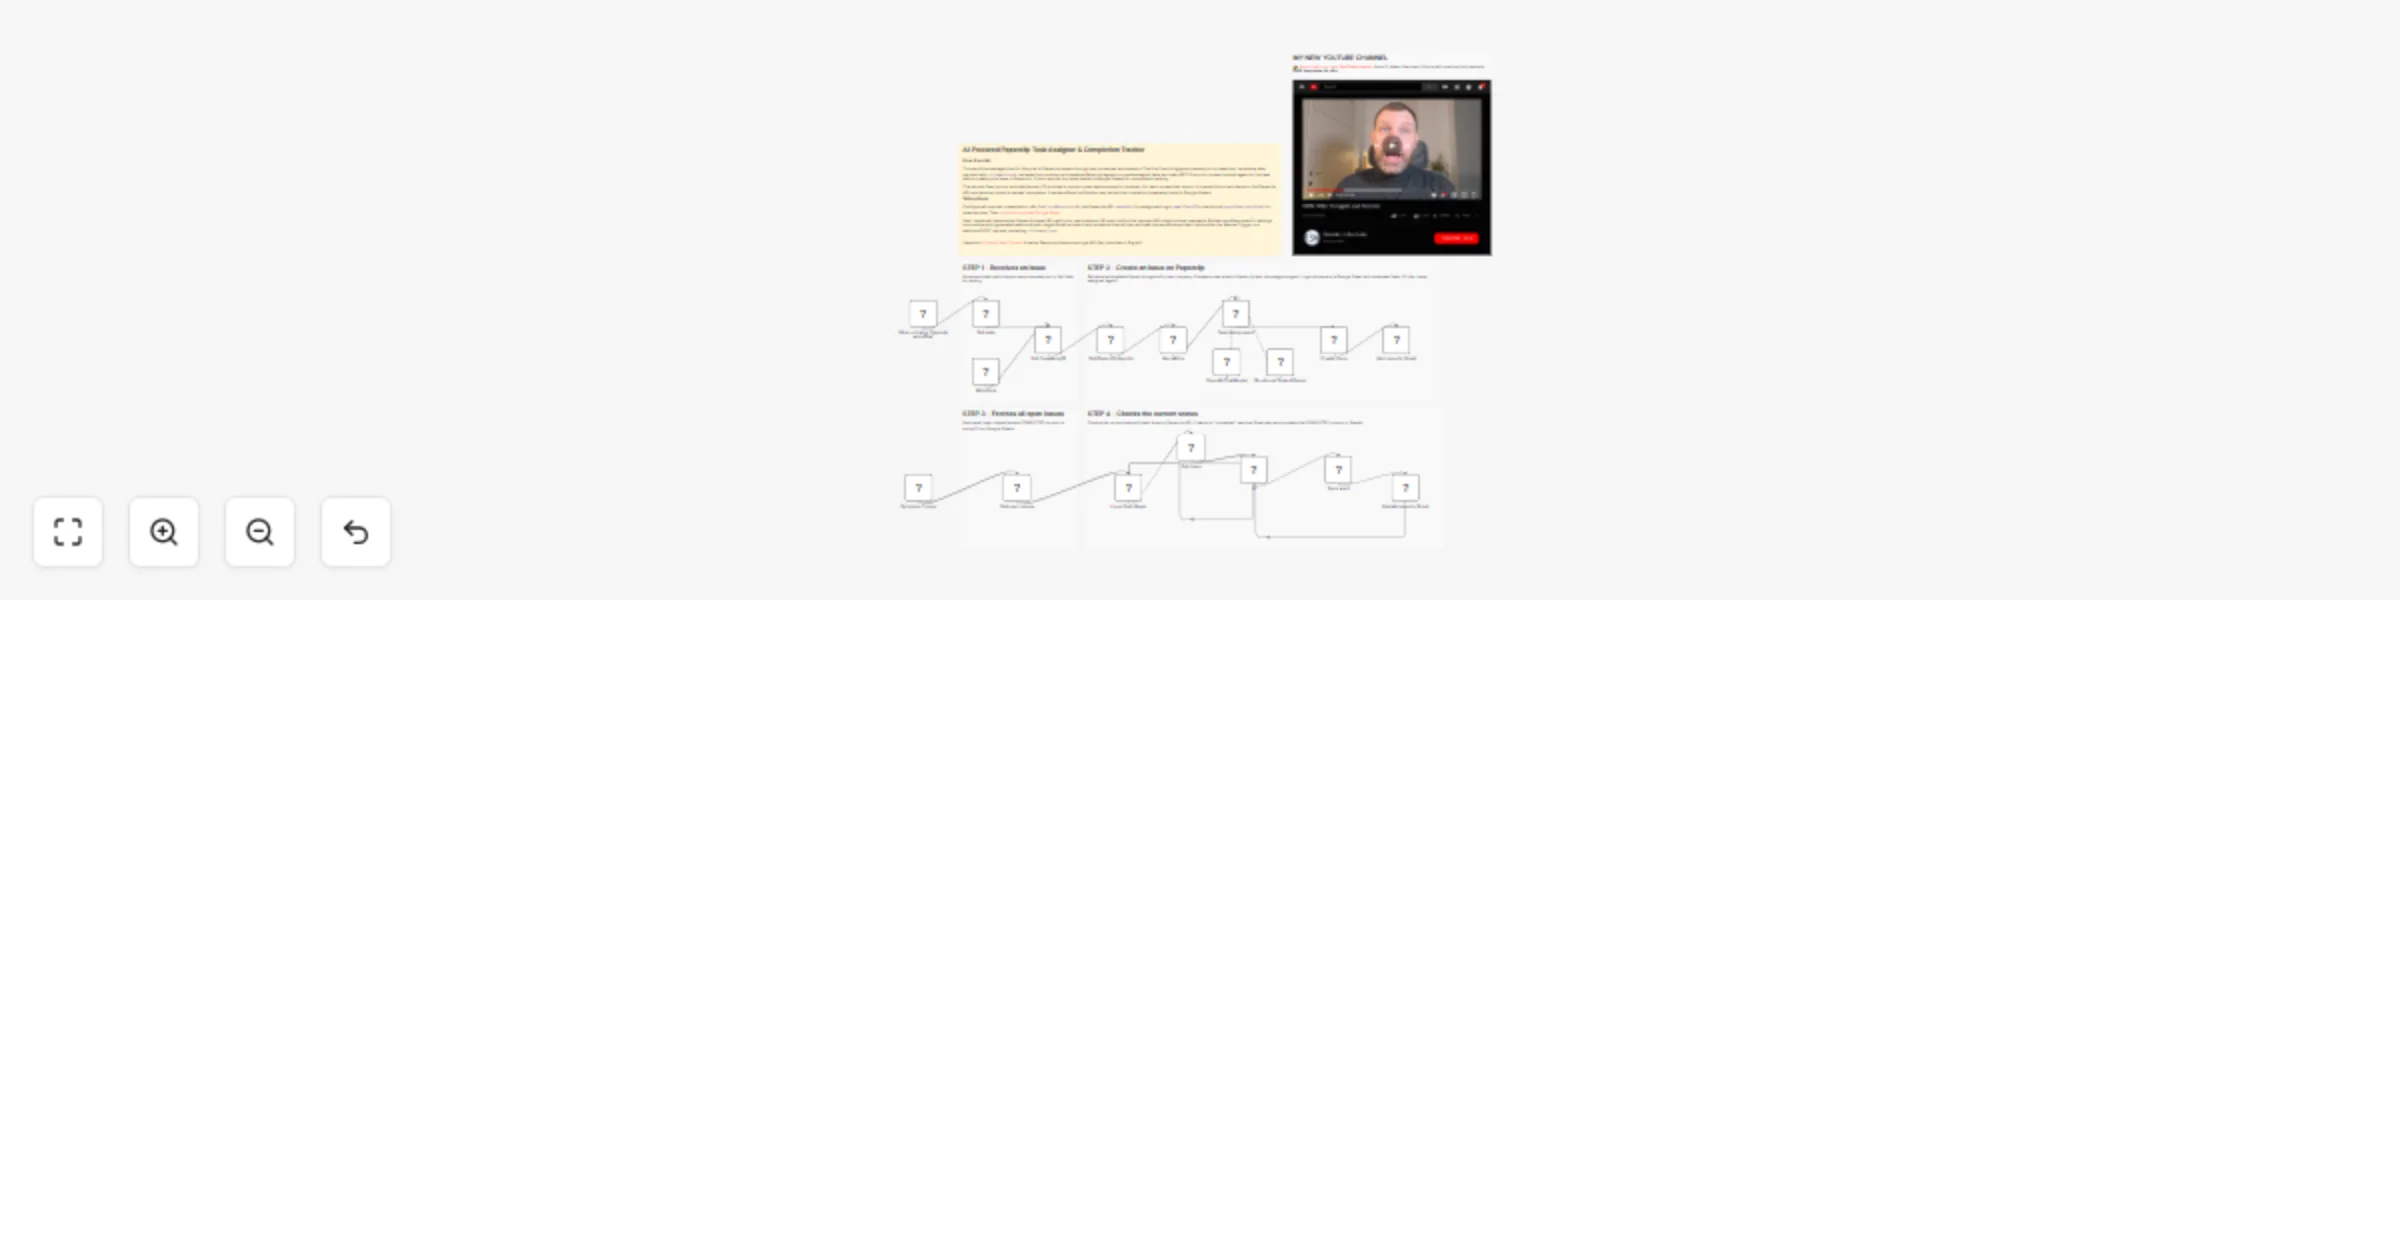
AI-Powered Paperclip📎🤖 Task Assigner & Completion Tracker
This workflow automates the creation, assignment, tracking, and monitoring of tasks (issues) inside a Paperclip syste...
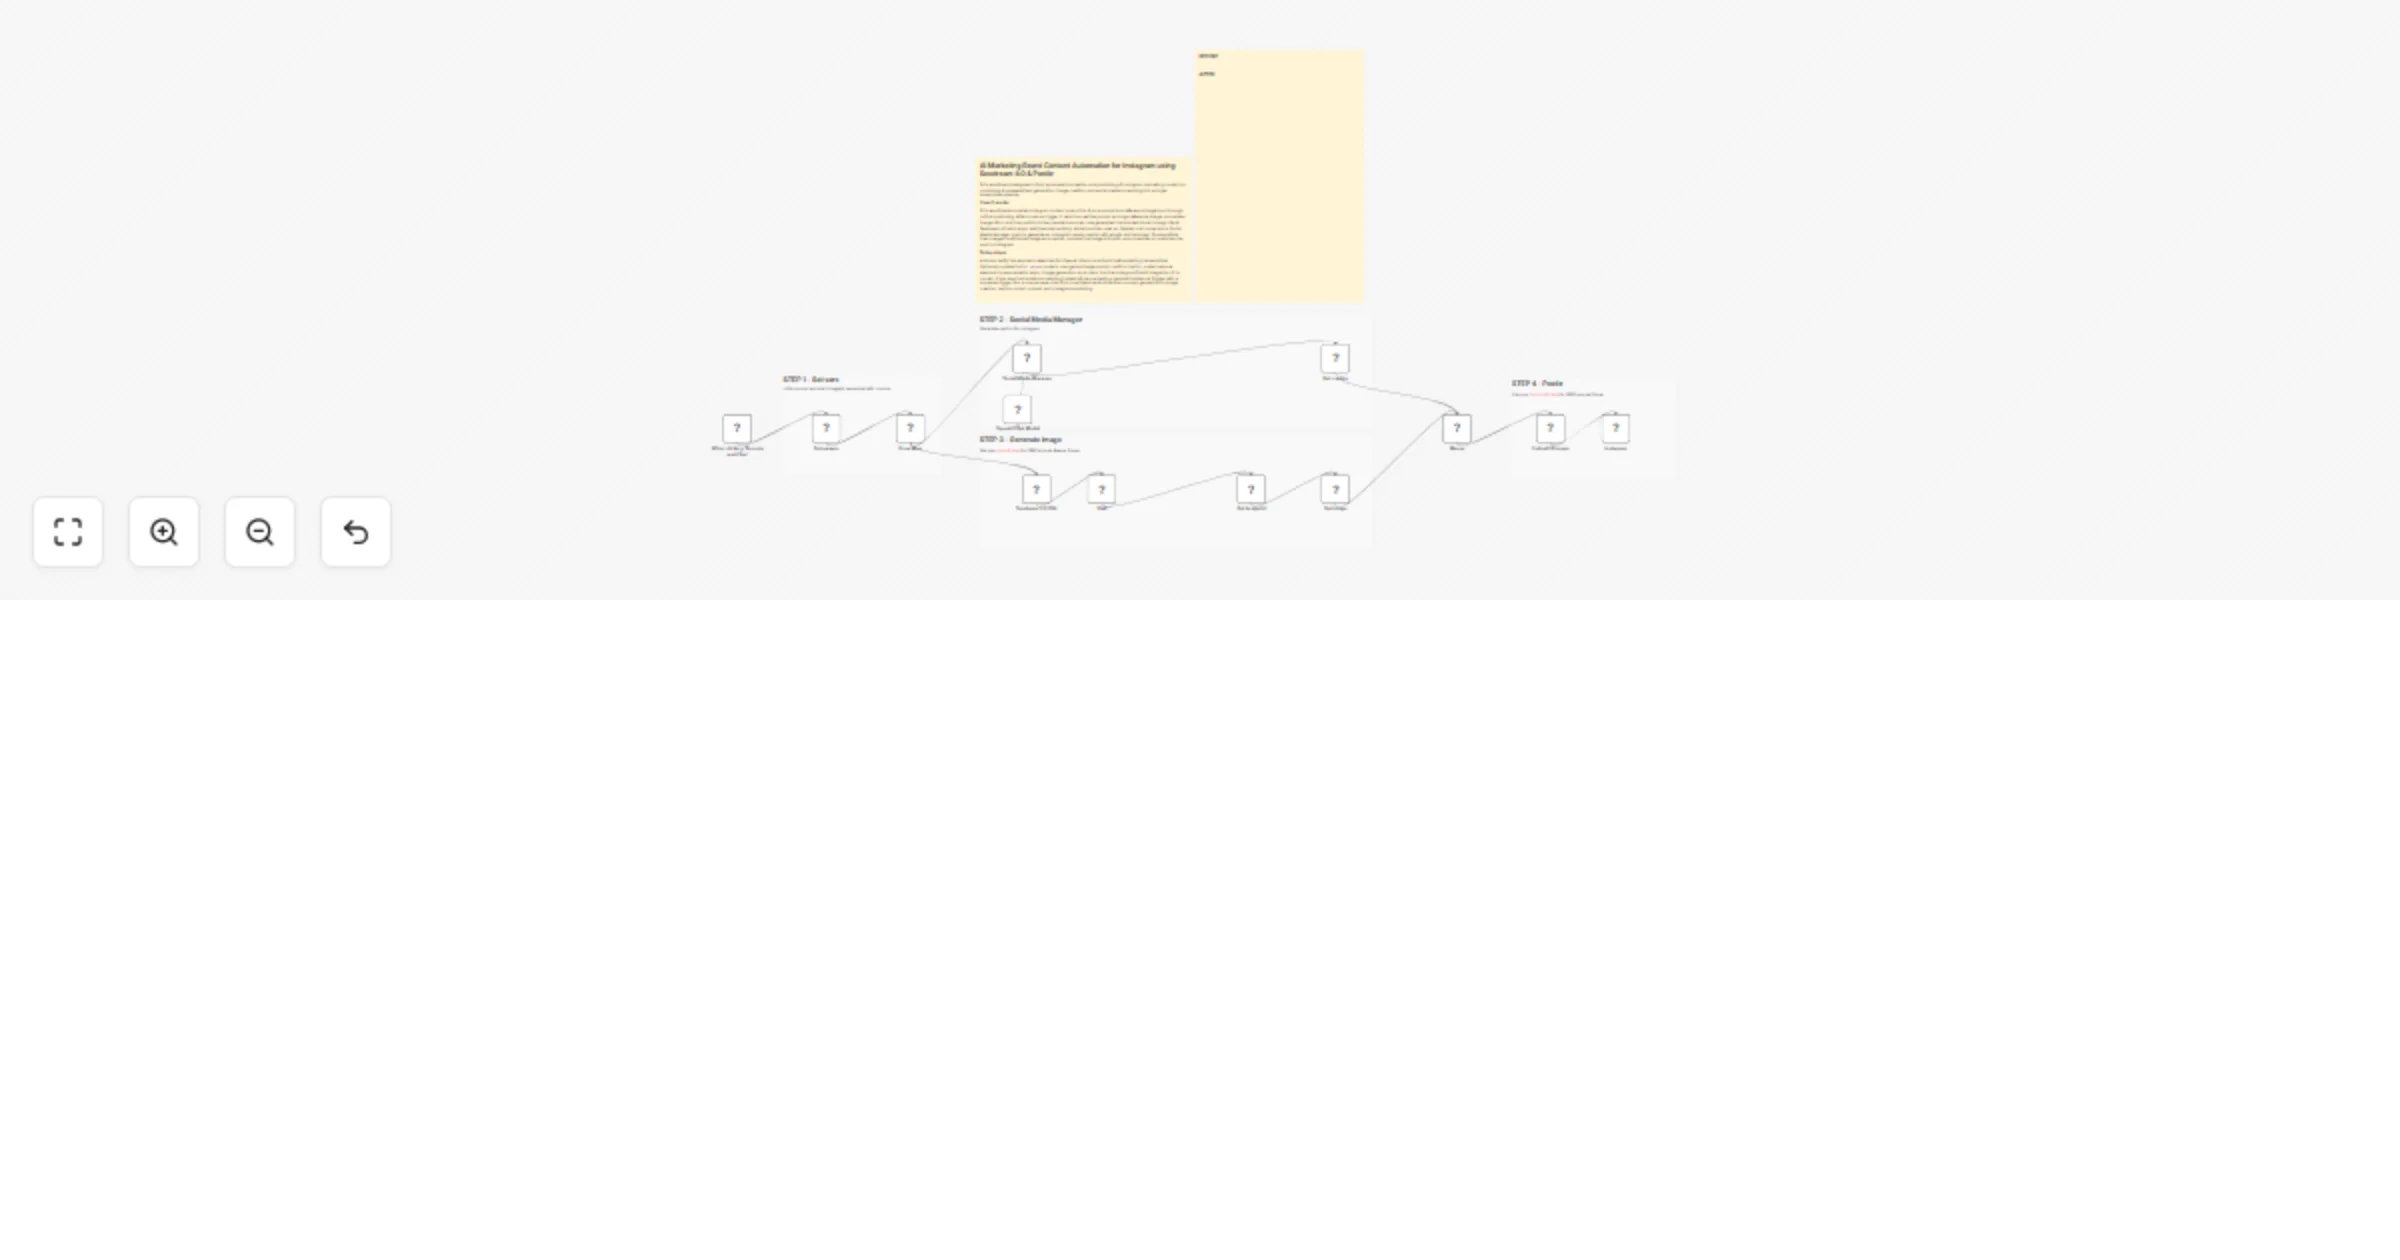
Create AI Instagram brand posts with Seedream 4.0, OpenAI and Postiz
This workflow is designed to fully automate the creation and publishing of Instagram marketing content by combining A...
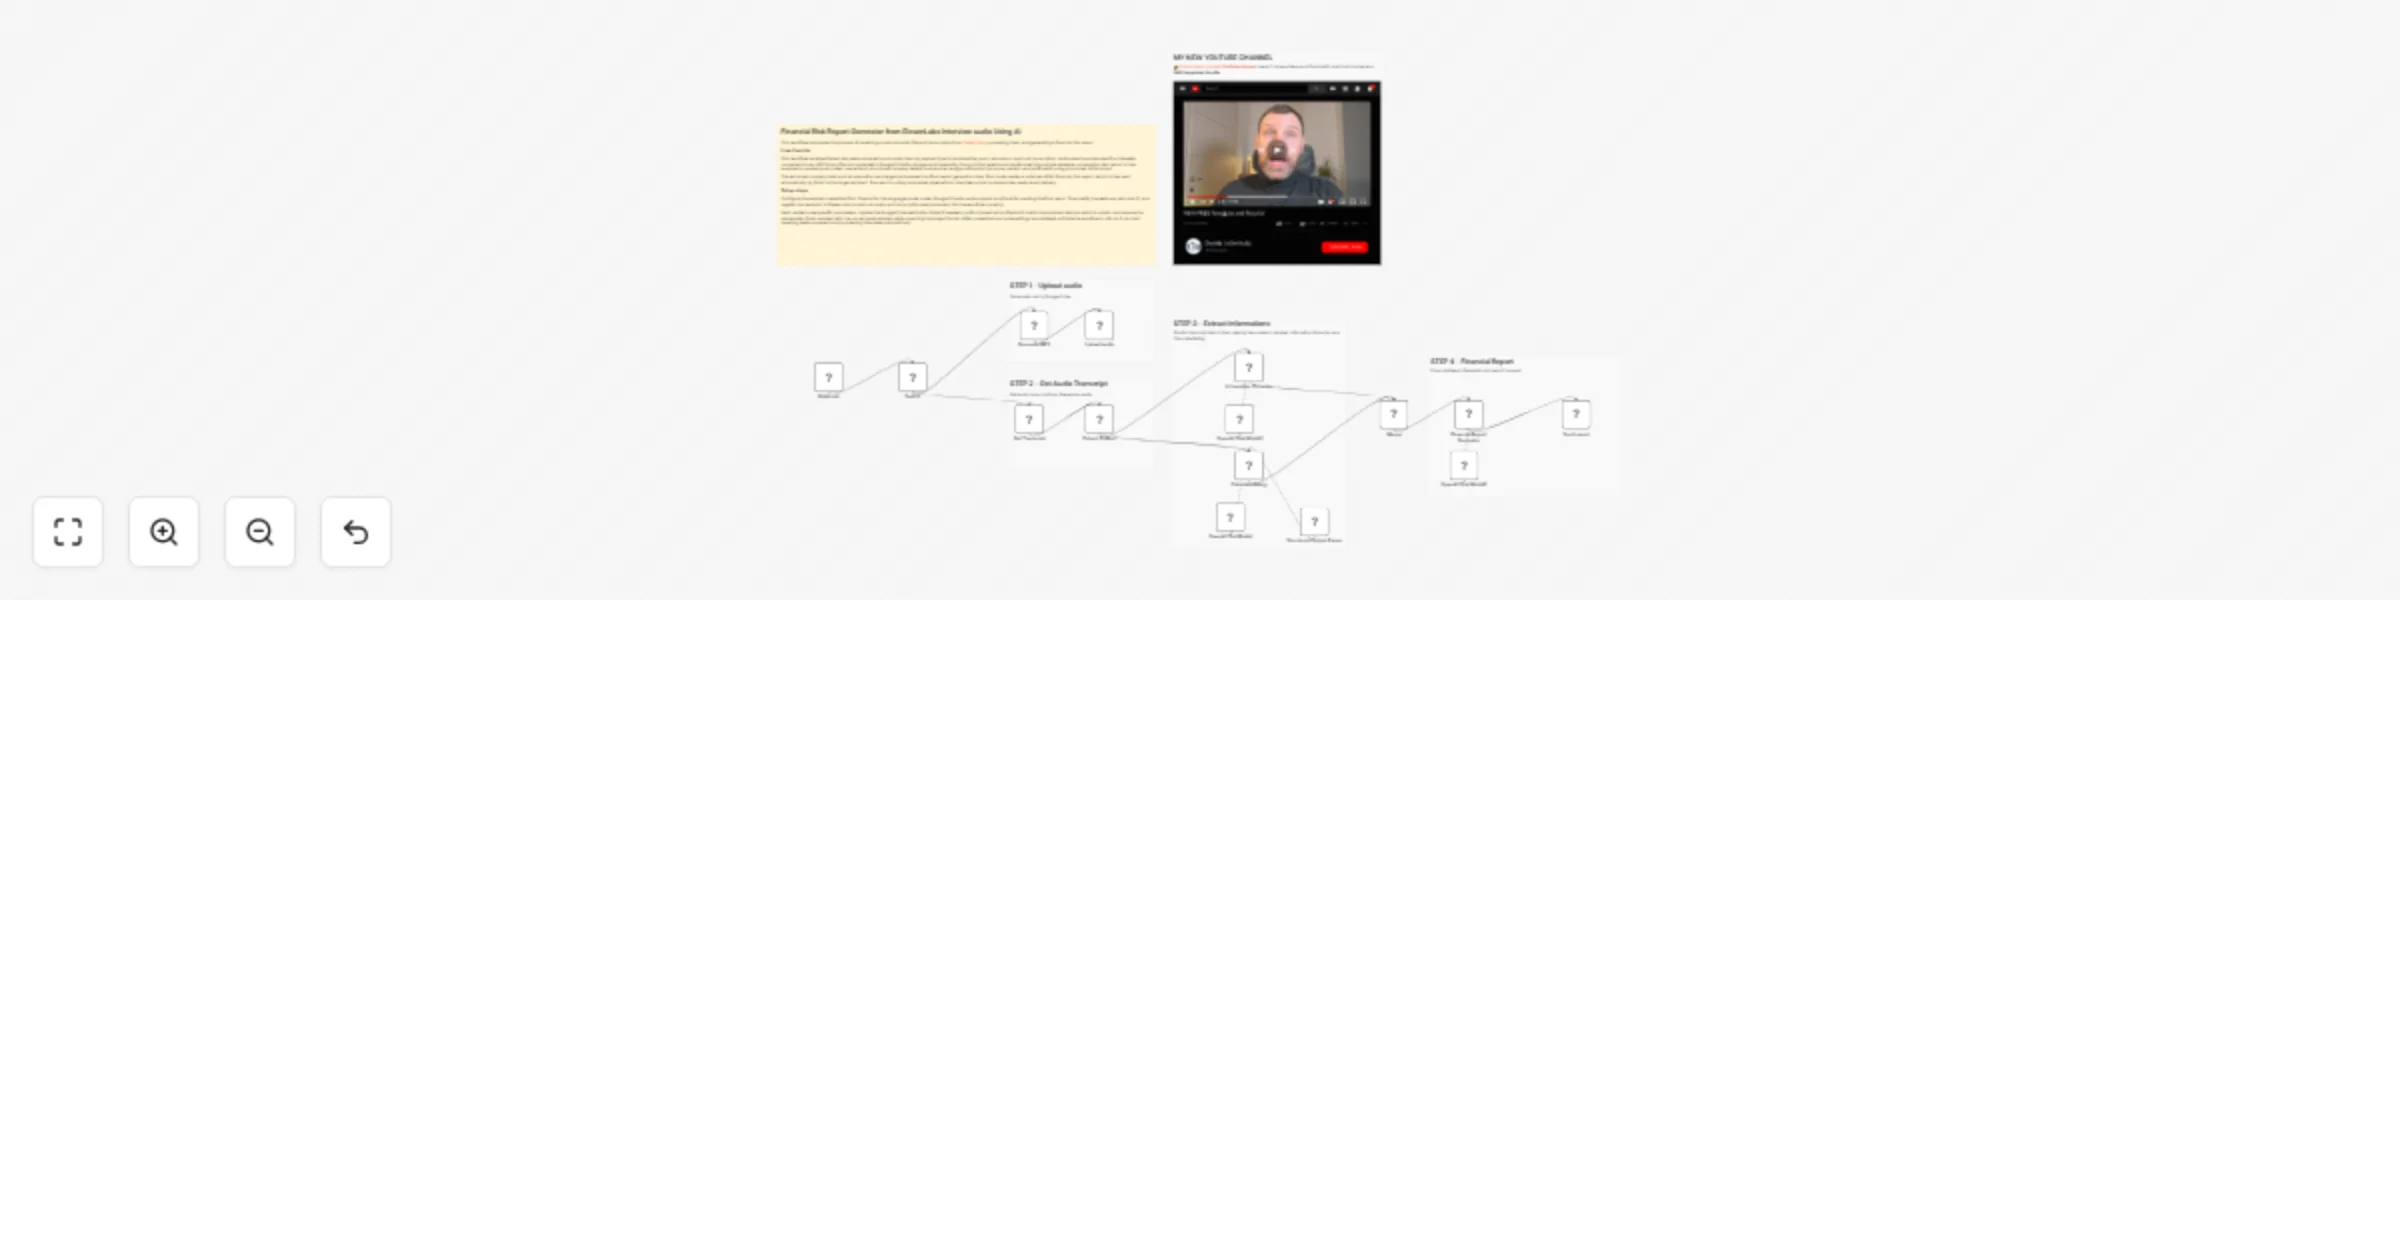
Generate Financial Risk Reports 📈 from ElevenLabs interviews 🎙️using OpenAI
This workflow automates the process of receiving a post call audio file and transcription from ElevenLabs, processing...
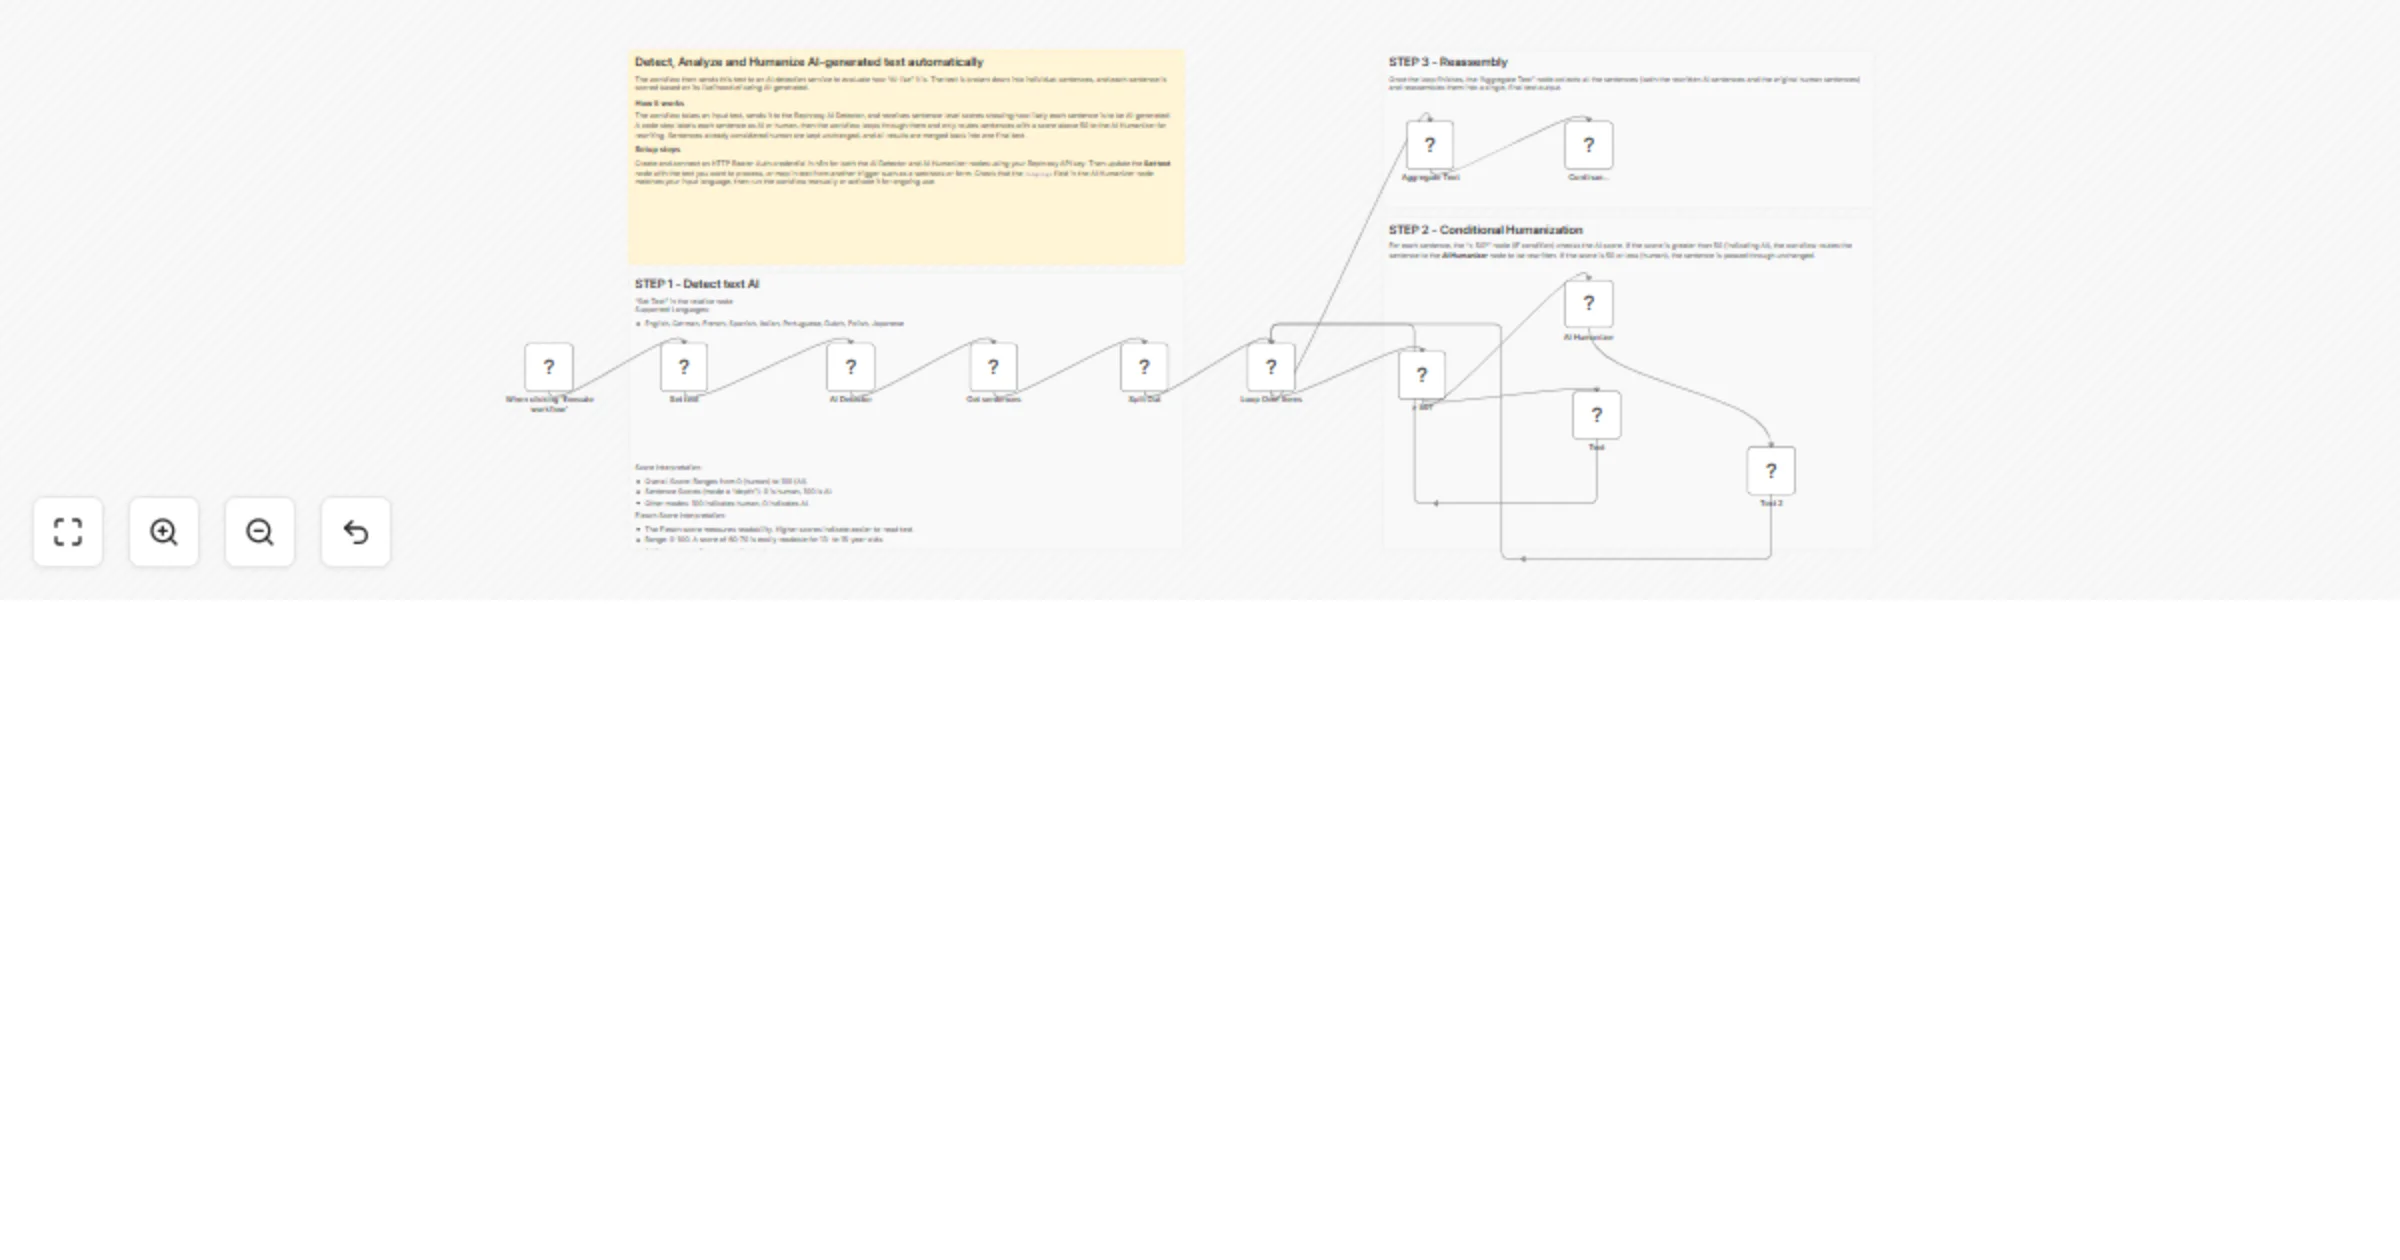
Detect, Analyze and Humanize 🕵️♂️🔎 AI-generated text using Rephrasy
This workflow is designed to analyze and humanize AI generated text automatically using Rephrasy AI. The workflow the...
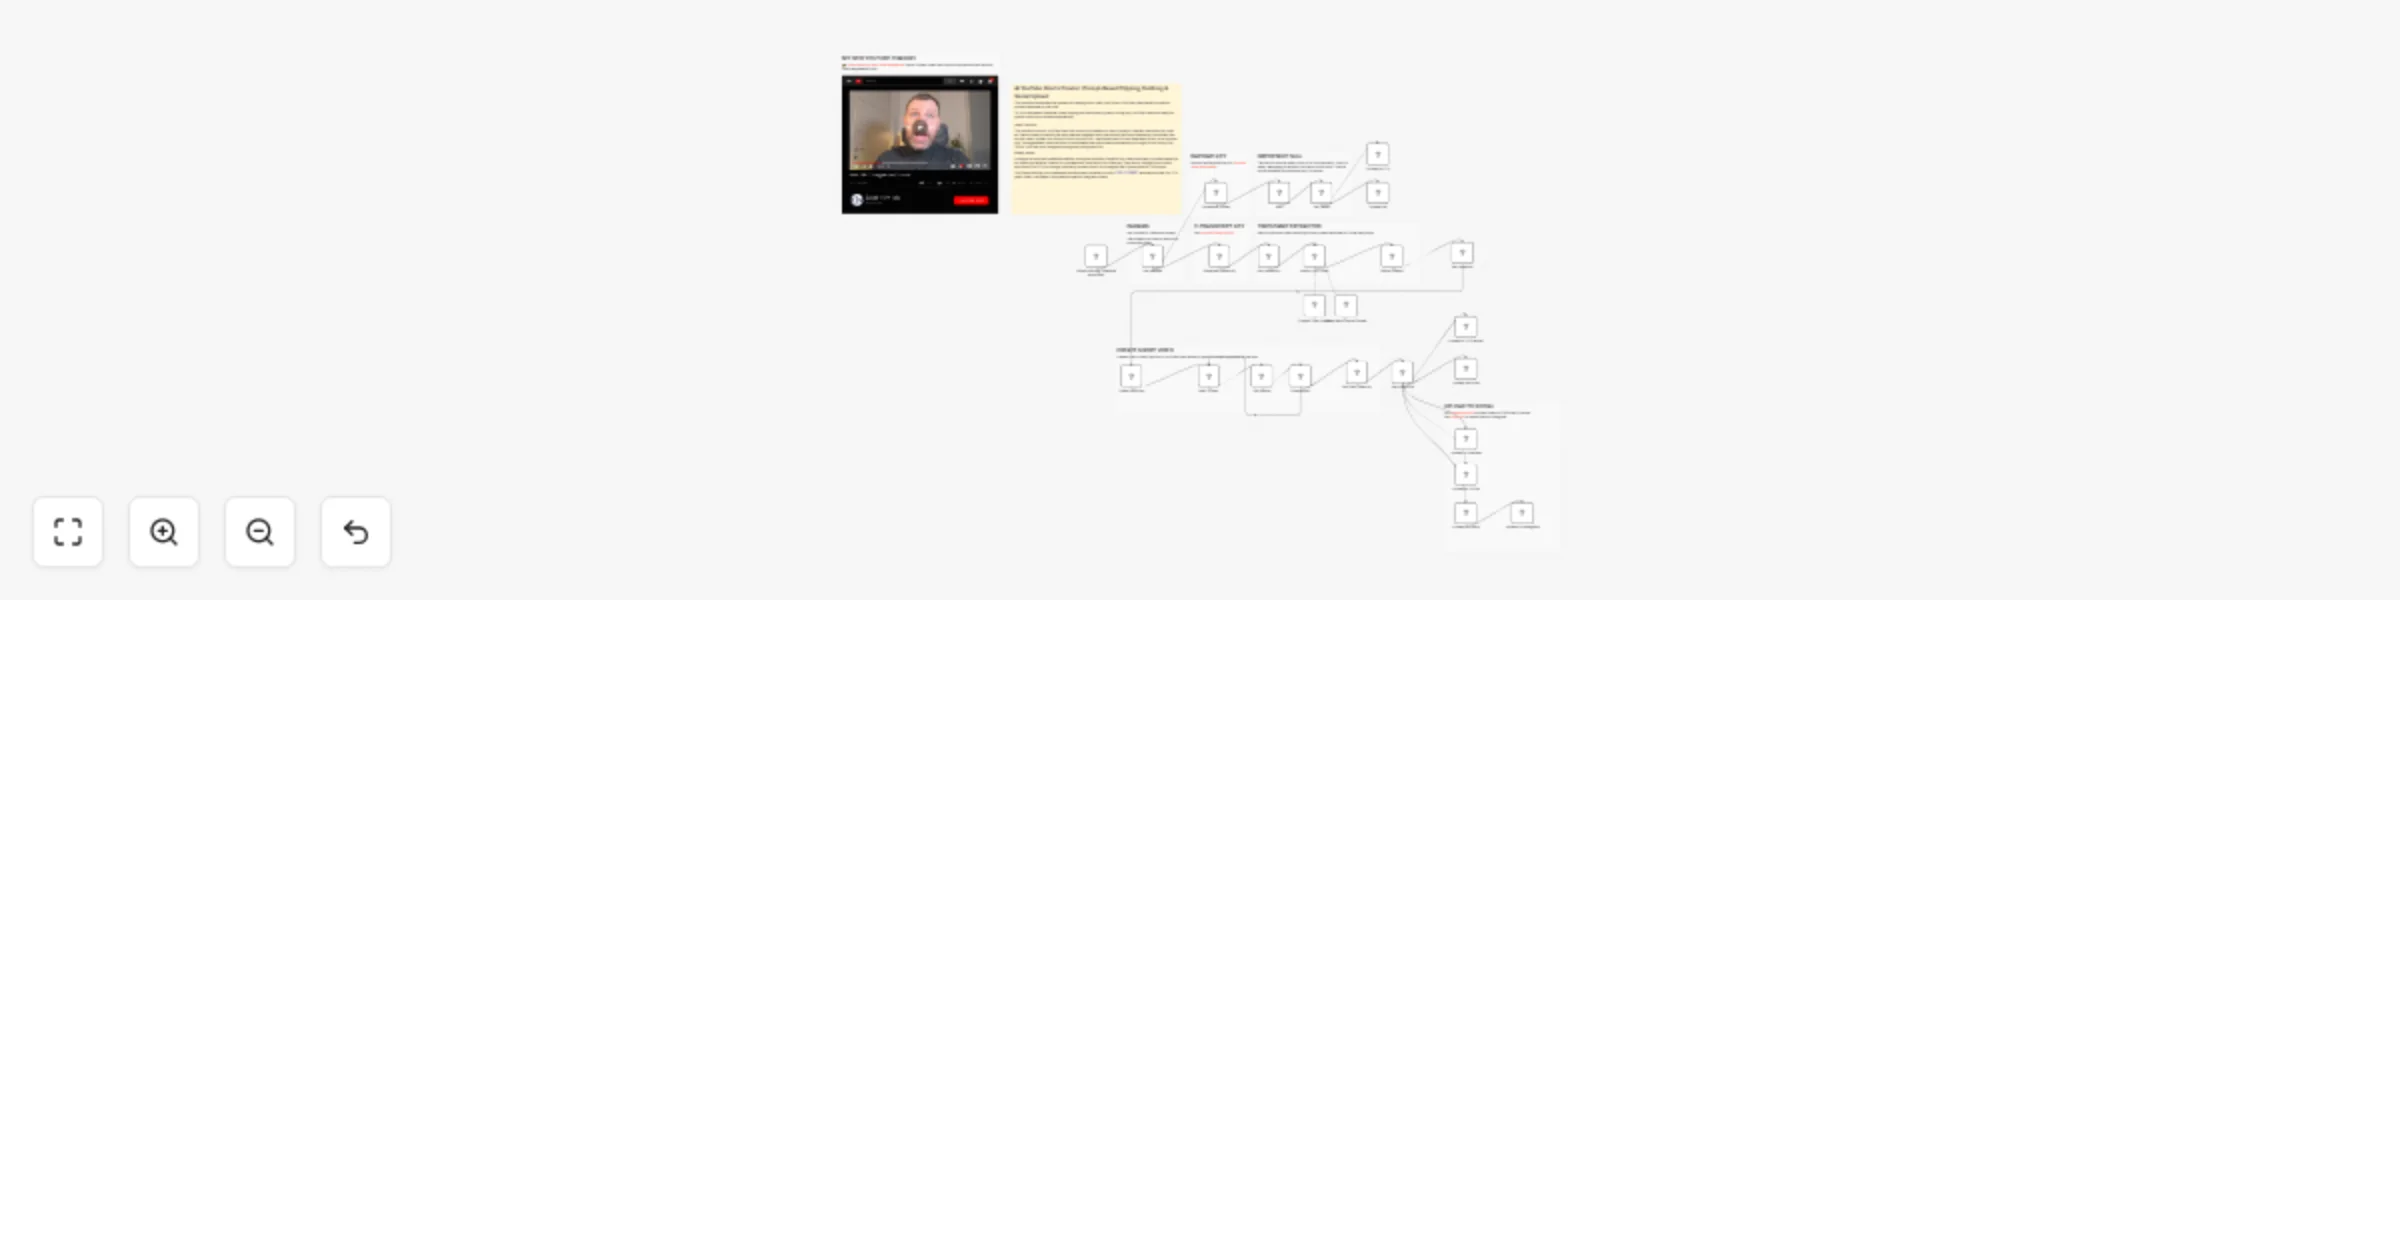
AI YouTube Shorts Creator 🤖🎞️: Prompt-Based Clipping, Dubbing & Social Upload
This workflow automates the process of creating short video clips from a YouTube video based on specific content requ...
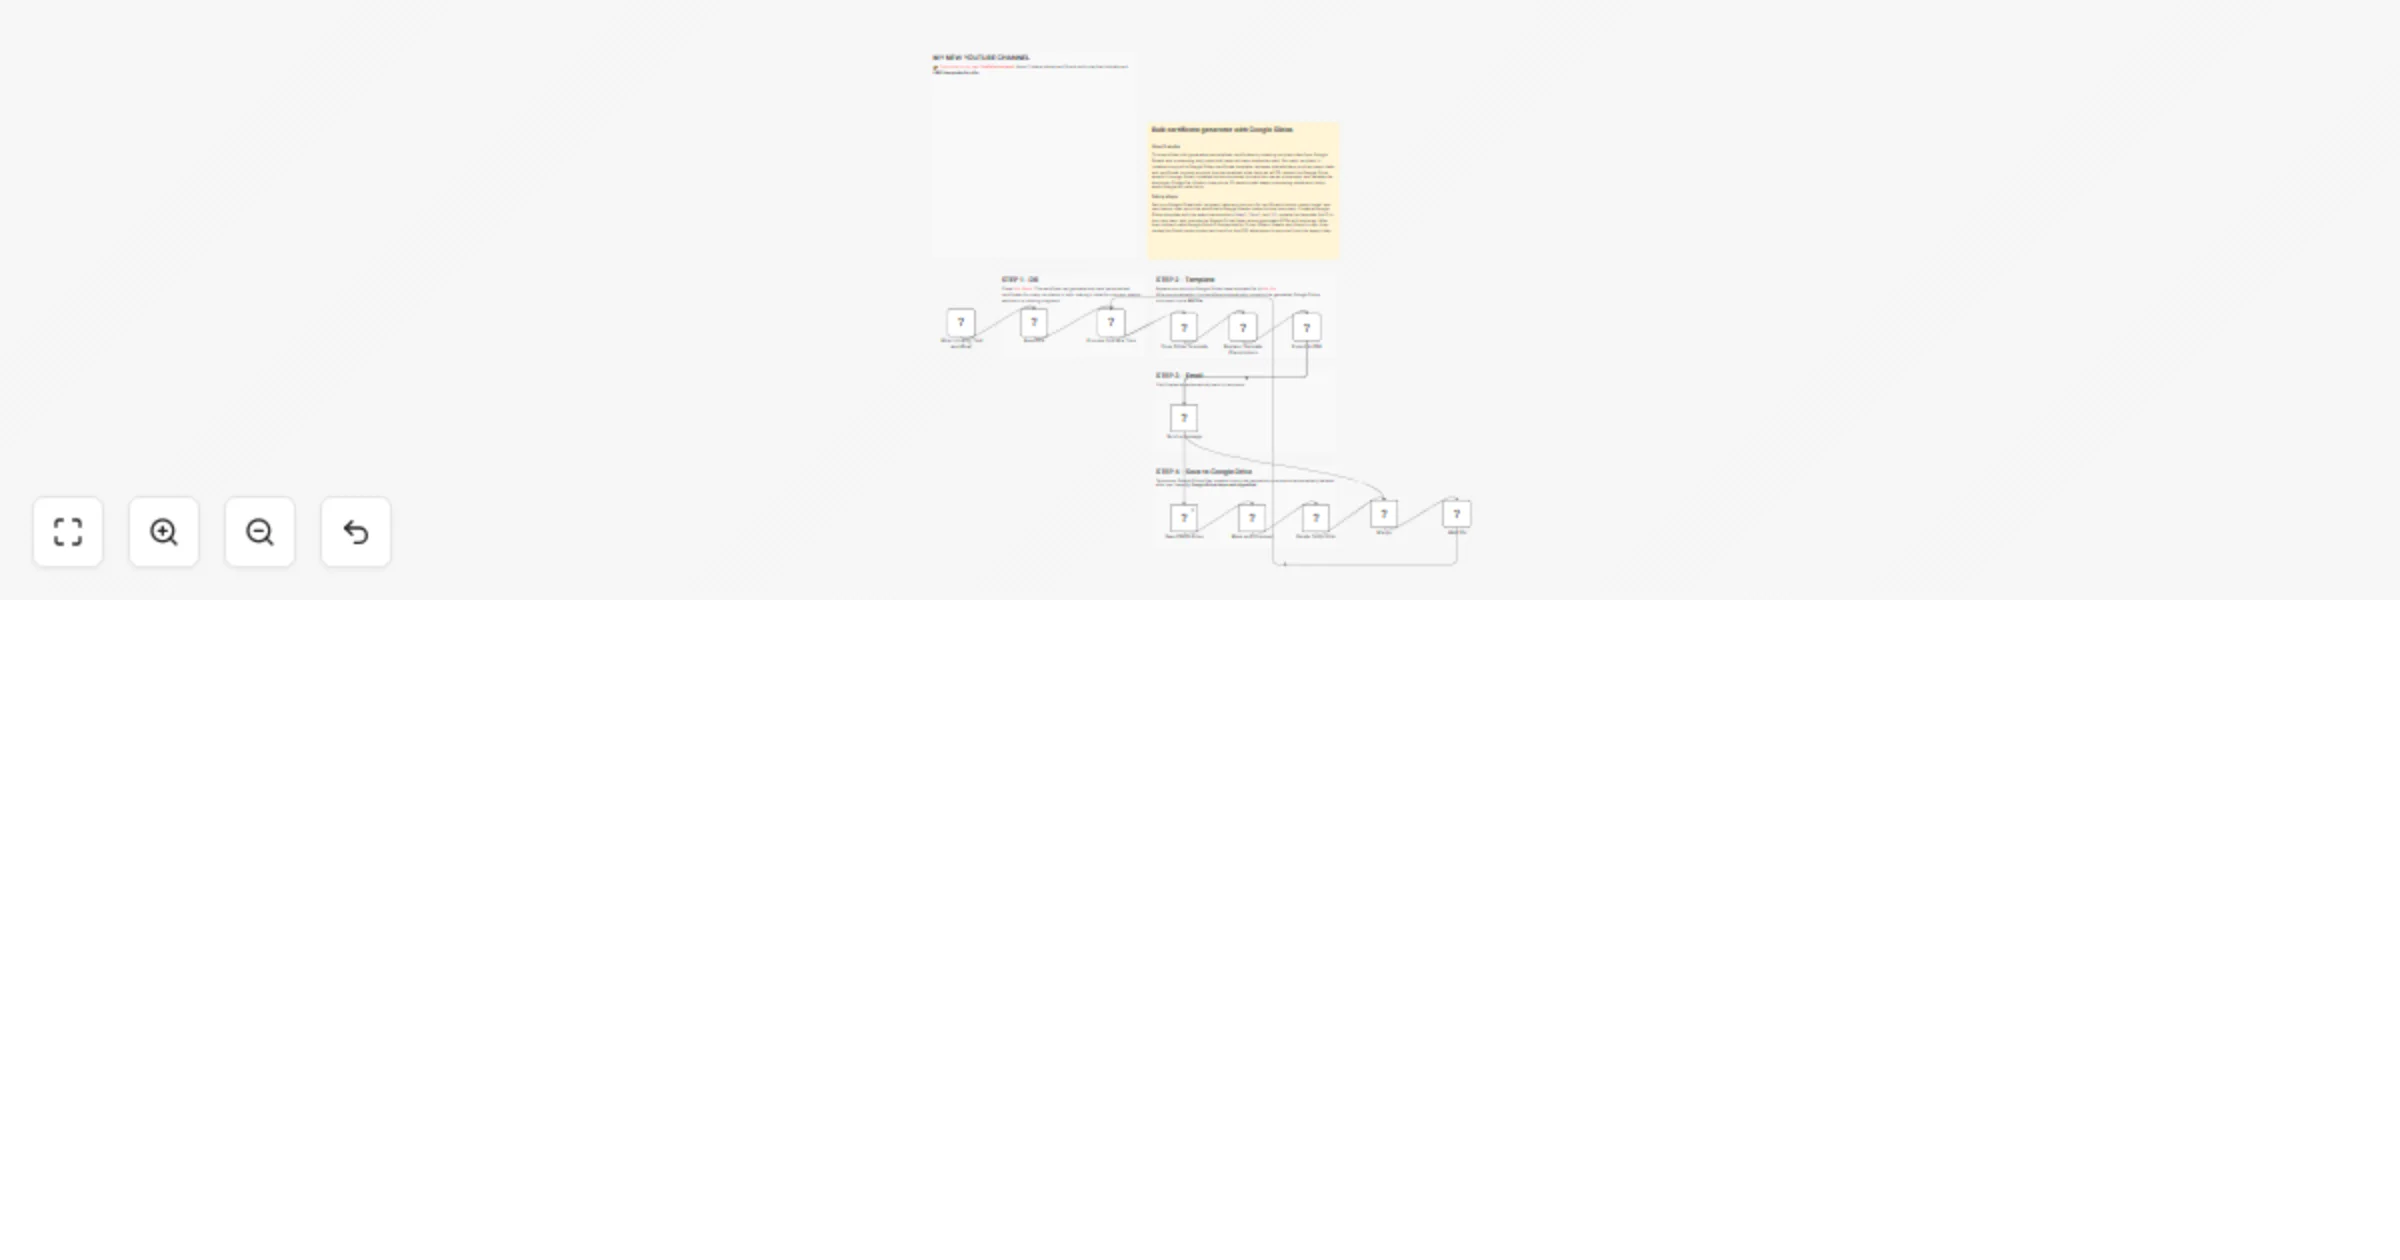
Generate bulk Google Slides certificates 📜 as PDFs and email them with Gmail
This workflow automates the bulk generation and delivery of personalized certificates using Google Sheets, Google Sli...
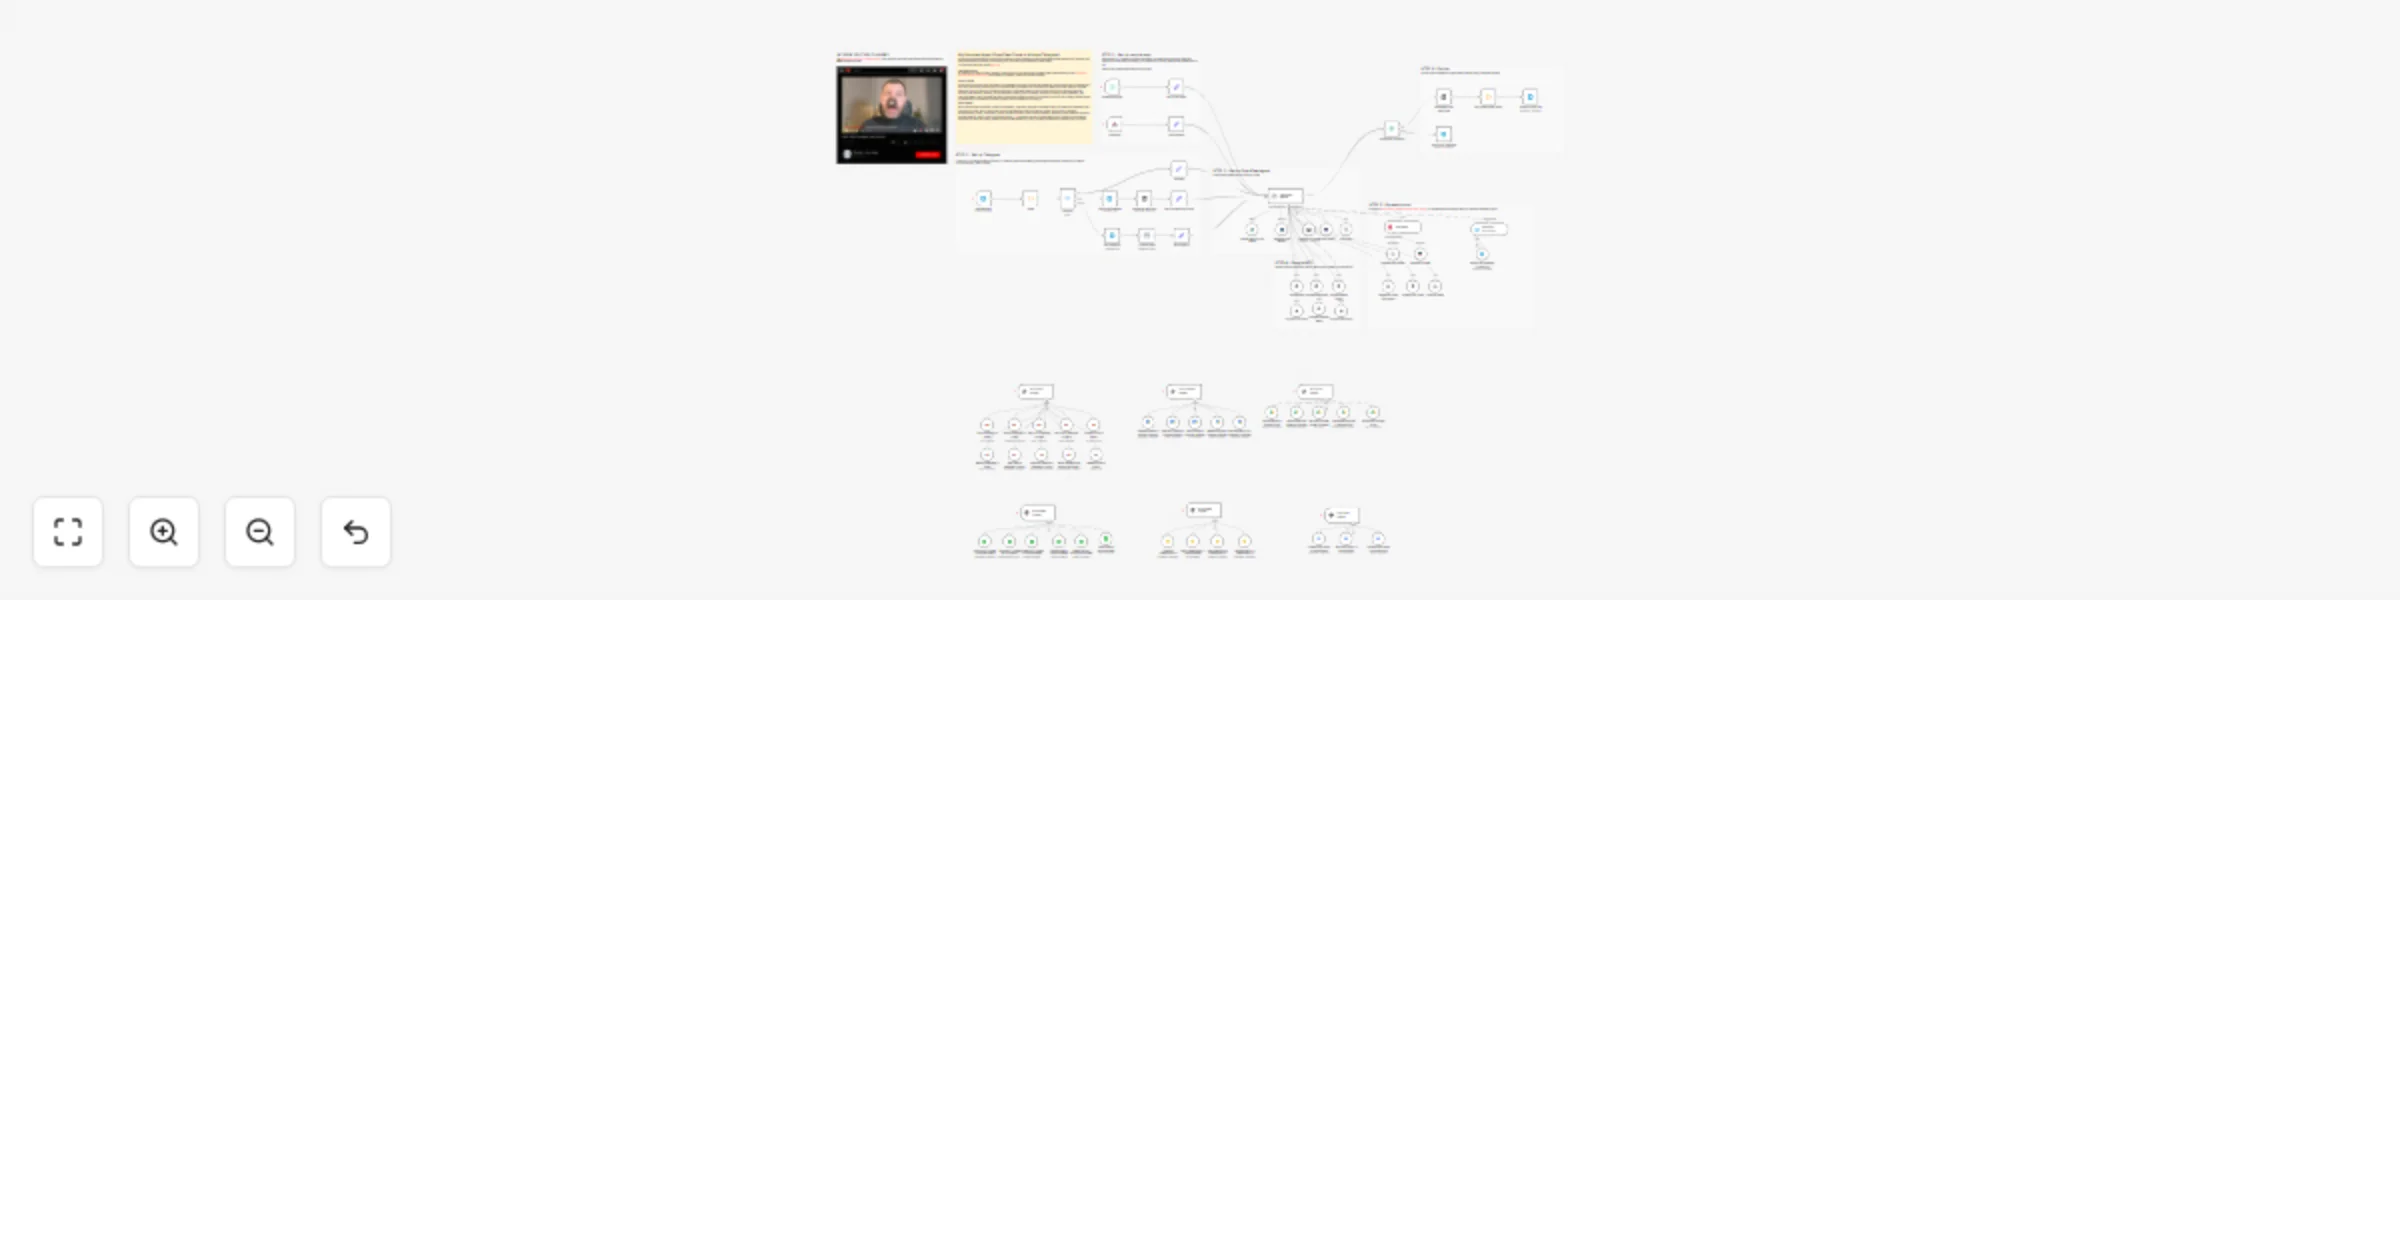
OpenClaw Clone 🦞: Expandable Personal Telegram AI Agent Template
This workflow implements an advanced AI automation agent (OpenClaw Agent) that interacts with users through Telegram...
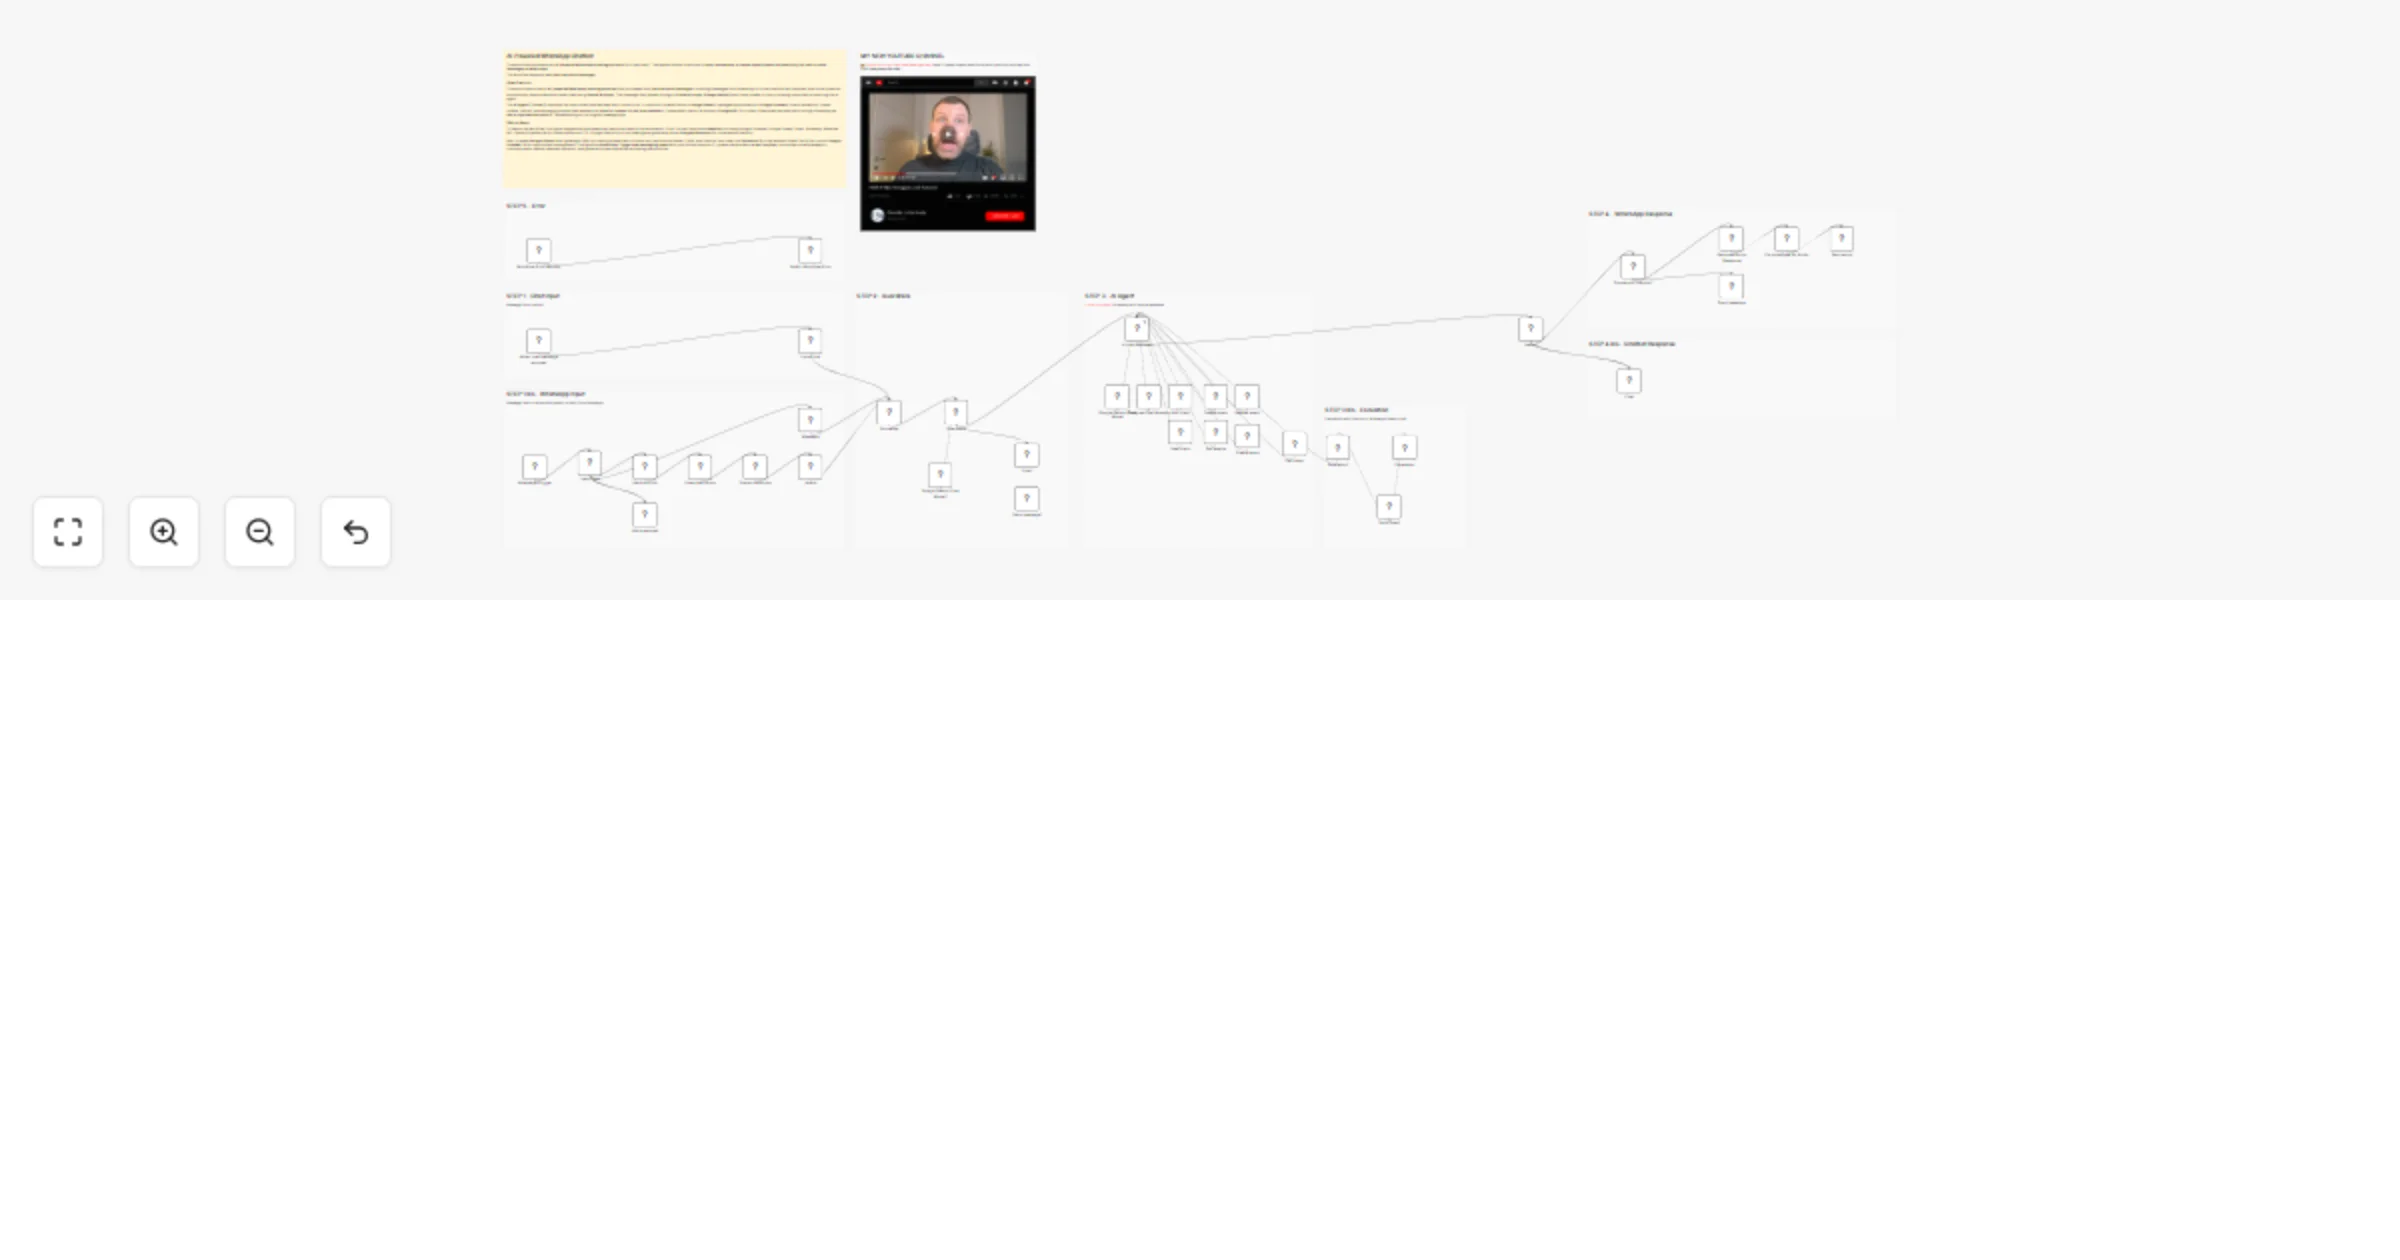
AI-Powered WhatsApp Chatbot 🤖📅: Complete Booking Assistant with Gemini & Google
This workflow implements an AI powered WhatsApp booking assistant for a hair salon. The system allows customers to bo...
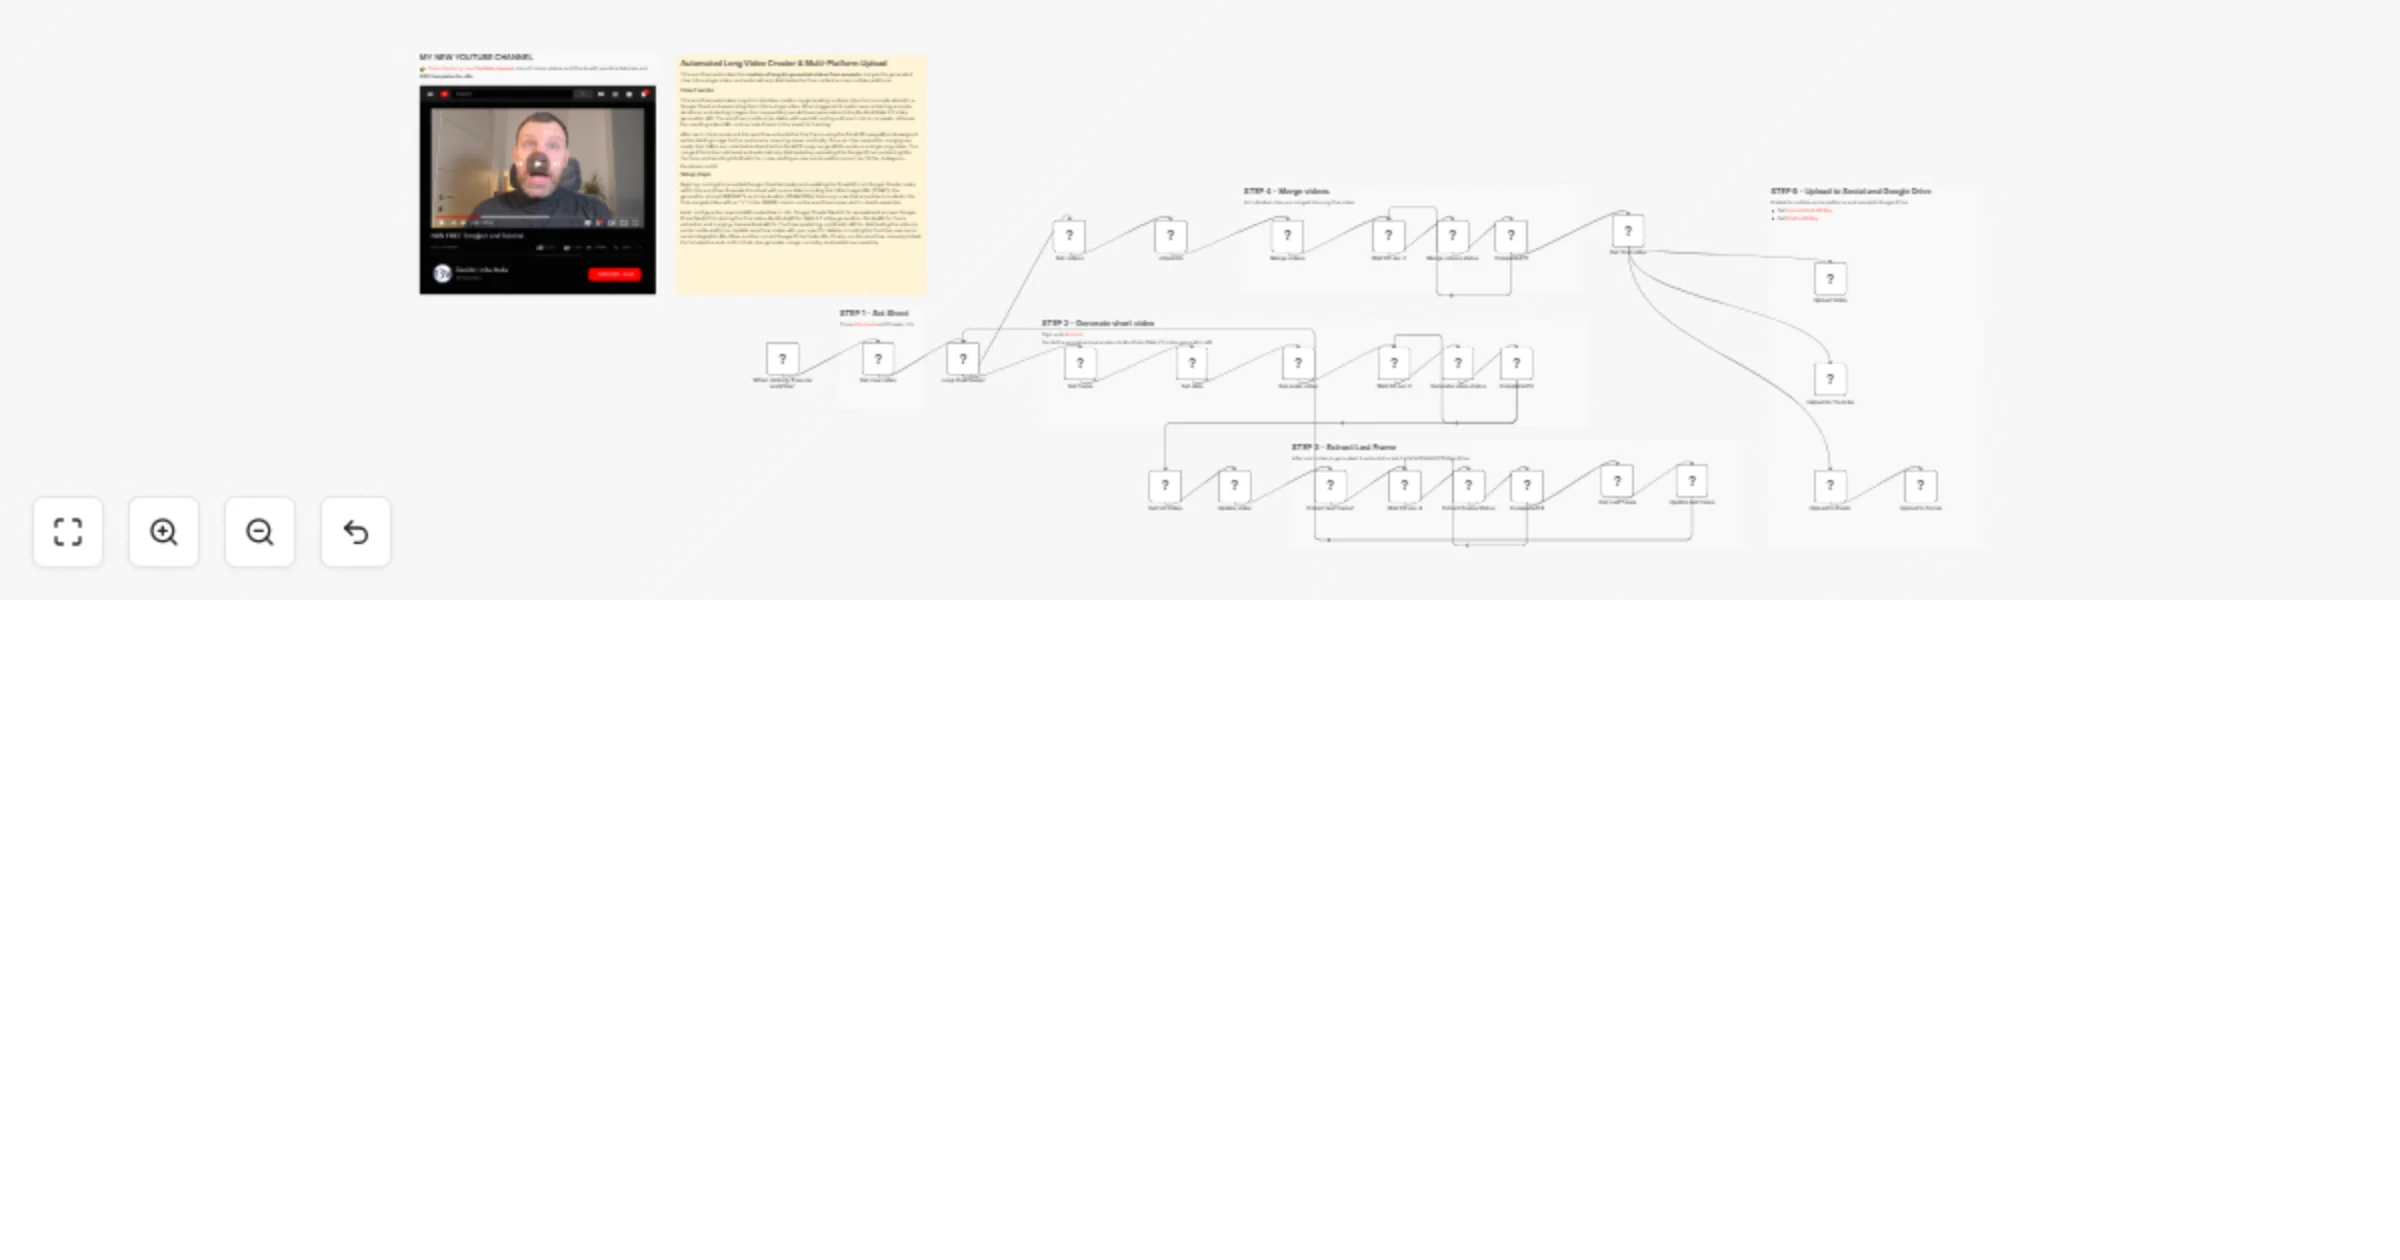
Automated AI Long Video Creator 🎞️🍿 & Multi-Platform Upload via Postiz
This workflow automates the creation of long AI generated videos from prompts , merges the generated clips into a sin...

Generate Viral AI Motion Video 🤣🤖 using Kling 2.6 Kie AI & Auto-Post to TikTok
This workflow automates the creation and publishing of AI generated motion videos for TikTok . The process starts wit...
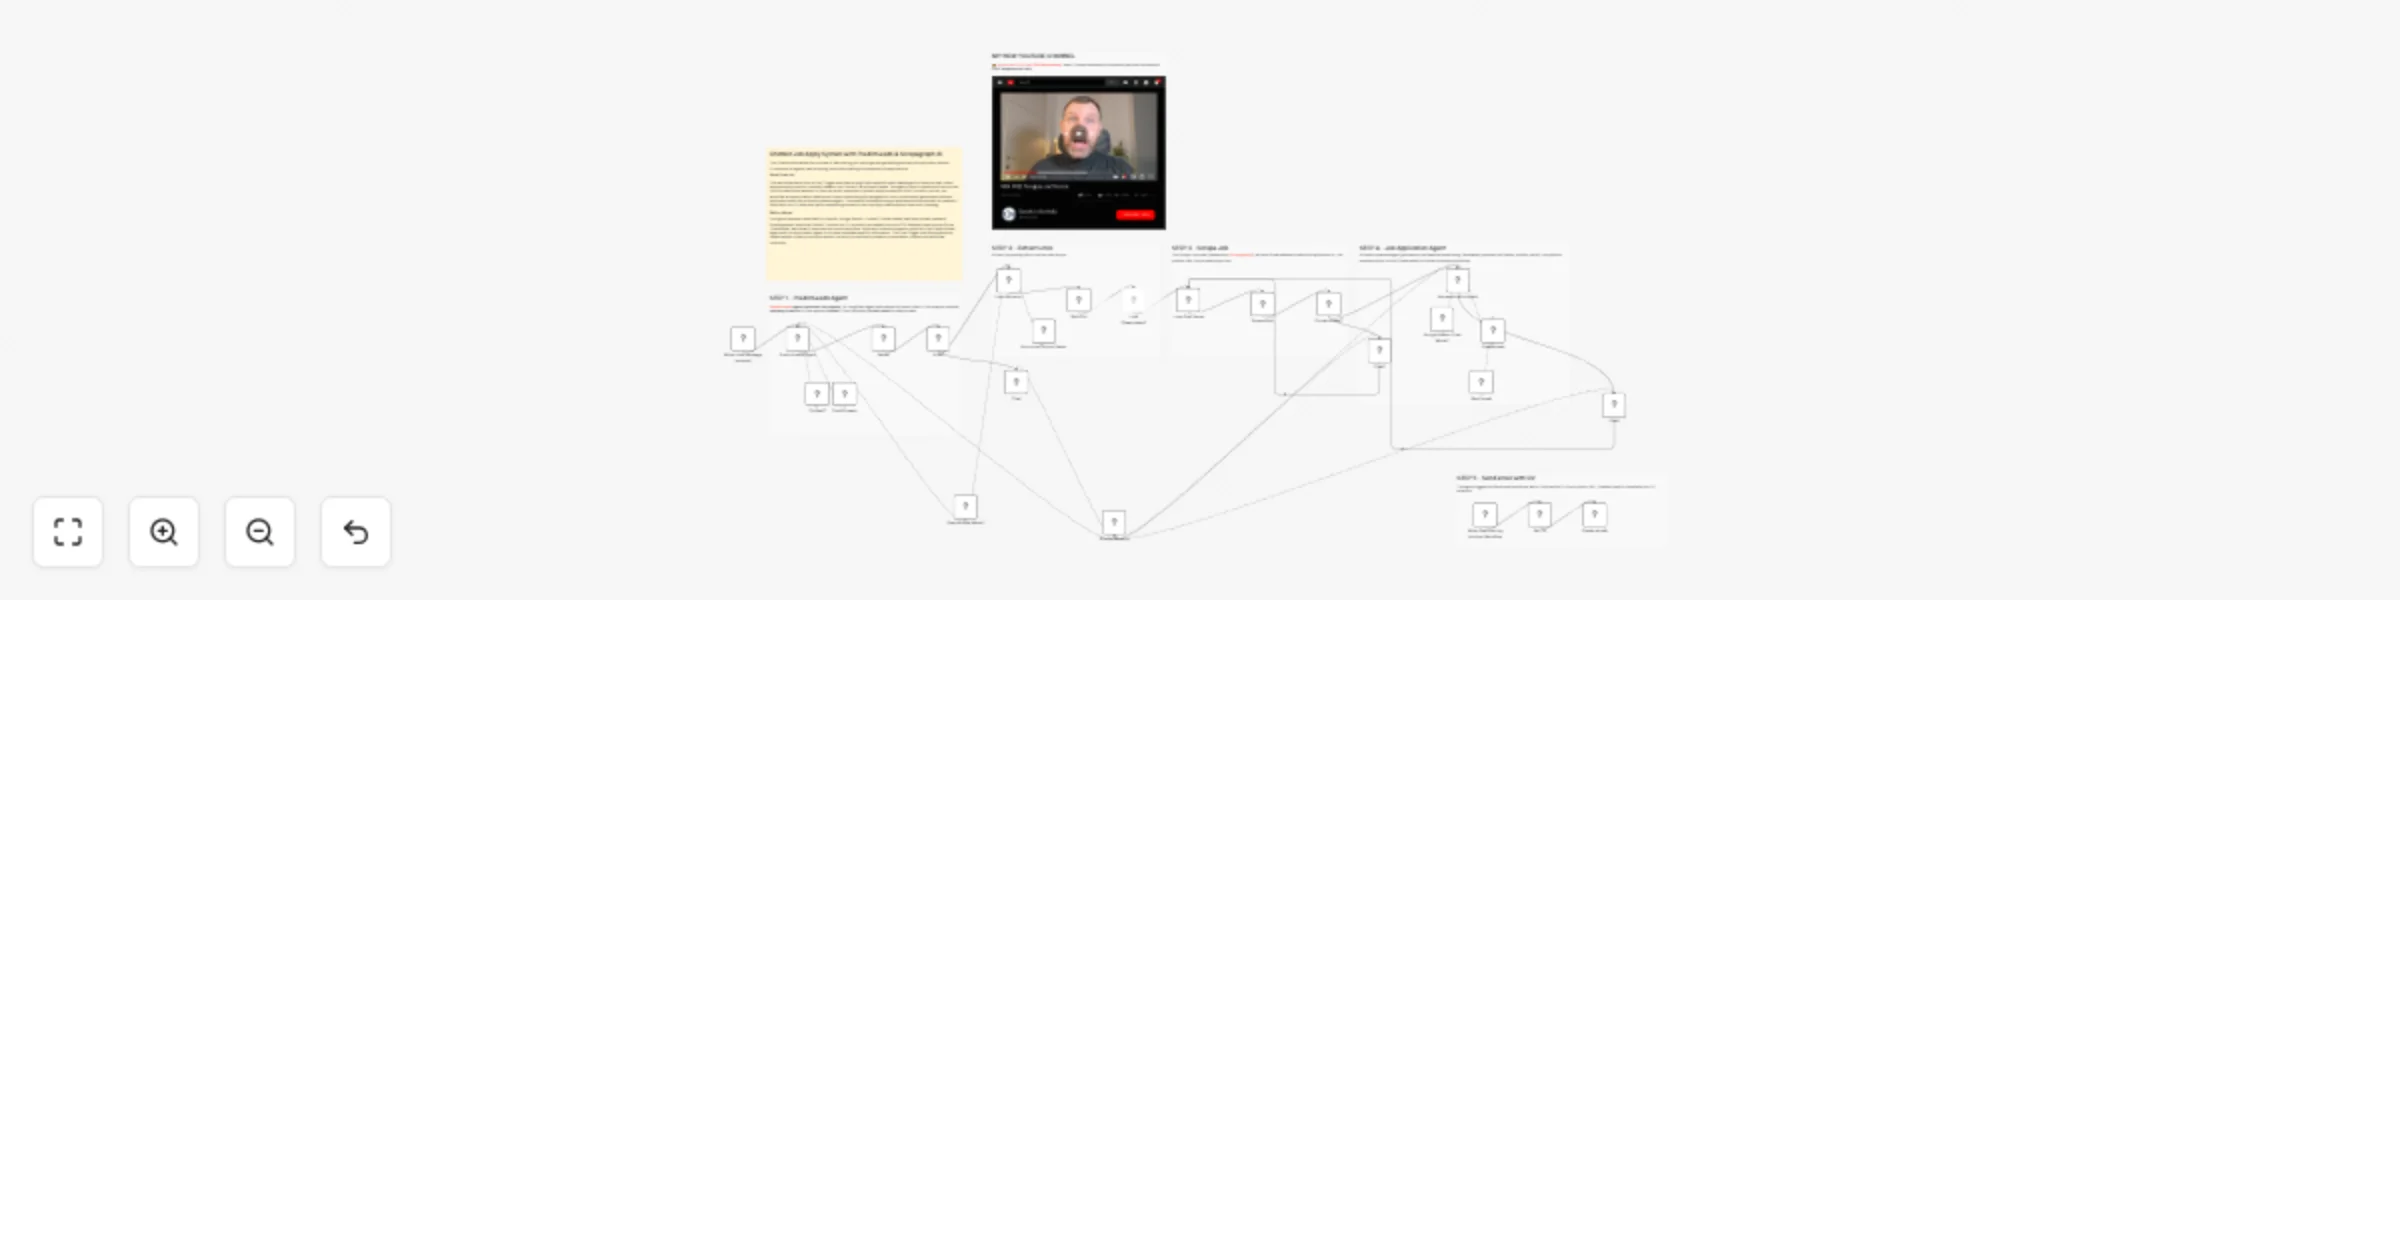
Automate Job applications 🧑🏻💼📄with Chatbot, PredictLeads and ScrapegraphAI
This Chatbot automates the process of discovering job openings and generating tailored job application emails. It com...
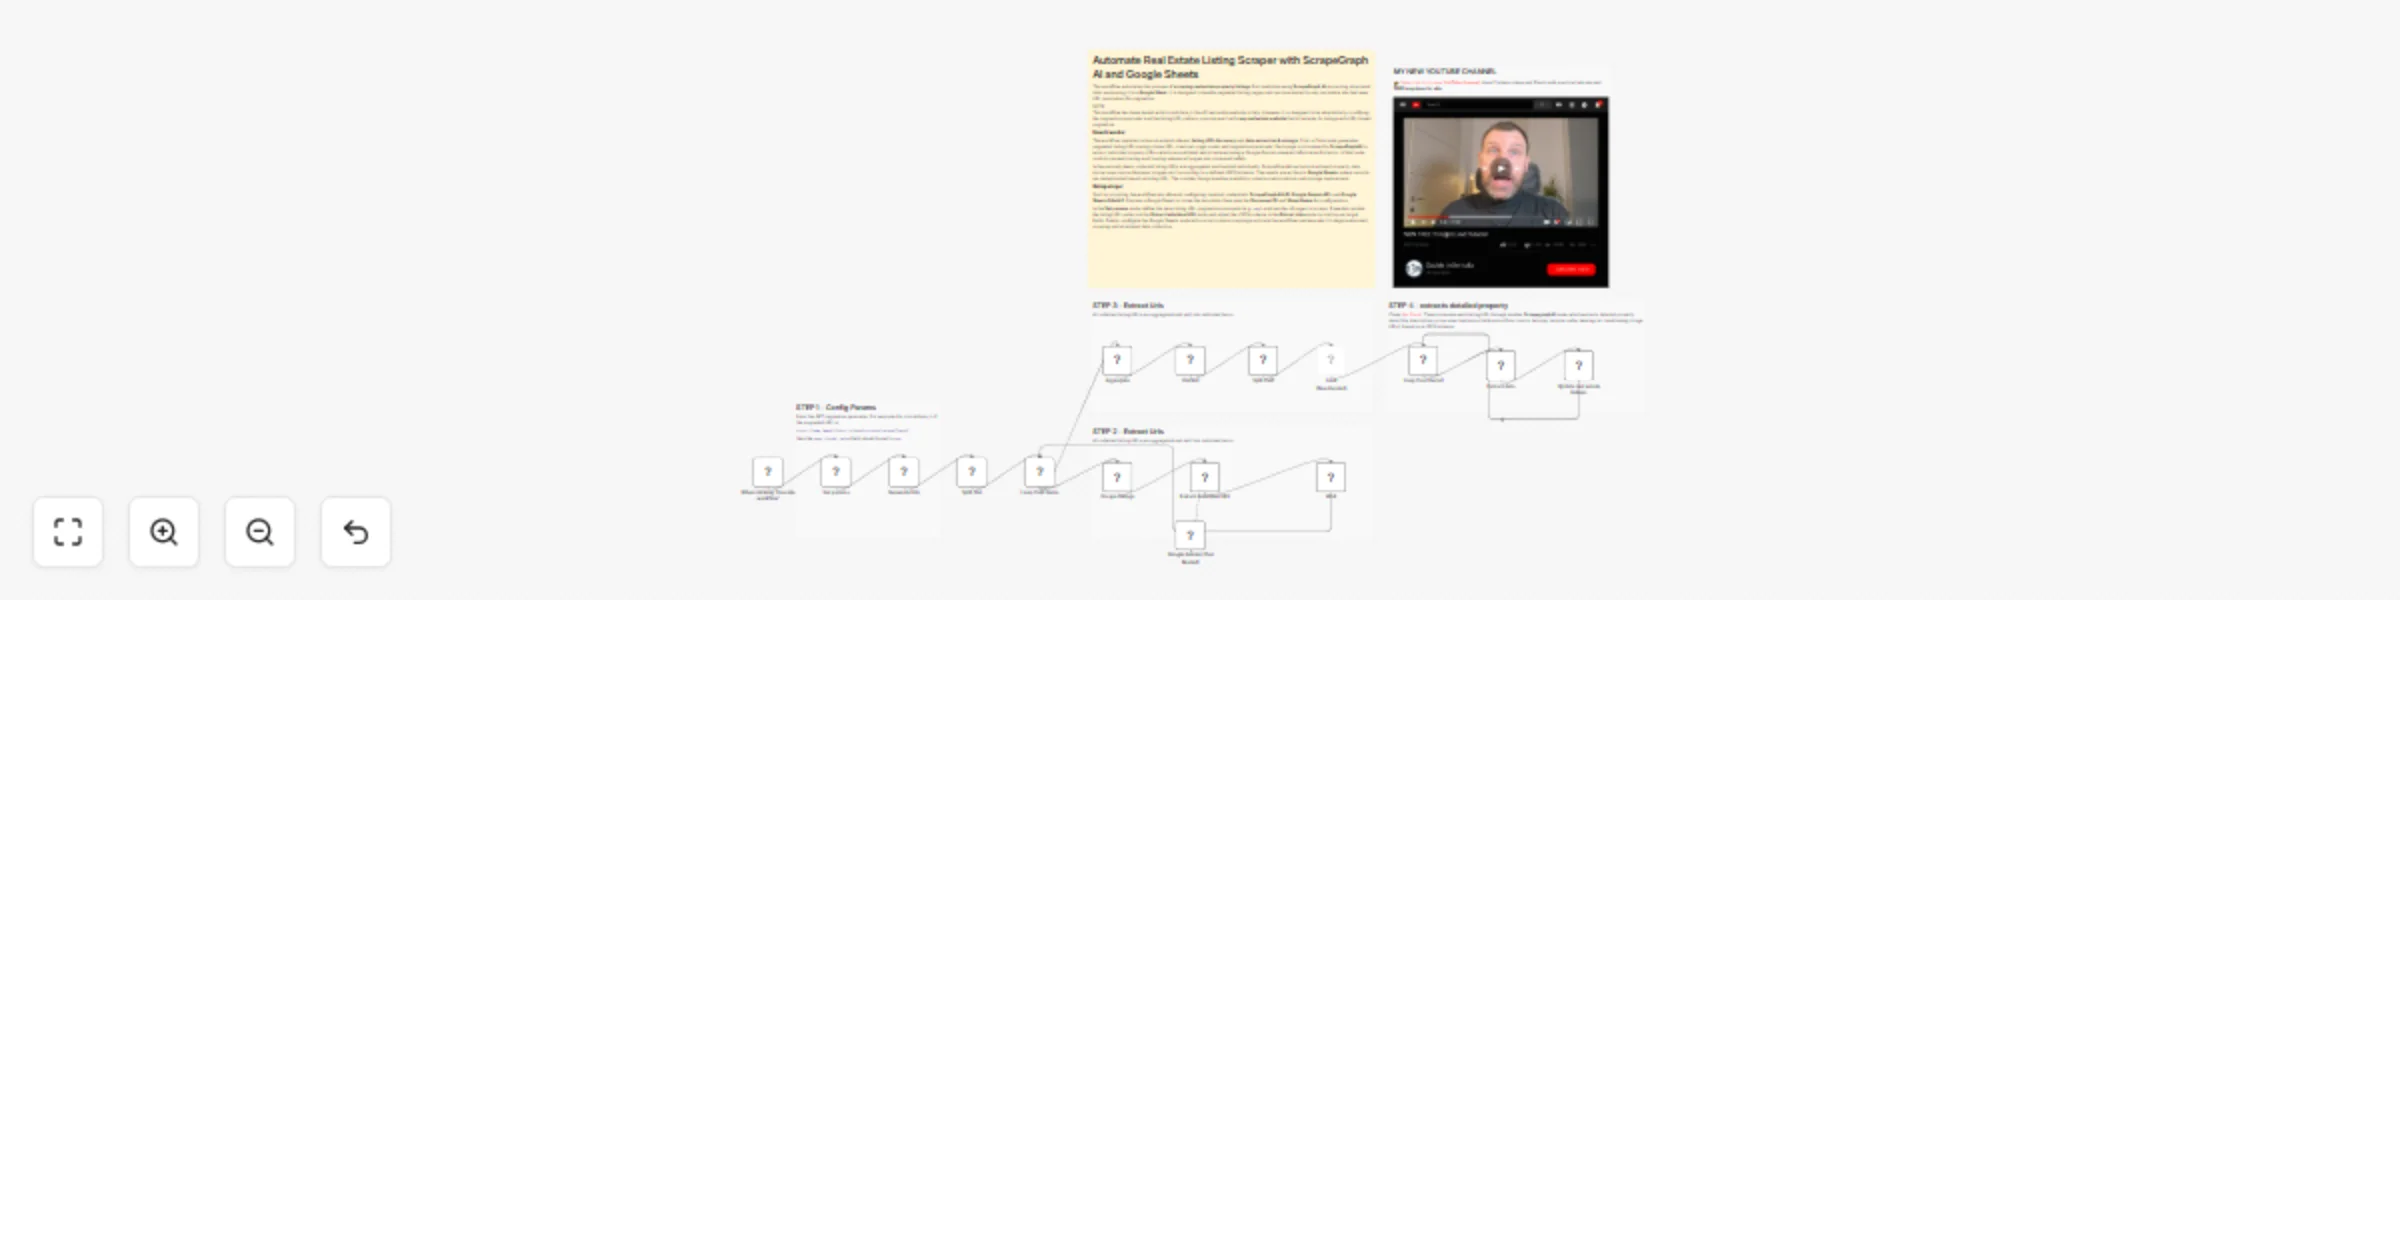
Automate Real Estate Listing Scraper 🏠🤖 with ScrapeGraph AI and Google Sheets
This workflow automates the process of scraping real estate property listings from websites using ScrapeGraph AI , ex...
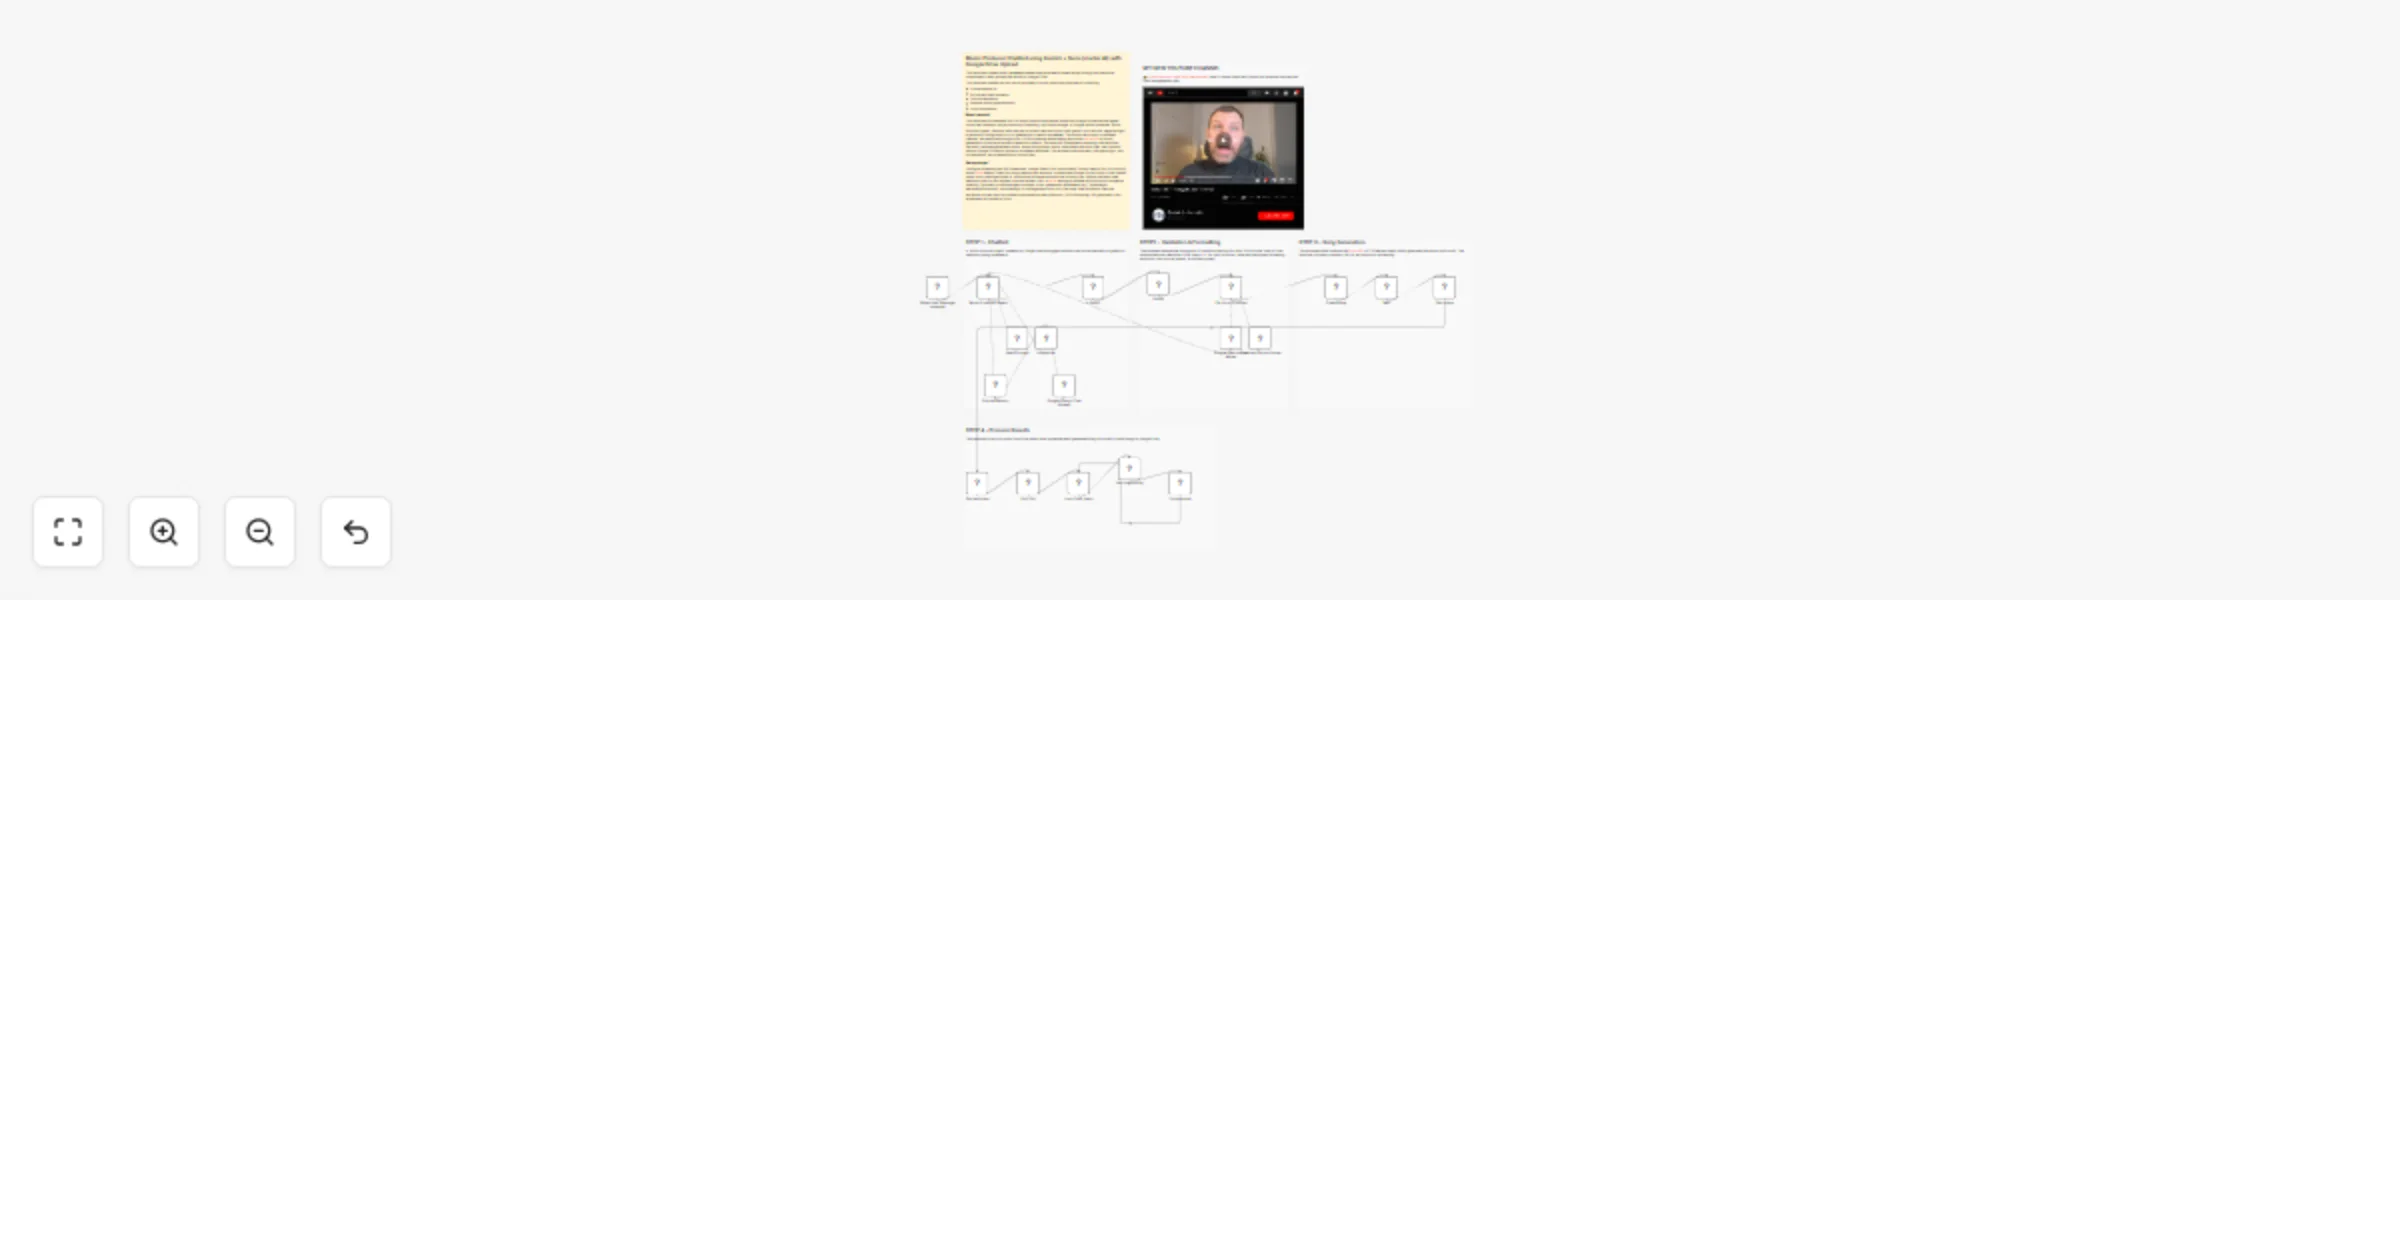
Music Producer Chatbot 🎵🎤 using Gemini + Suno (via Kei AI) & Google Drive Upload
This workflow creates an AI powered chatbot that generates custom songs through an interactive conversation, then upl...
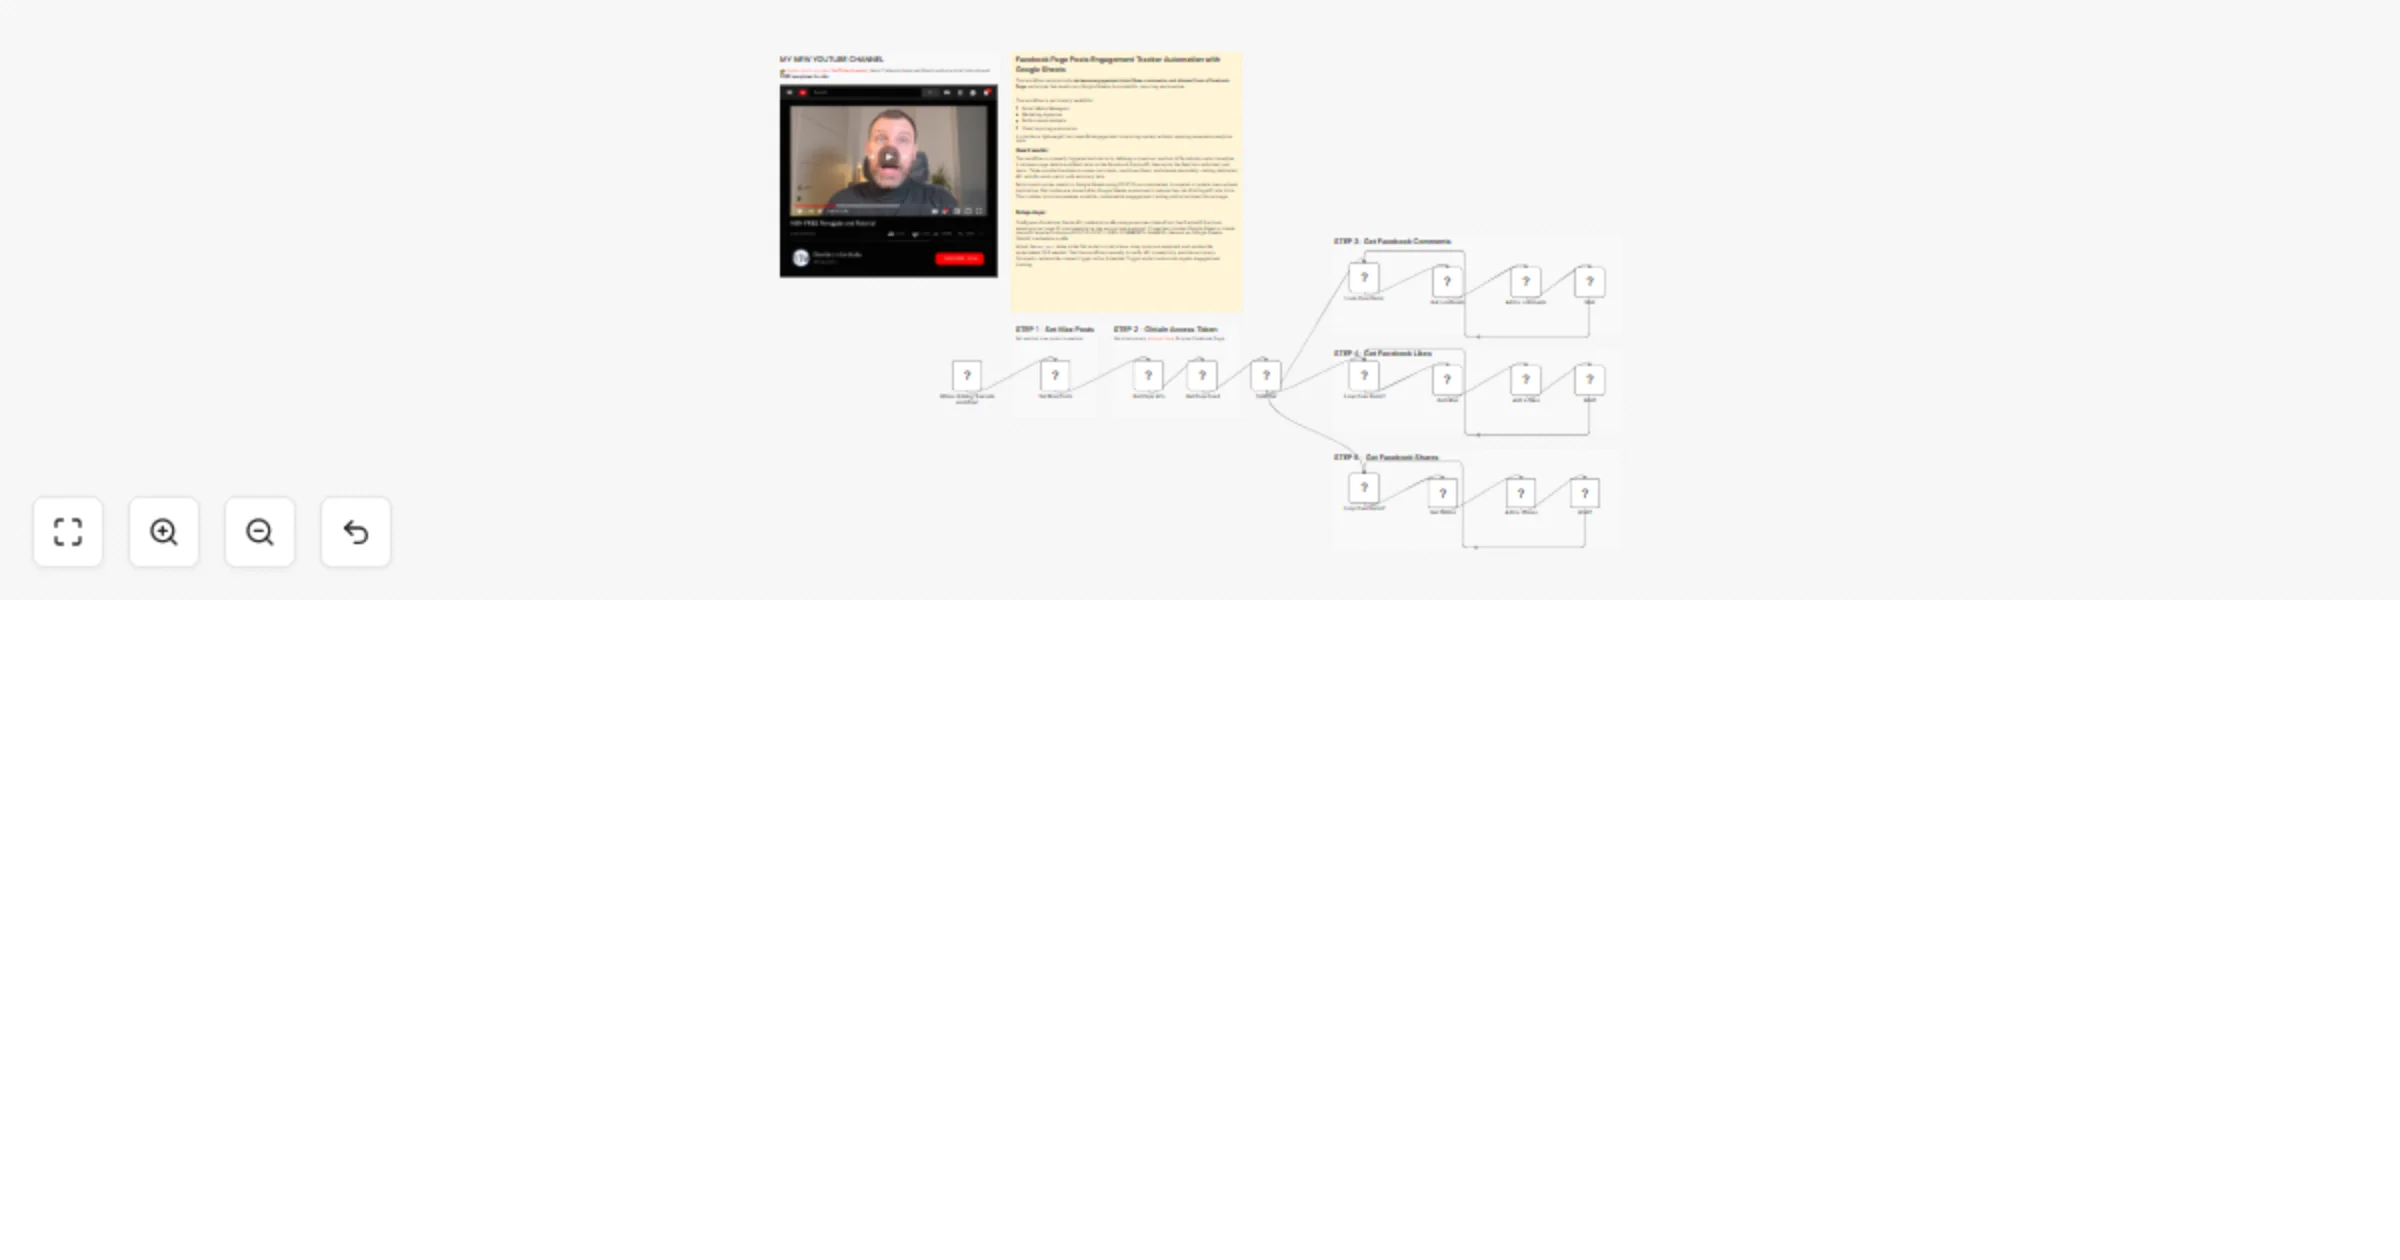
Track Facebook Page post Engagement (Comments, Like, Shares) in Google Sheets
This workflow automatically retrieves engagement data (likes, comments, and shares) from a Facebook Page and stores t...

Generate Images on Telegram 🤖🖼️ from Text and Voice using Grok Imagine & Kie AI
This workflow creates an AI powered Telegram bot that allows users to generate and modify images using Grok Imagine m...
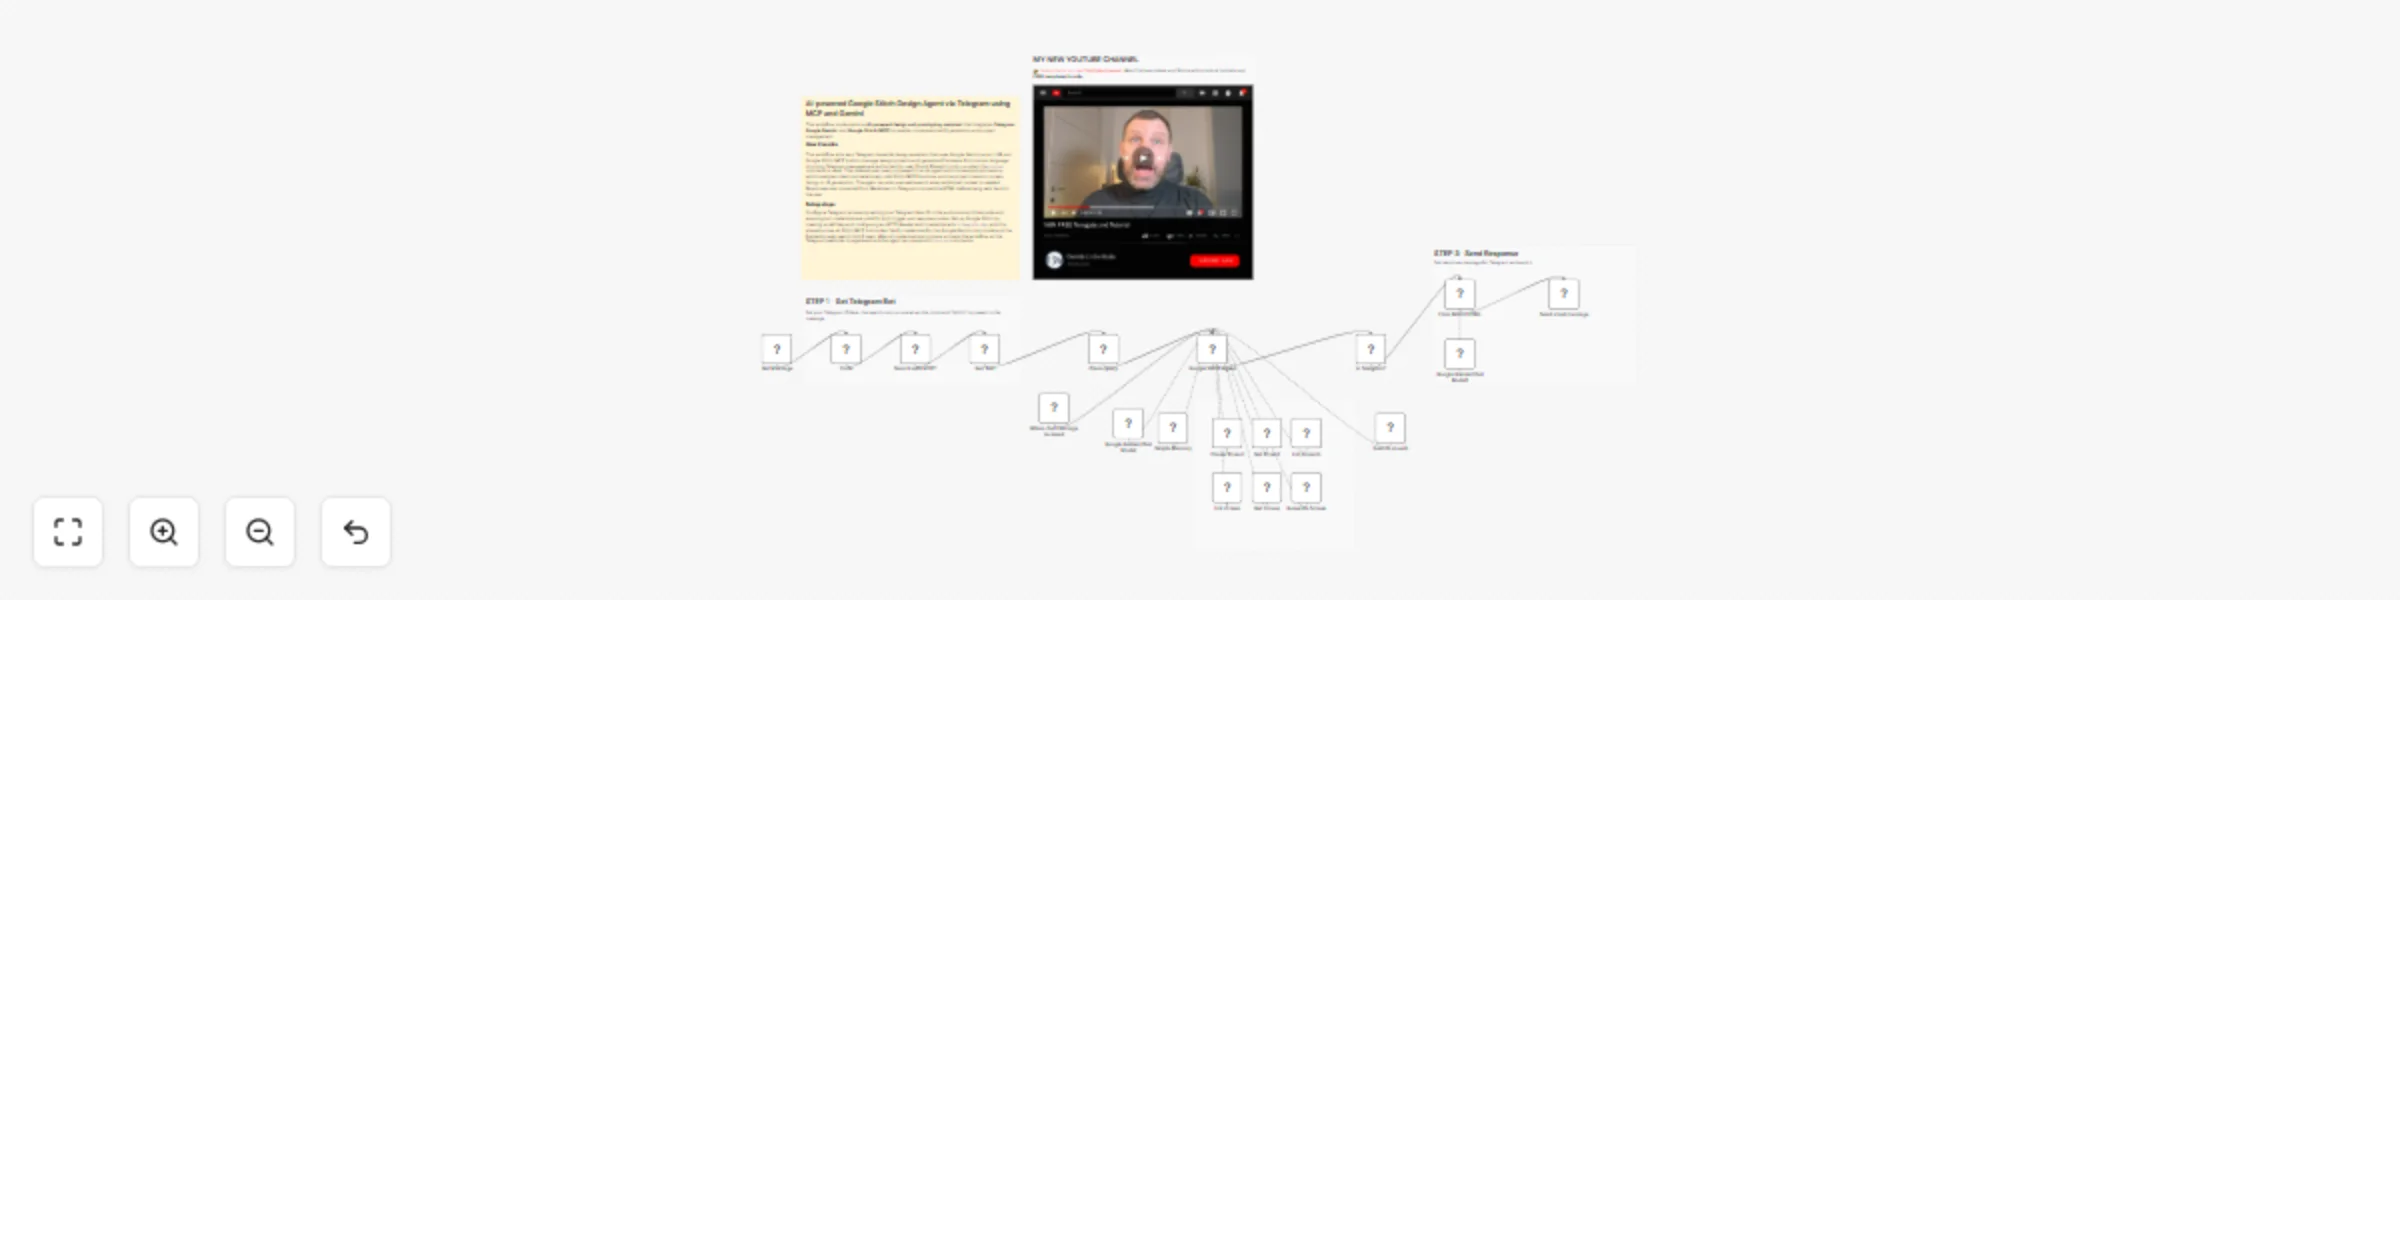
Design UI projects 🎨🖼️ with Google Stitch via Telegram using MCP and Gemini AI
This workflow implements an AI powered design and prototyping assistant that integrates Telegram , Google Gemini , an...

Multi-AI Council Research 🔍: GPT 5.2, Claude Opus 4.6 & Gemini 3 Pro Aggregation
This workflow implements a multi model AI orchestration with the BEST models at now ( ChatGPT 5.2, Claude Opus 4.6, G...
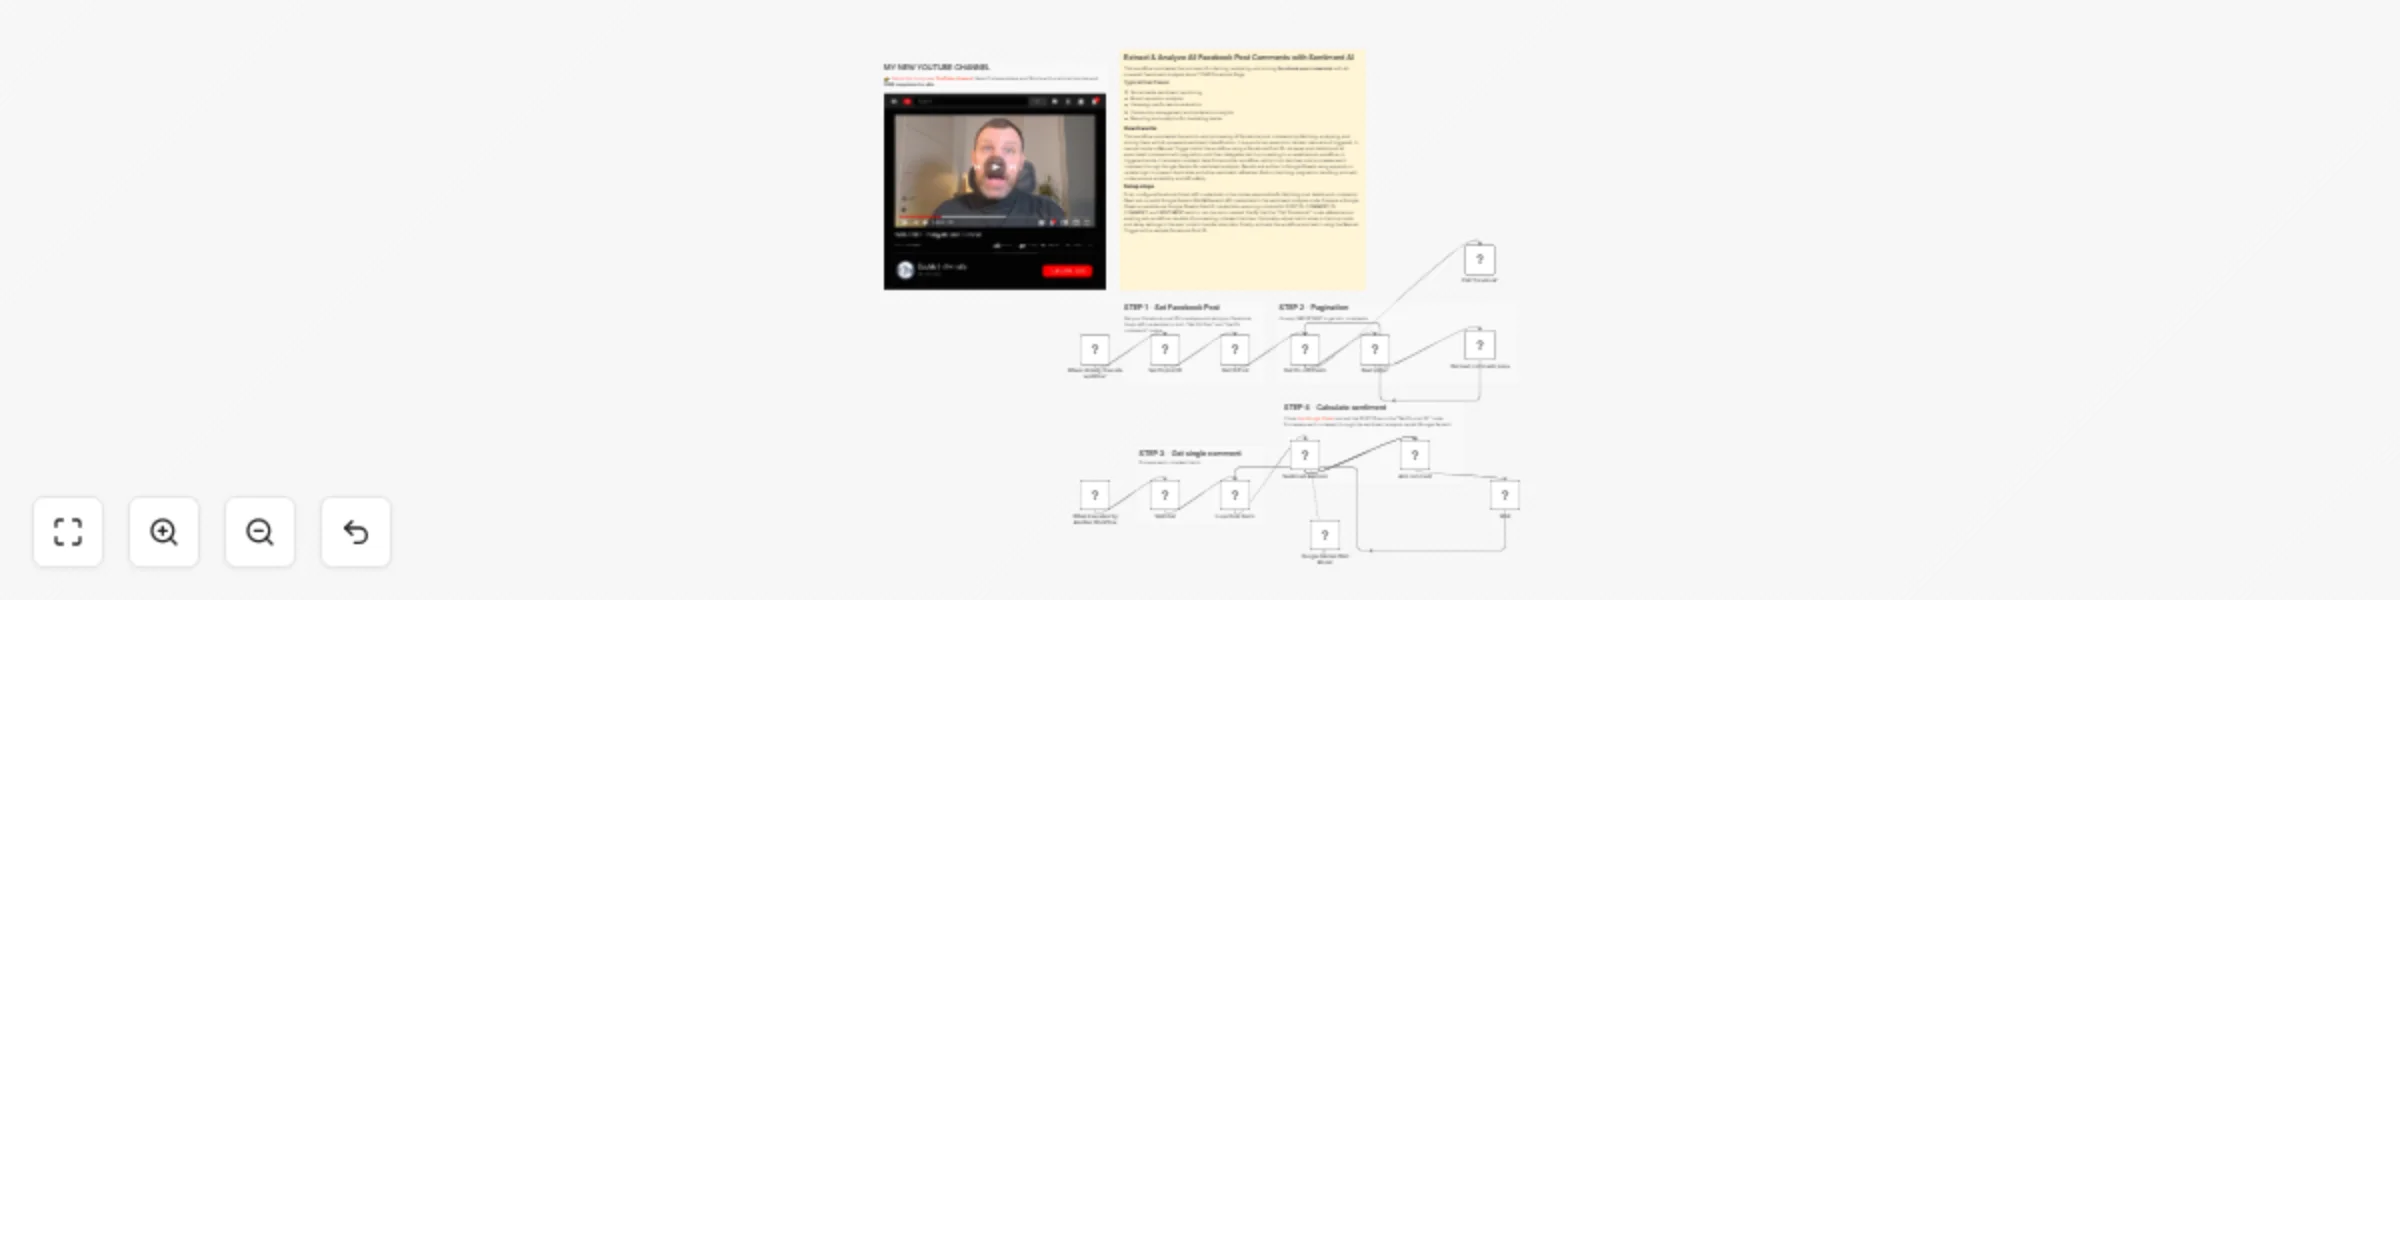
Extract and analyze 🔬 ALL Facebook post comments with sentiment AI using Gemini
This workflow automates the process of collecting, analyzing, and storing Facebook post comments with AI powered sent...
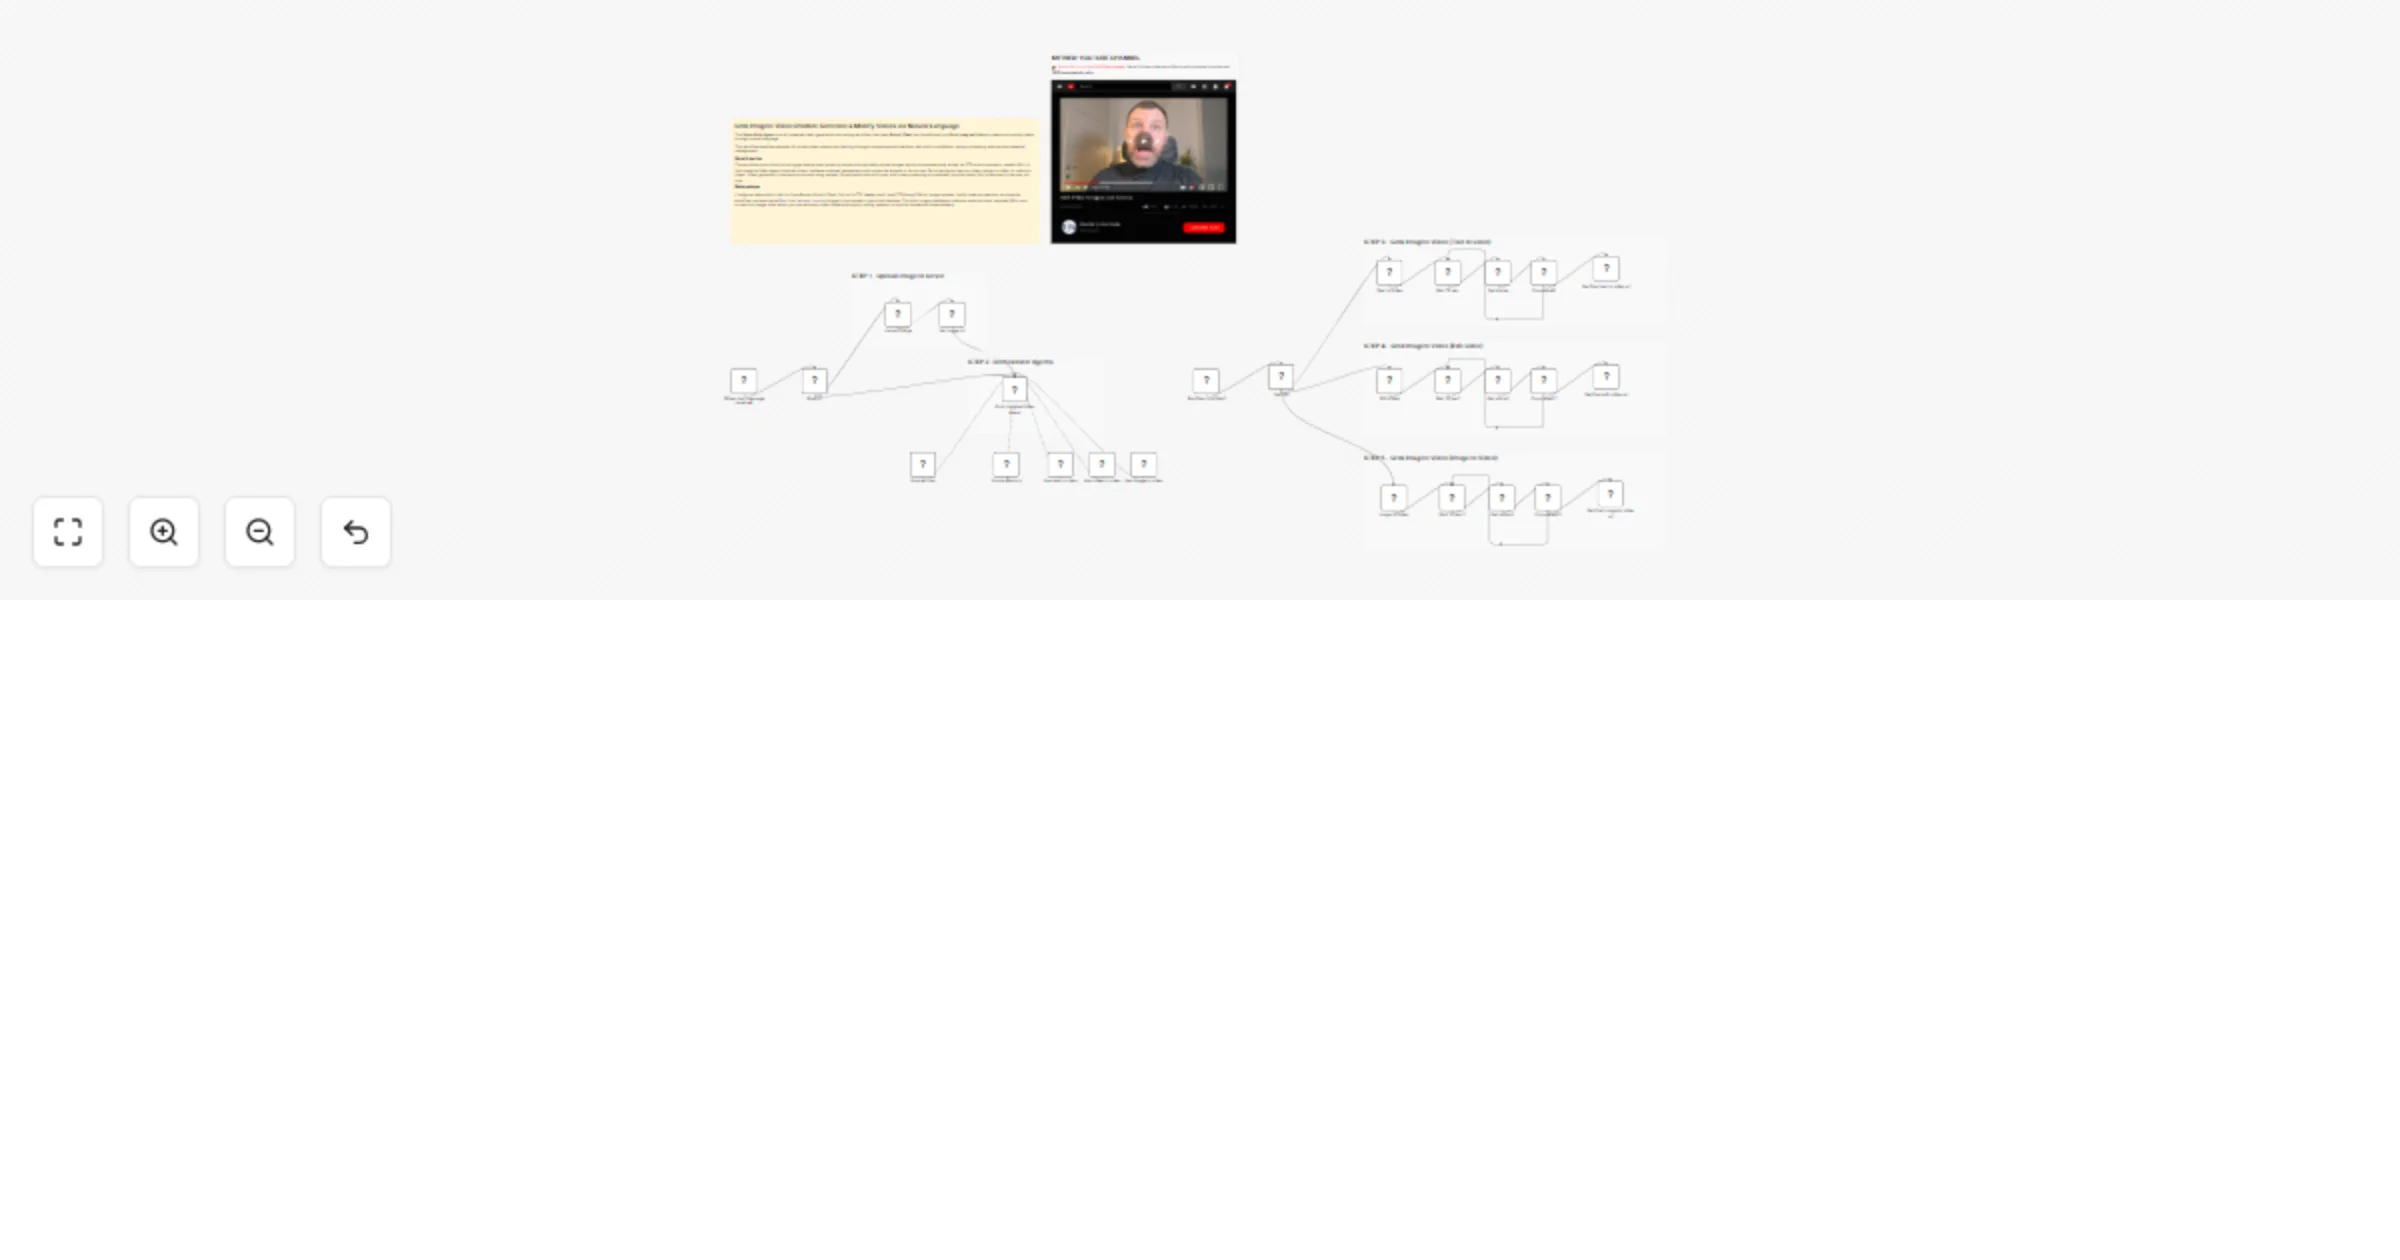
Grok Imagine Video Chatbot 🤖📺: Generate & Modify Videos via Natural Language
The Video Grok Agent is an AI powered video generation and editing workflow that uses Grok 4.1 Fast (via OpenRouter)...
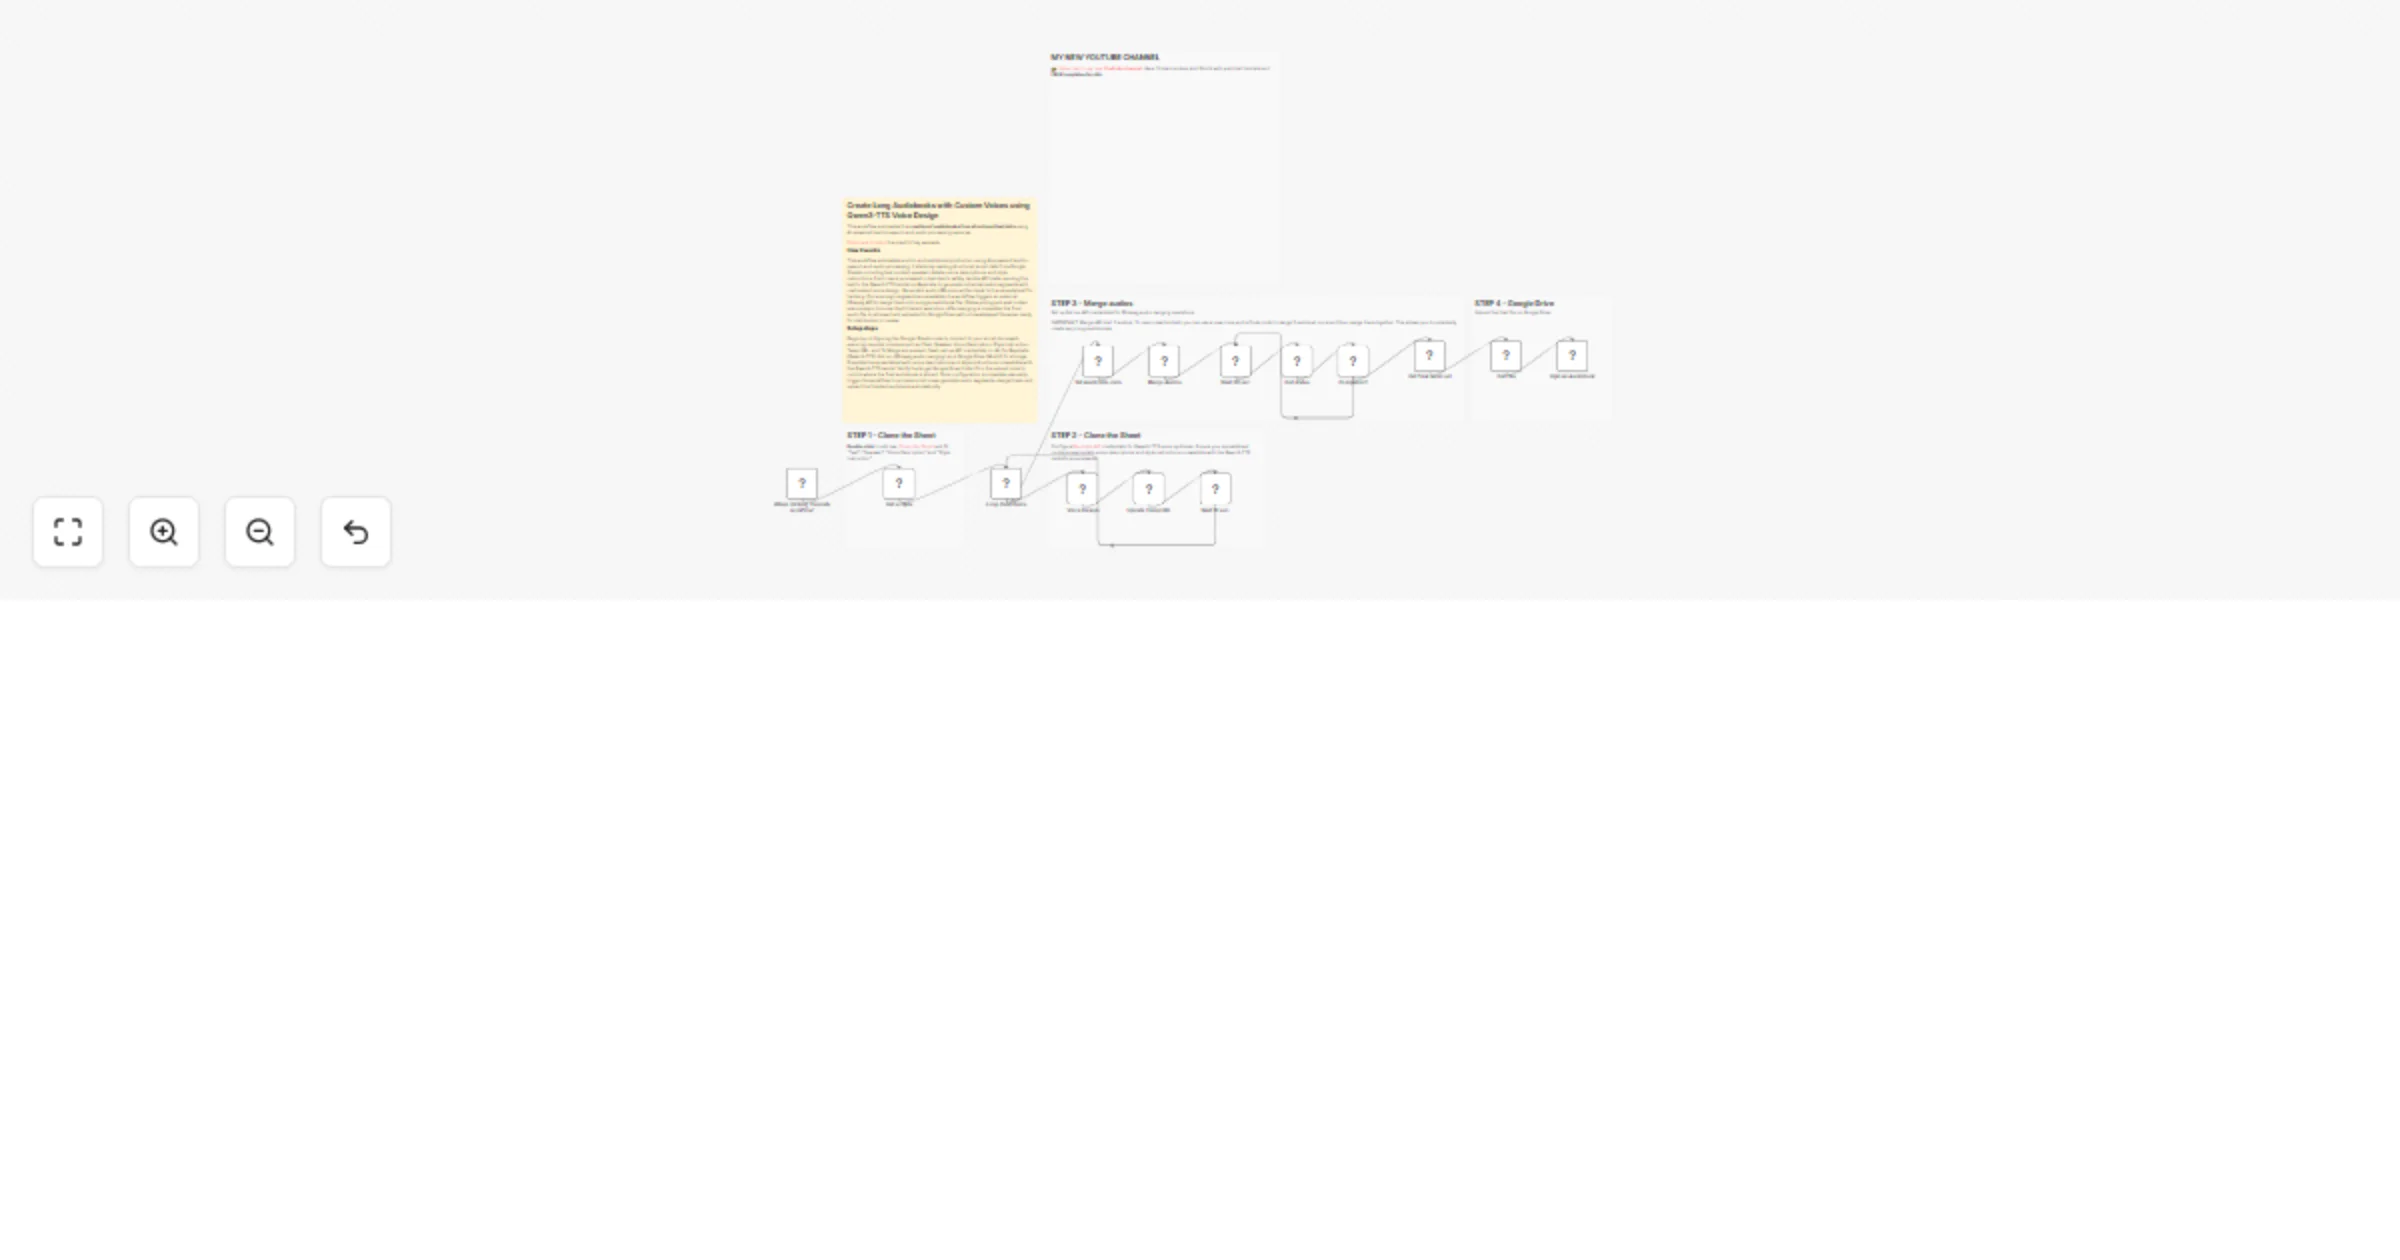
Create long Audiobooks 🔊📚 with custom voices using Qwen3-TTS Voice Design
This workflow automates the creation of audiobooks from structured text data using AI powered text to speech and audi...

Create AI YouTube SRT subtitles 📢 with ElevenLabs 🎧 and Google Drive
This workflow is a simple yet brilliant automation designed to generate time coded SRT subtitles starting directly fr...
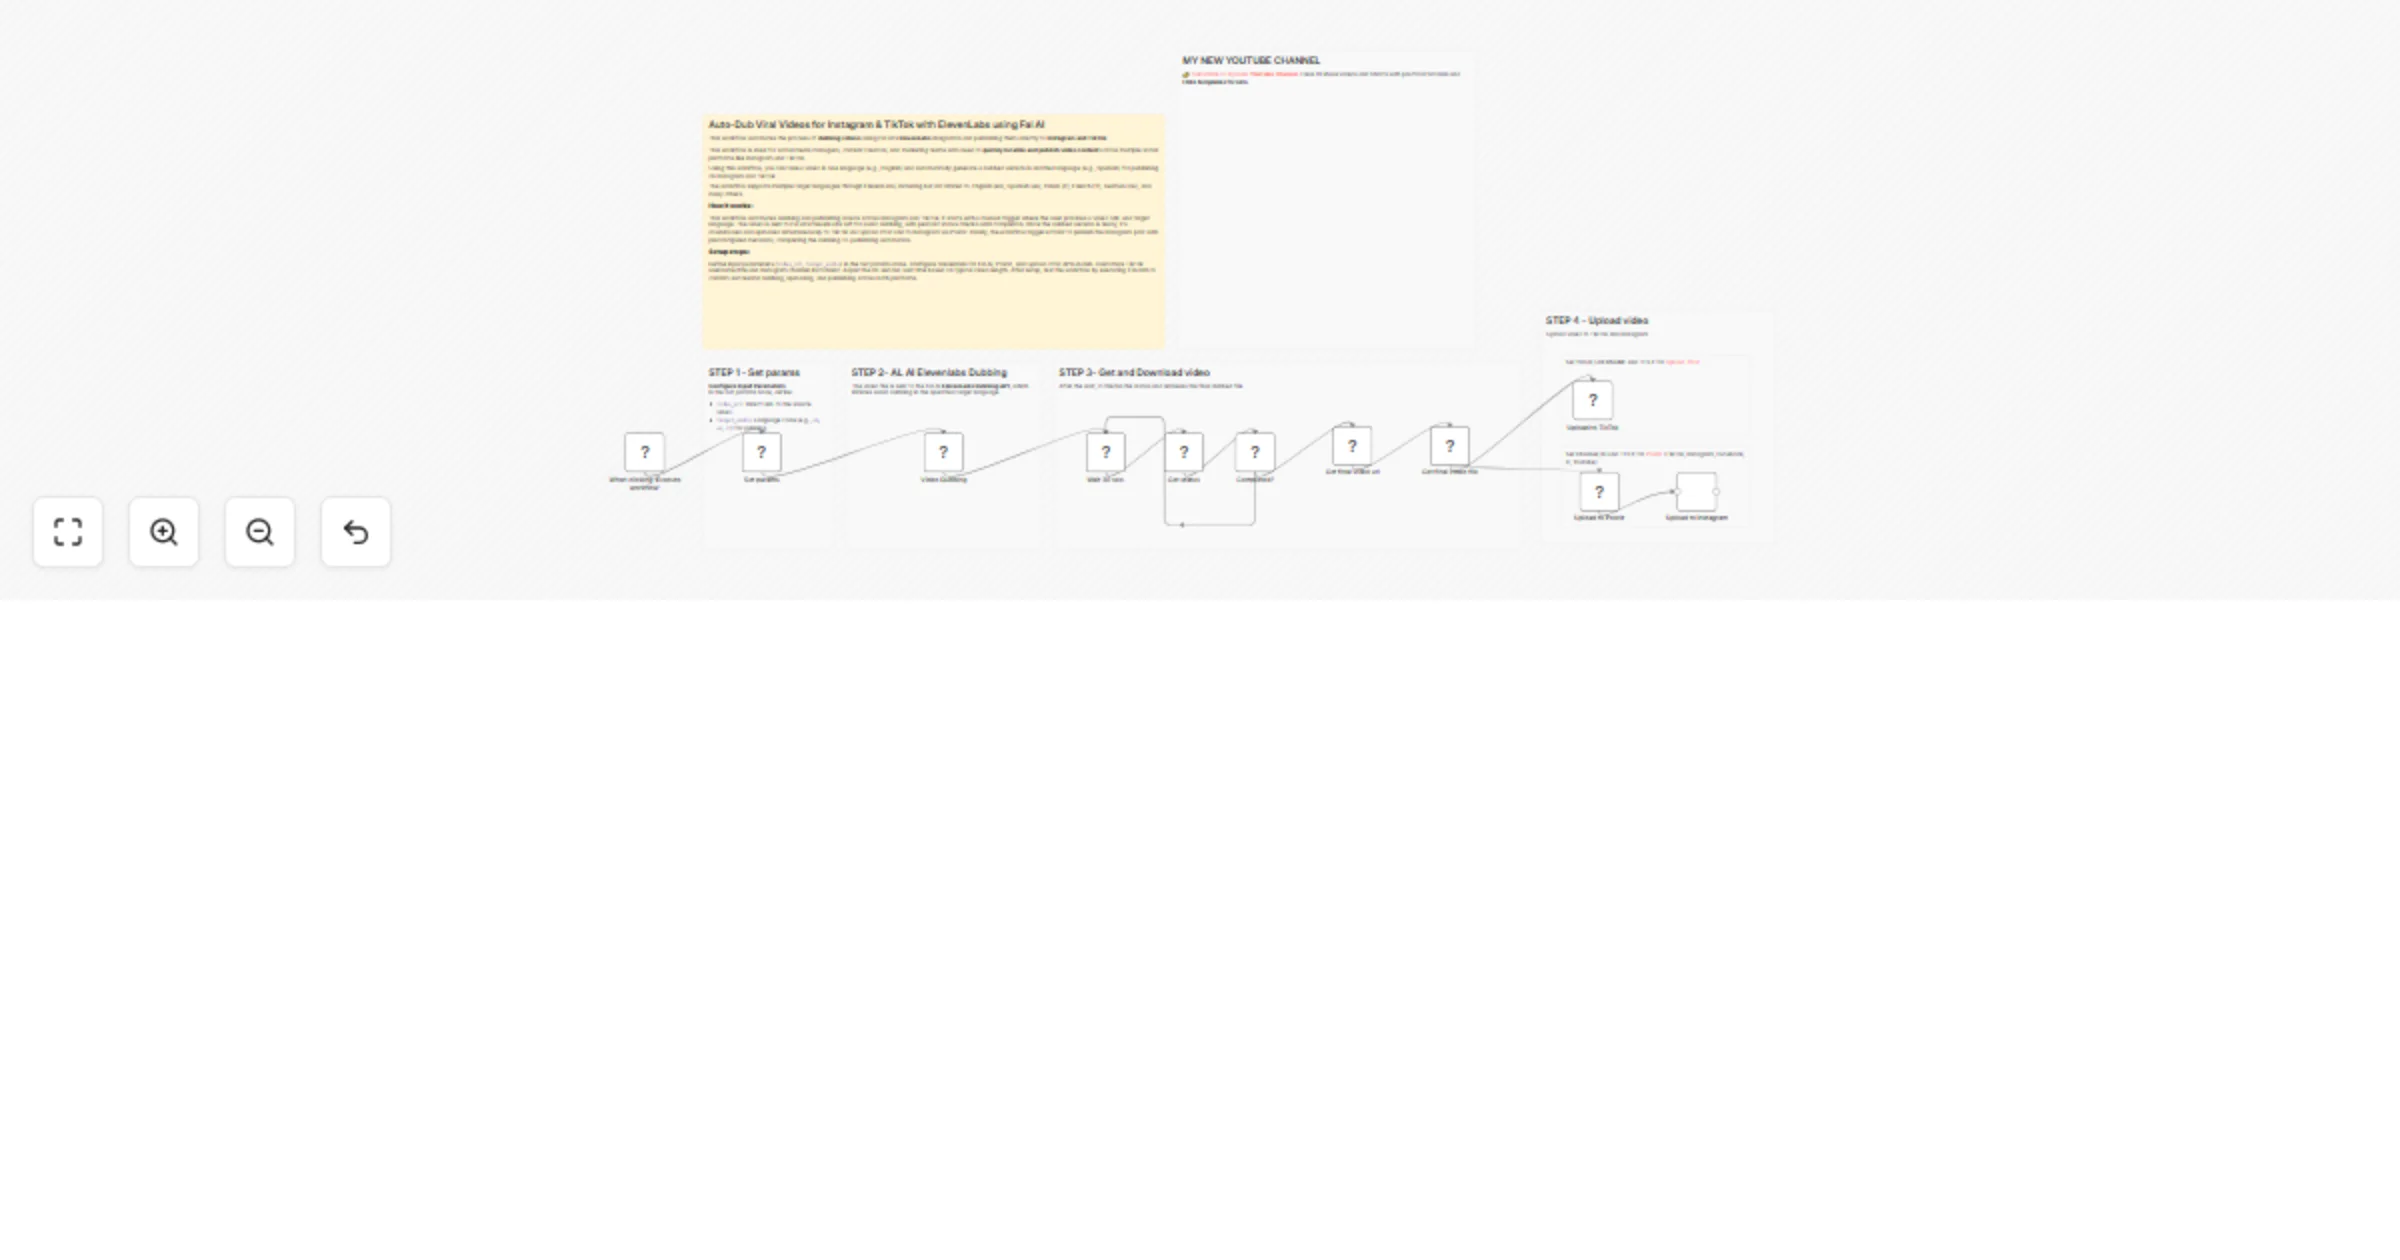
Auto-dub Viral Instagram and TikTok videos 📲 with Fal AI ElevenLabs dubbing 🎙️
This workflow automates the process of dubbing videos using Fal AI's ElevenLabs integration and publishing them direc...
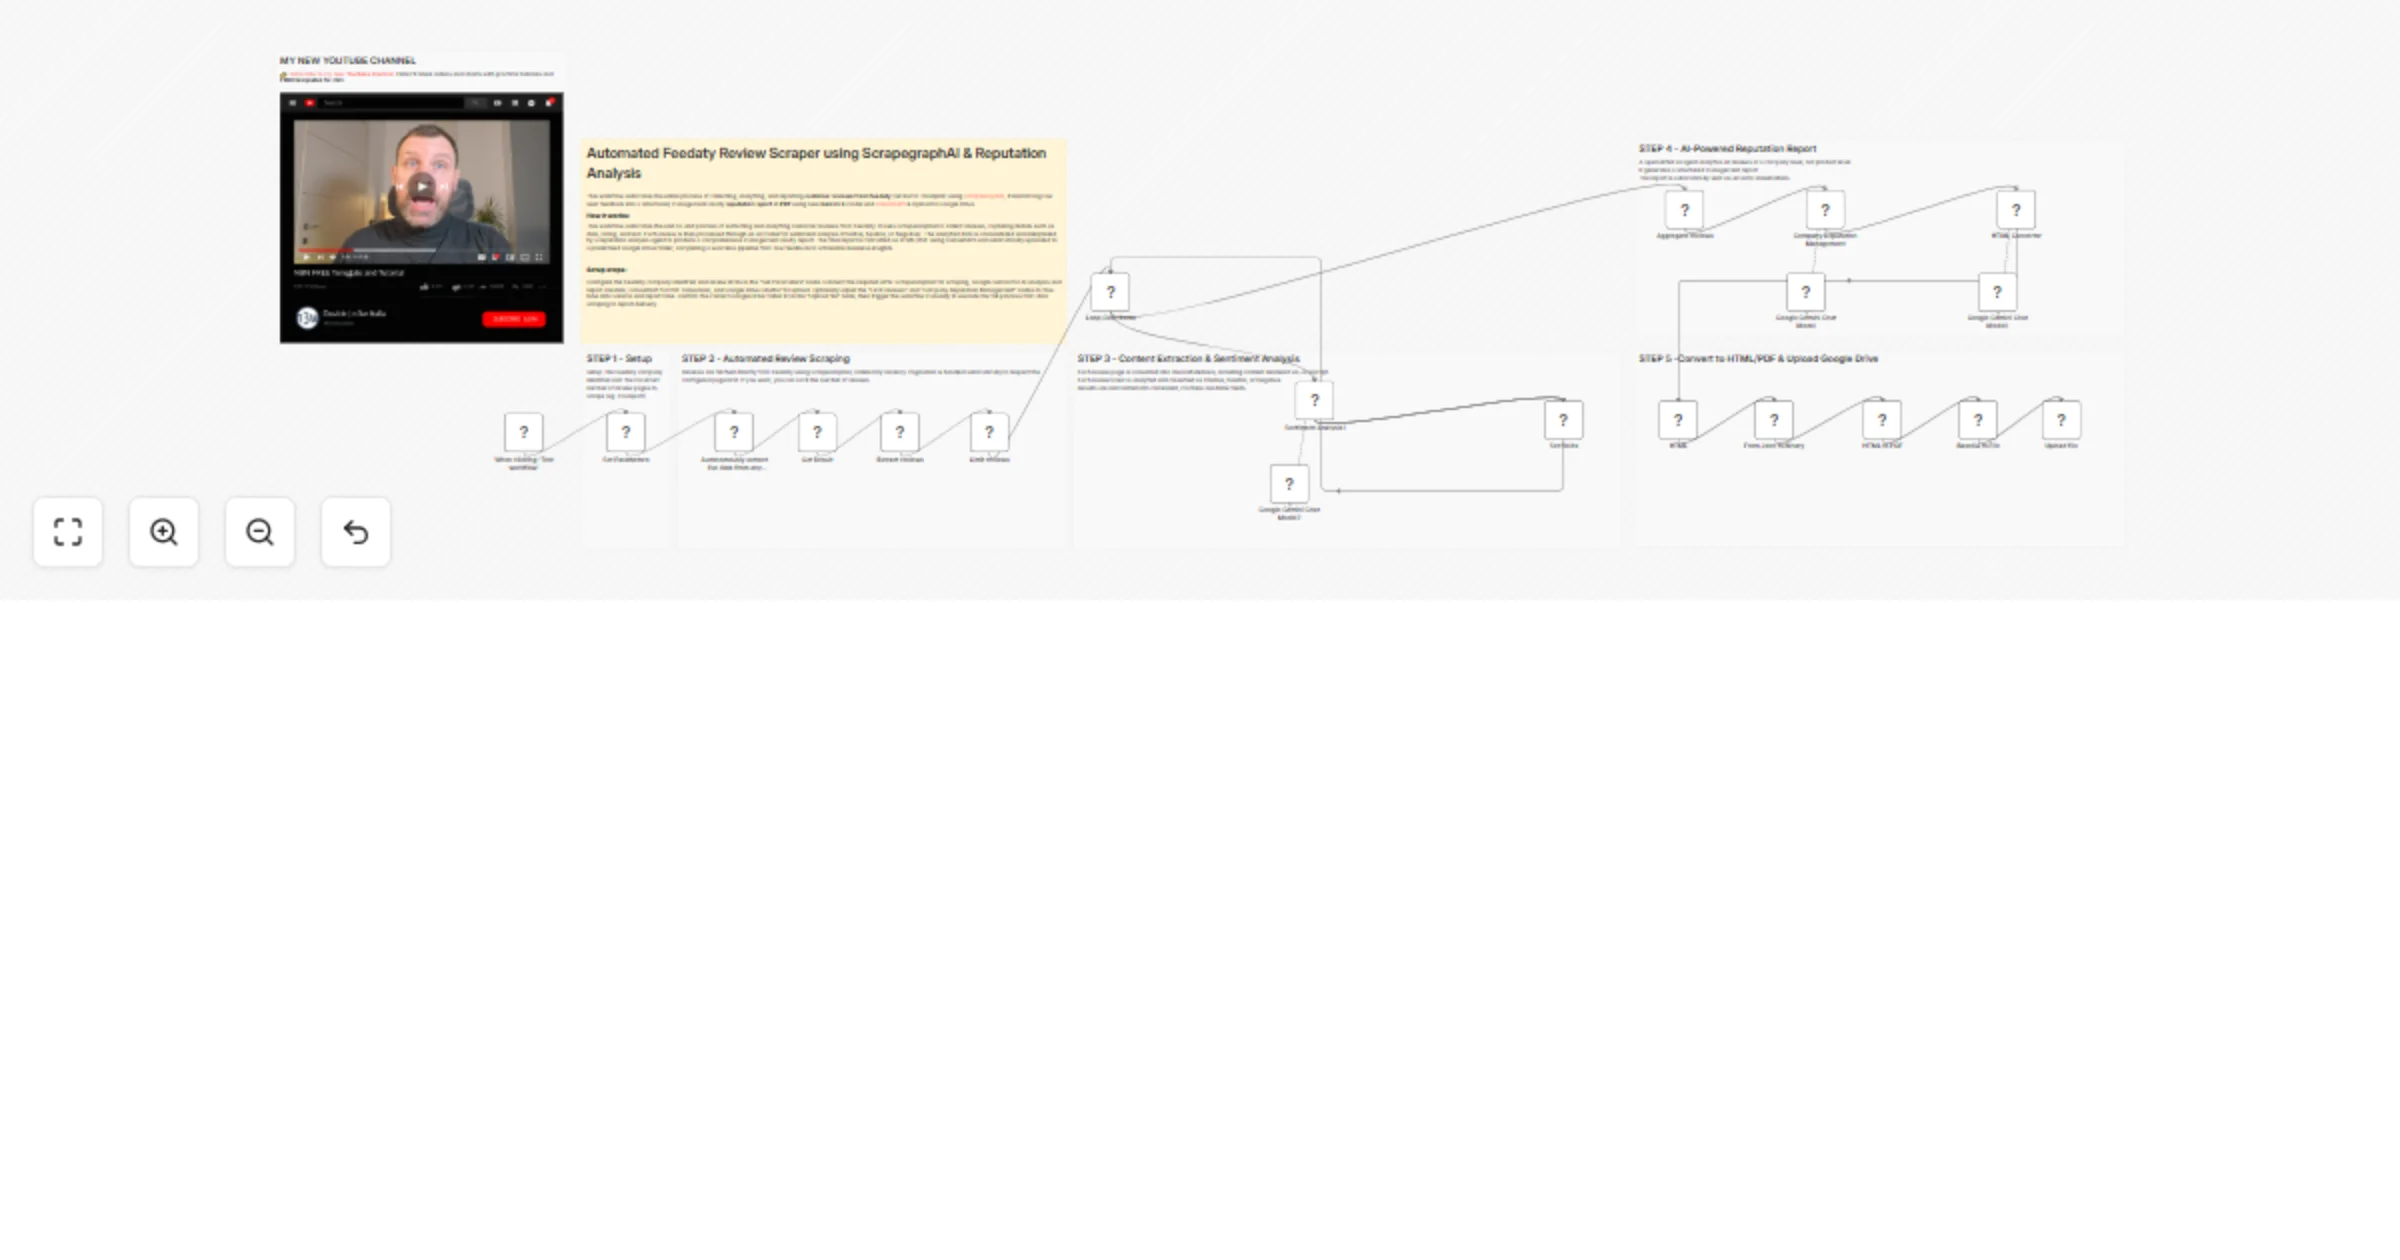
Automated Feedaty Review Scraper 📈 using ScrapegraphAI & Gemini 3
This workflow automates the entire process of collecting, analyzing, and reporting customer reviews from Feedaty (sim...

Translate 🎙️and upload dubbed YouTube videos 📺 using ElevenLabs AI Dubbing
This workflow automates the end to end process of video dubbing using ElevenLabs , storage on Google Drive, and publi...