A
Adrian Kendall
2
Workflows
Workflows by Adrian Kendall
Free intermediate
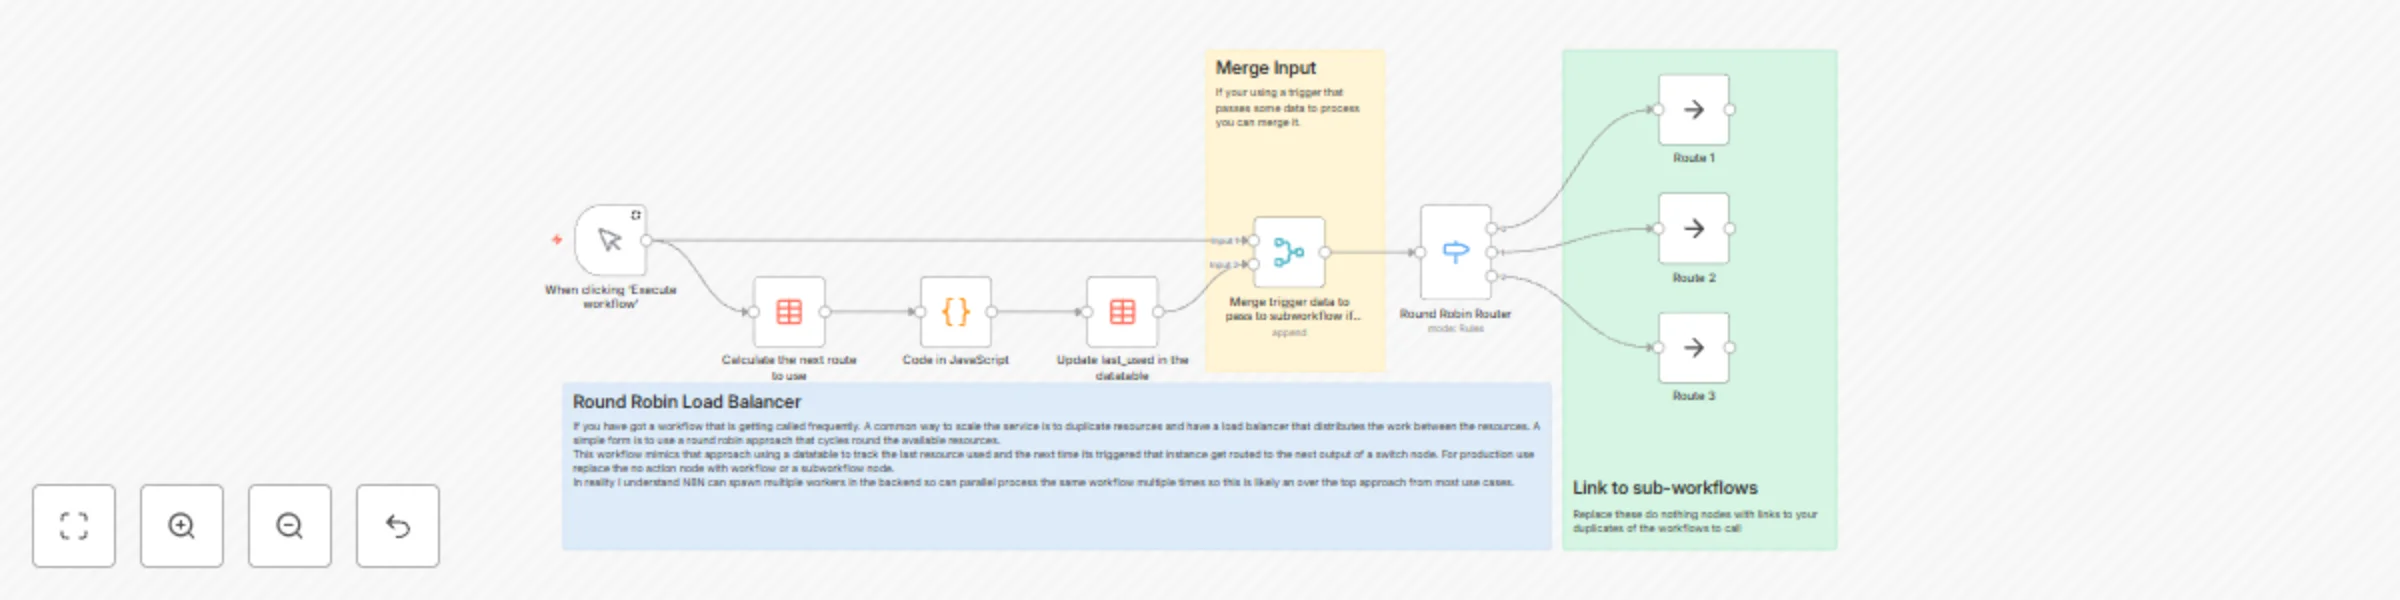
Distribute workflow execution with round-robin logic using data tables
Key Features Implements a simple round robin distribution mechanism using a Data Table to track the last route used....
A
Adrian Kendall DevOps
22 Oct 2025
151
0

Free beginner
Home Assistant event triggering with AppDaemon Webhooks
Summary This is a minimal template that focuses on how to integrate n8n and Home Assistant for event based triggering...
A
Adrian Kendall Personal Productivity
30 Jul 2025
135
0